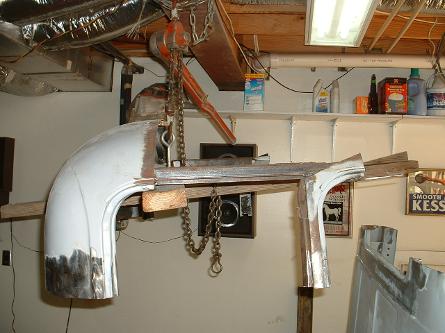
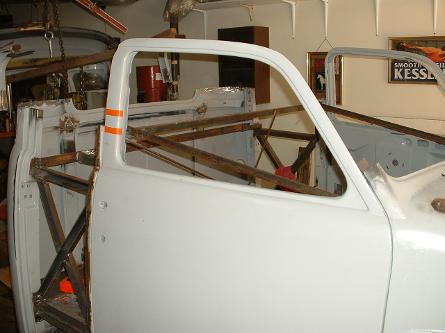
On we go.... It's about chopping time.
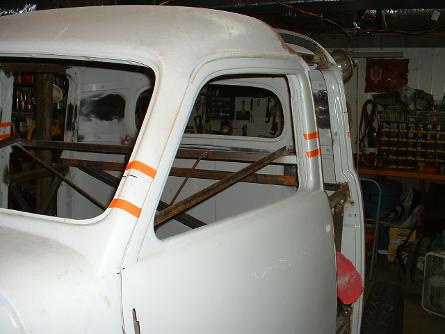
Well after we measured what seemed like 100 times, we finally decided we had the tape laid out exactly where we wanted to cut. You see the gap between the tape.
Here in the back the gap is smaller. We cut about 2 1/2 inches in the front, and only 1 inch in the back. That way it would have some rake to the top.
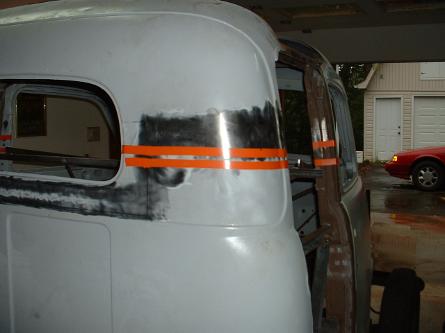
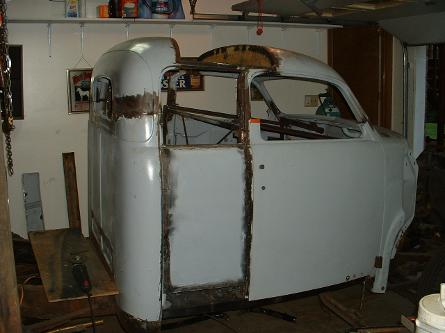
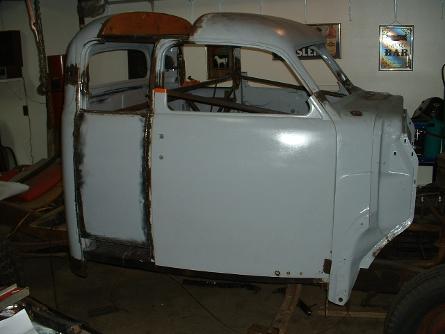
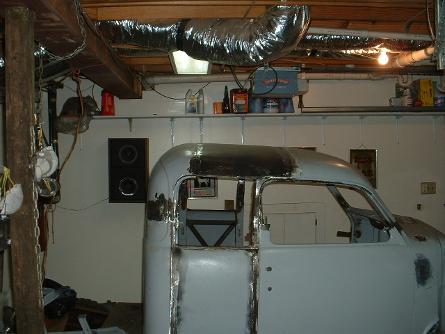
Well there it hangs. Should be easy right. Cut off the top, cut a few inches off the pillars, and just put it back on.... HAHAHAHA
MAN Am I sure I wanna do this?? hhuumm Looks like it's too late to turn back now. Hope it's as easy to put back together as it was to cut apart. I'm not holding my breath.
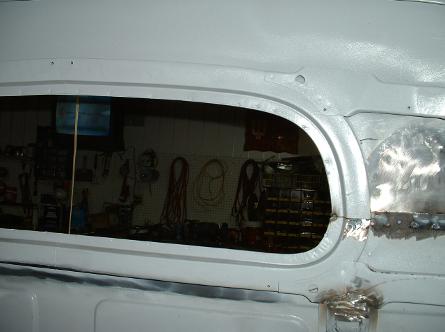
Here you can see we chose to cut the one inch gap out of the back right threw the center of the window. It kept everything proportional
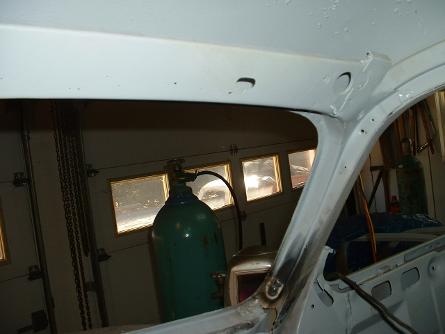
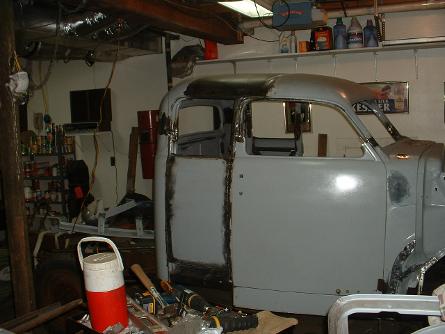
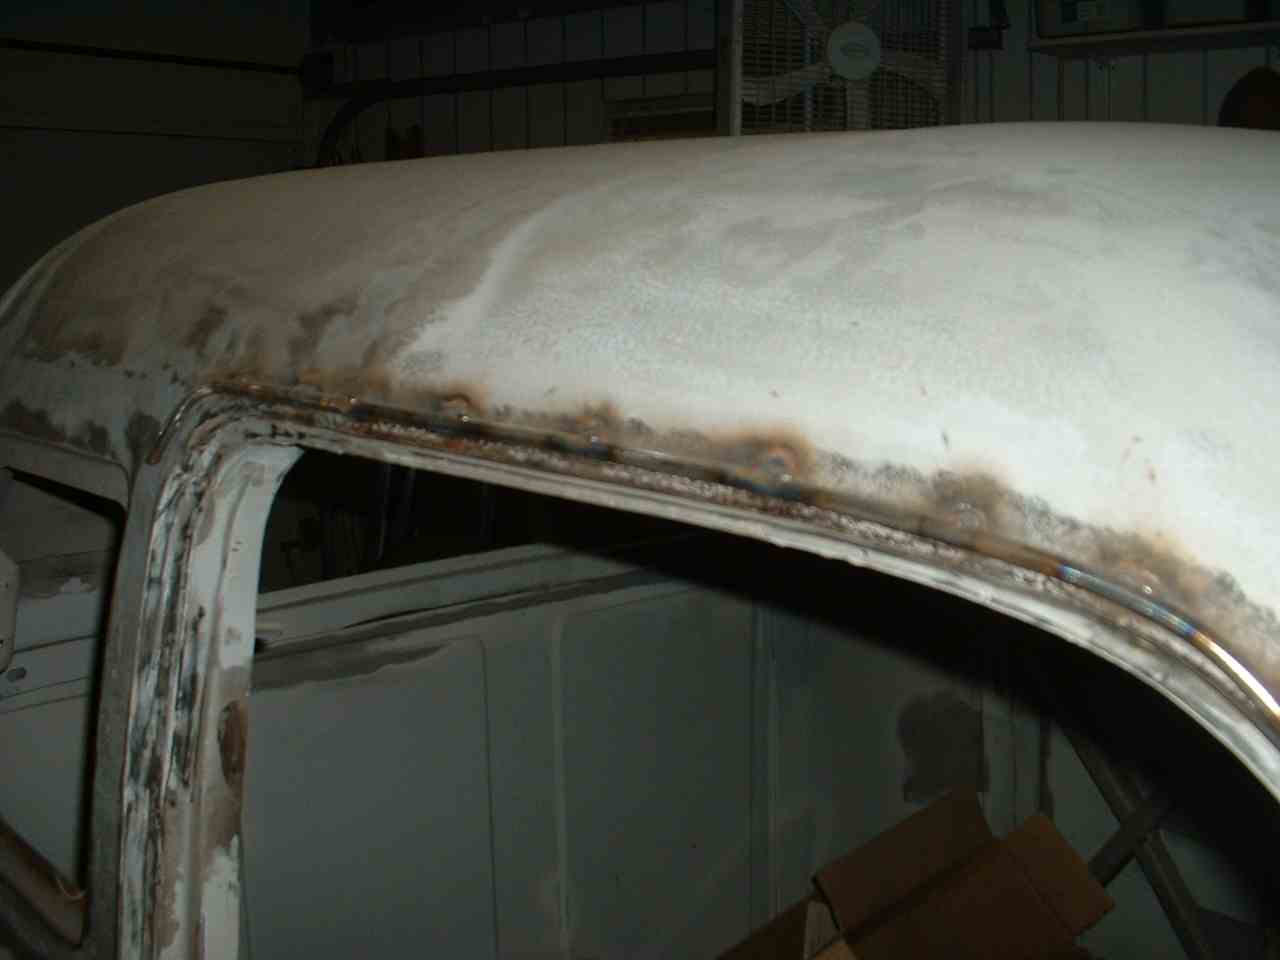
This is taken from inside the truck. At the bottom you can see where we welded the A pillars back together. They all came out well.
Here's one view of it all welded back together except for we need to fill in the space in the roof.
This from a different angle. If you look at the top inside of the roof, you'll see a pattern we made to shape the roof
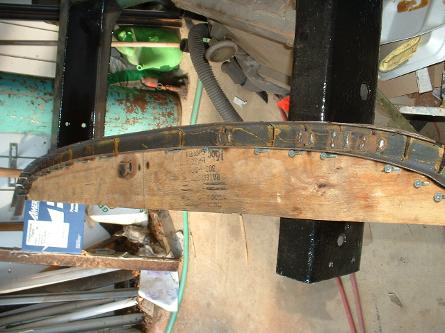
Here is the pattern. Helped shape the roof braces, and also gave a perfect shape to form the metal for the roof.
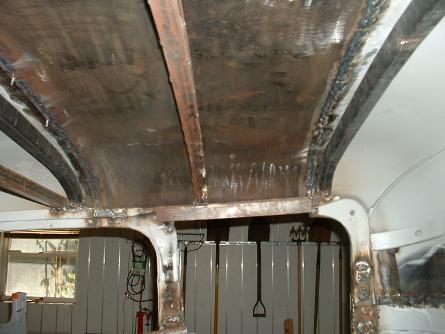
Here is the roof installed from an inside view. You can see where we added the extra roof supports
Here's a look from the outside looks like it matched up pretty well
Here's a look from close up, and a better angle to see the roof.
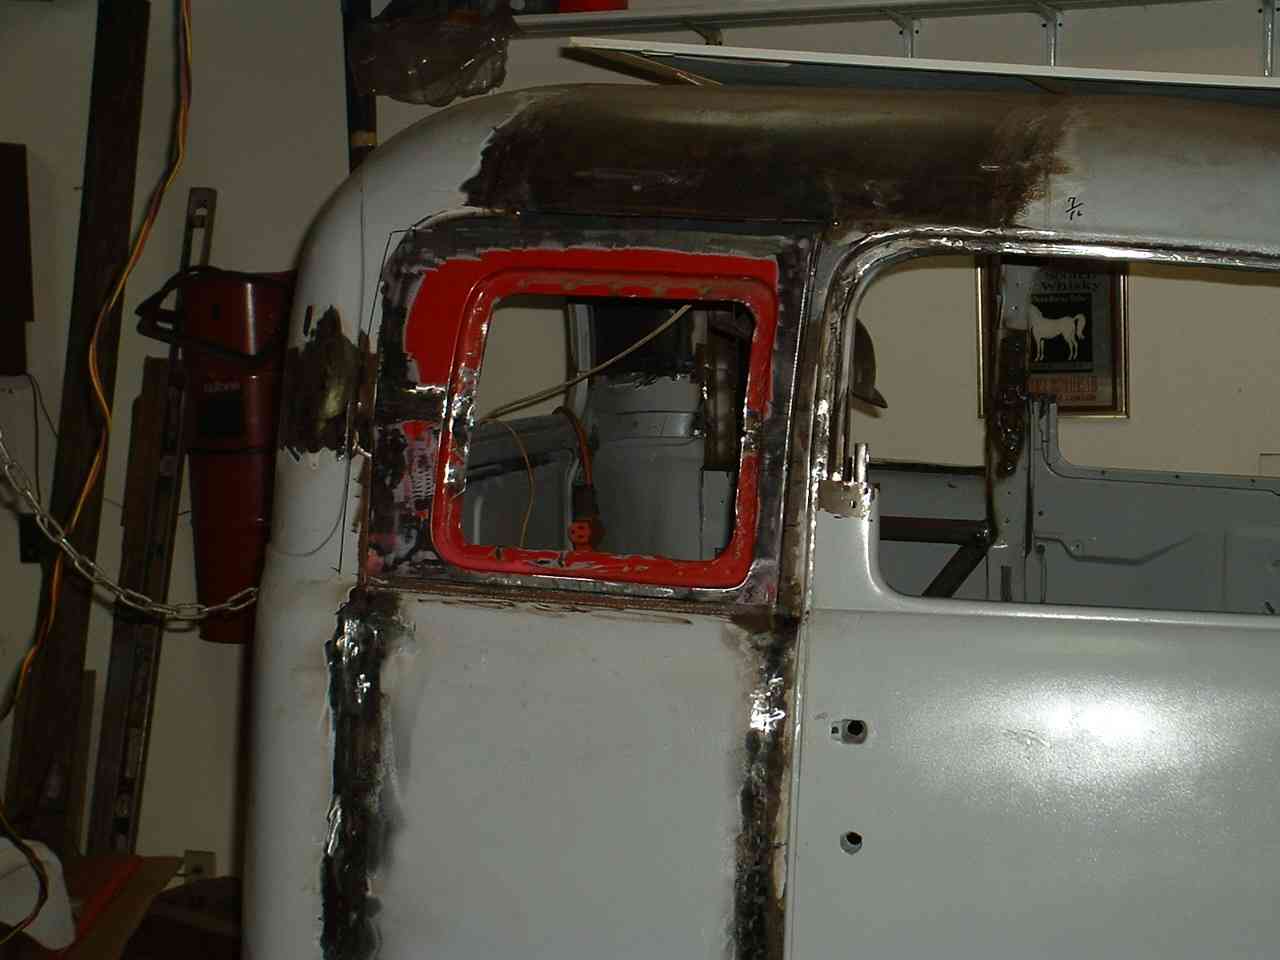
Well here is the donor windows we got from the Chevy. We had to cut these things down to be both narrower, and shorter. It was important they matched the size of the door window.
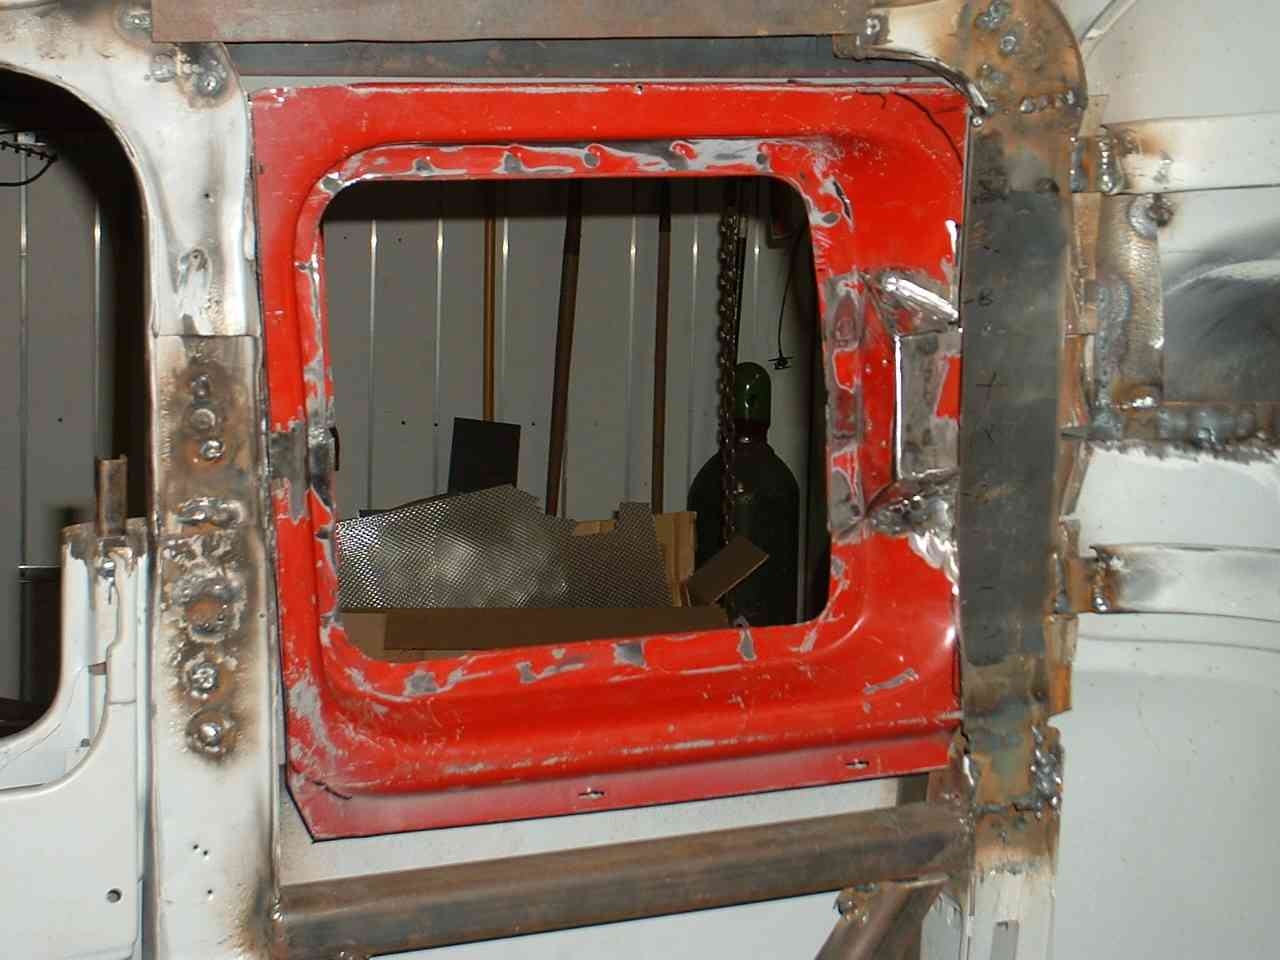
They came out pretty well,.. lots of sizing, and cutting (and cussing) but they'll be fine.
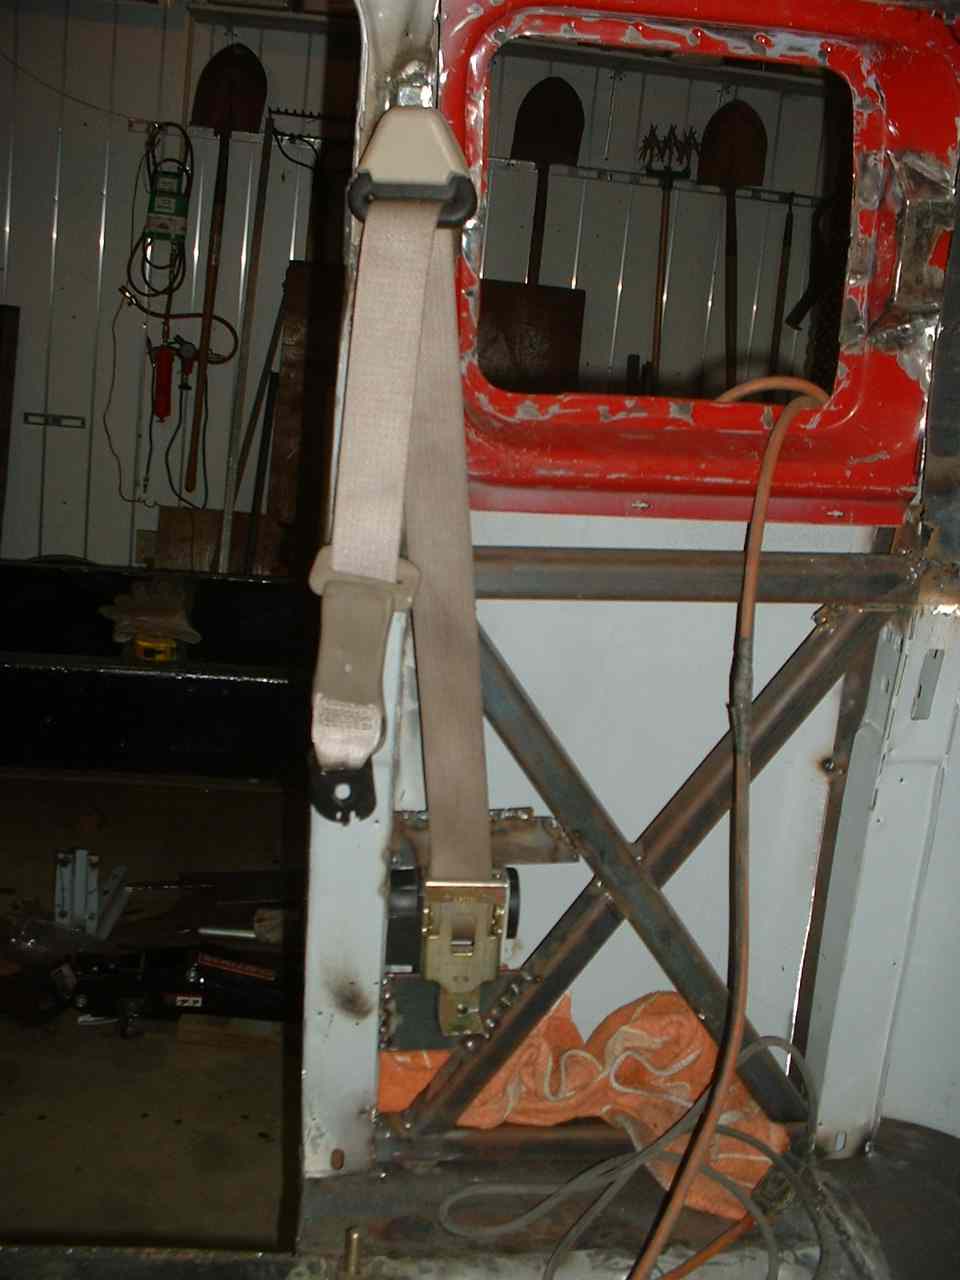
Here you can see another junk yard find. Seat belts. Hard to get mounted just right, so they'd function properly.
Another pic of the new roof
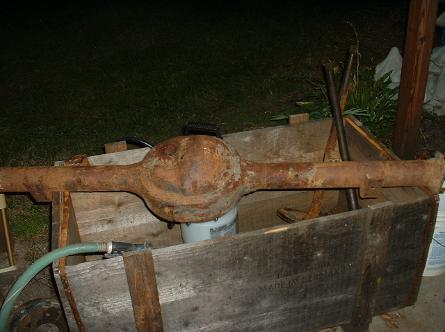
Found a 9 inch Ford rear end.

Sure cleaned up good.
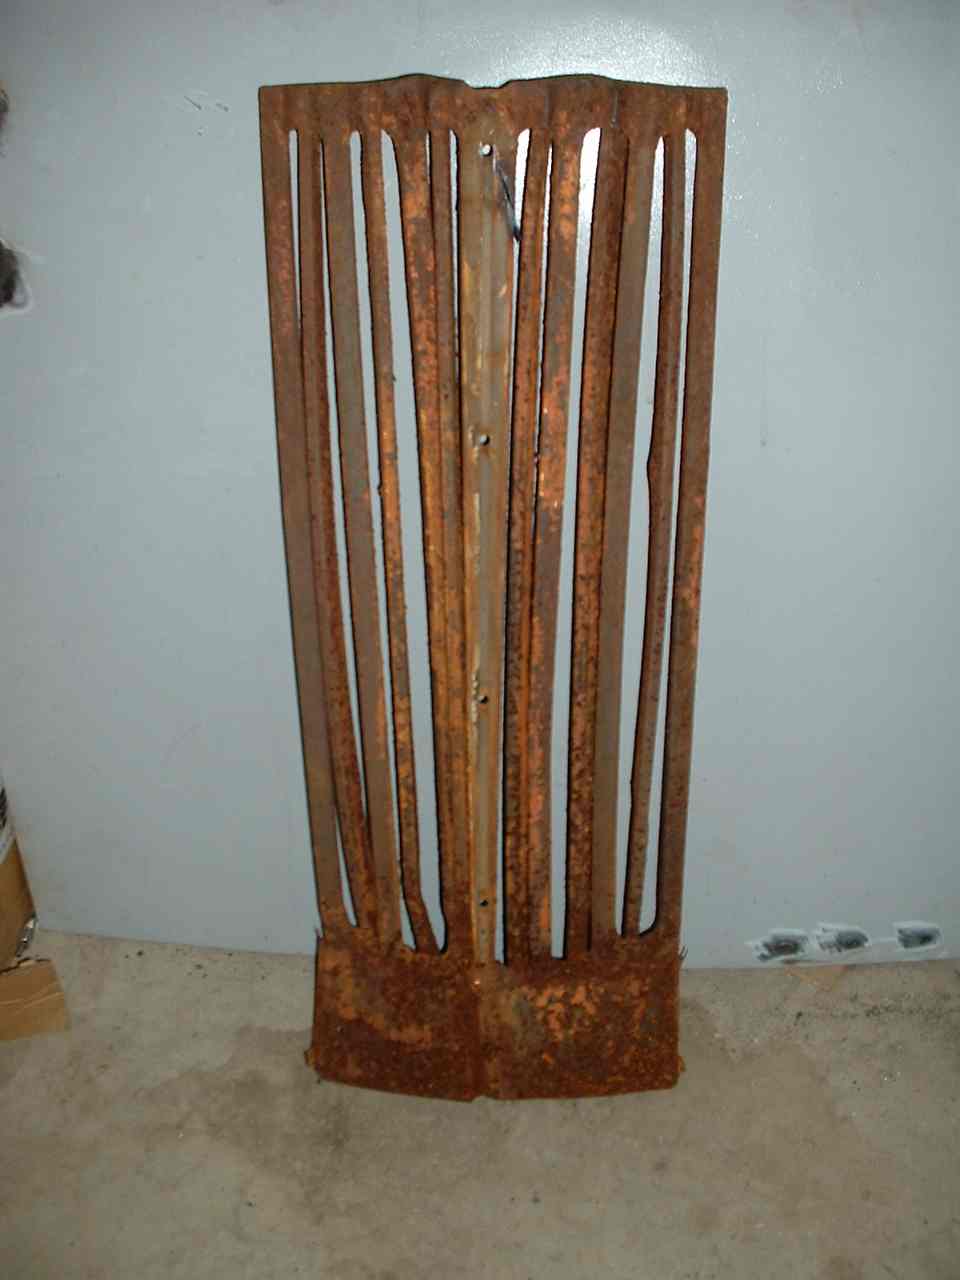
This was my center grille piece when we got it off. It was pretty rough shape.
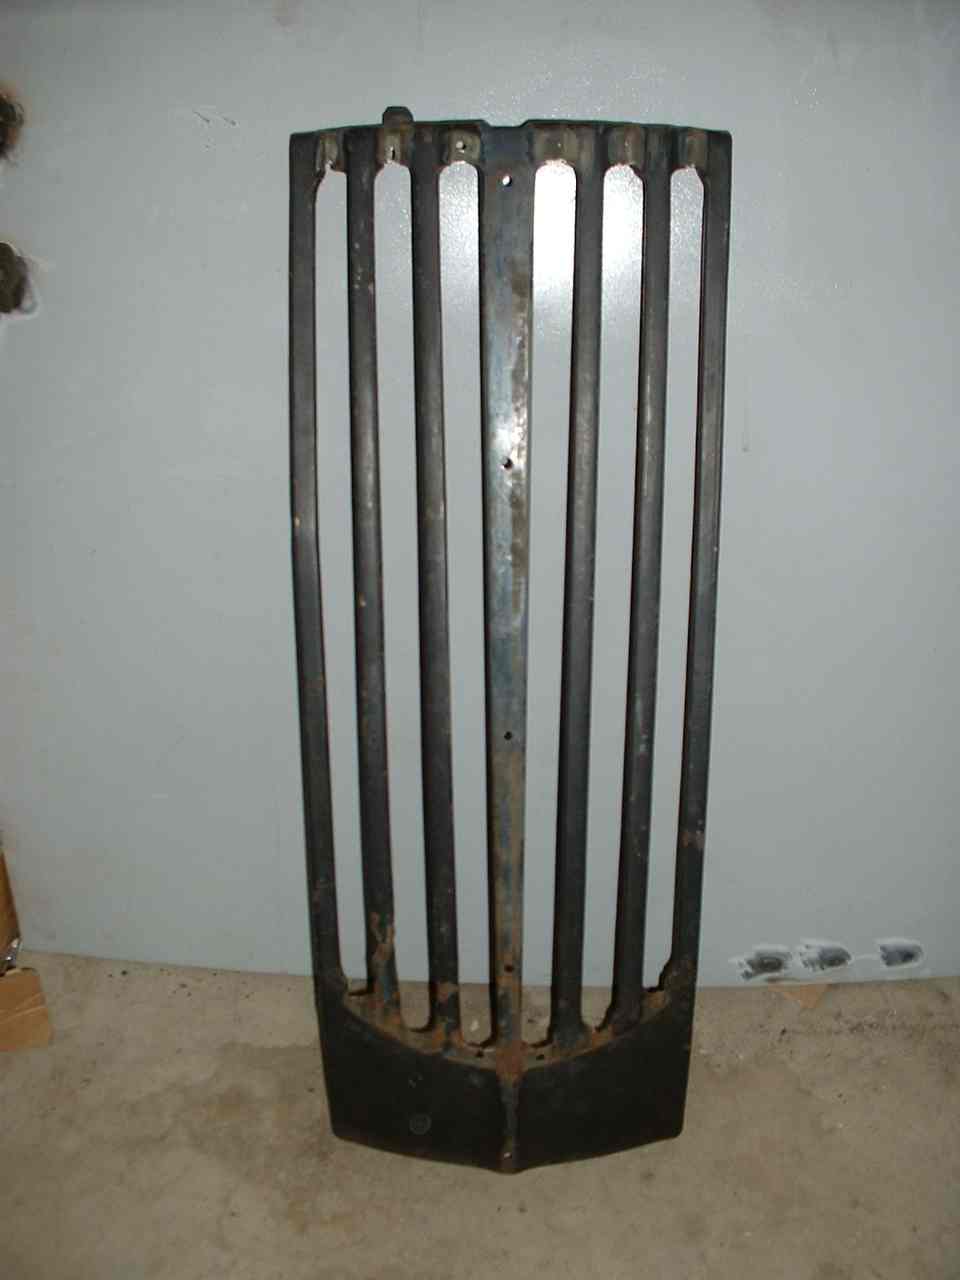
Dad did a good job straightening everything. The small bars we couldn't fix; so we had to "create" some.
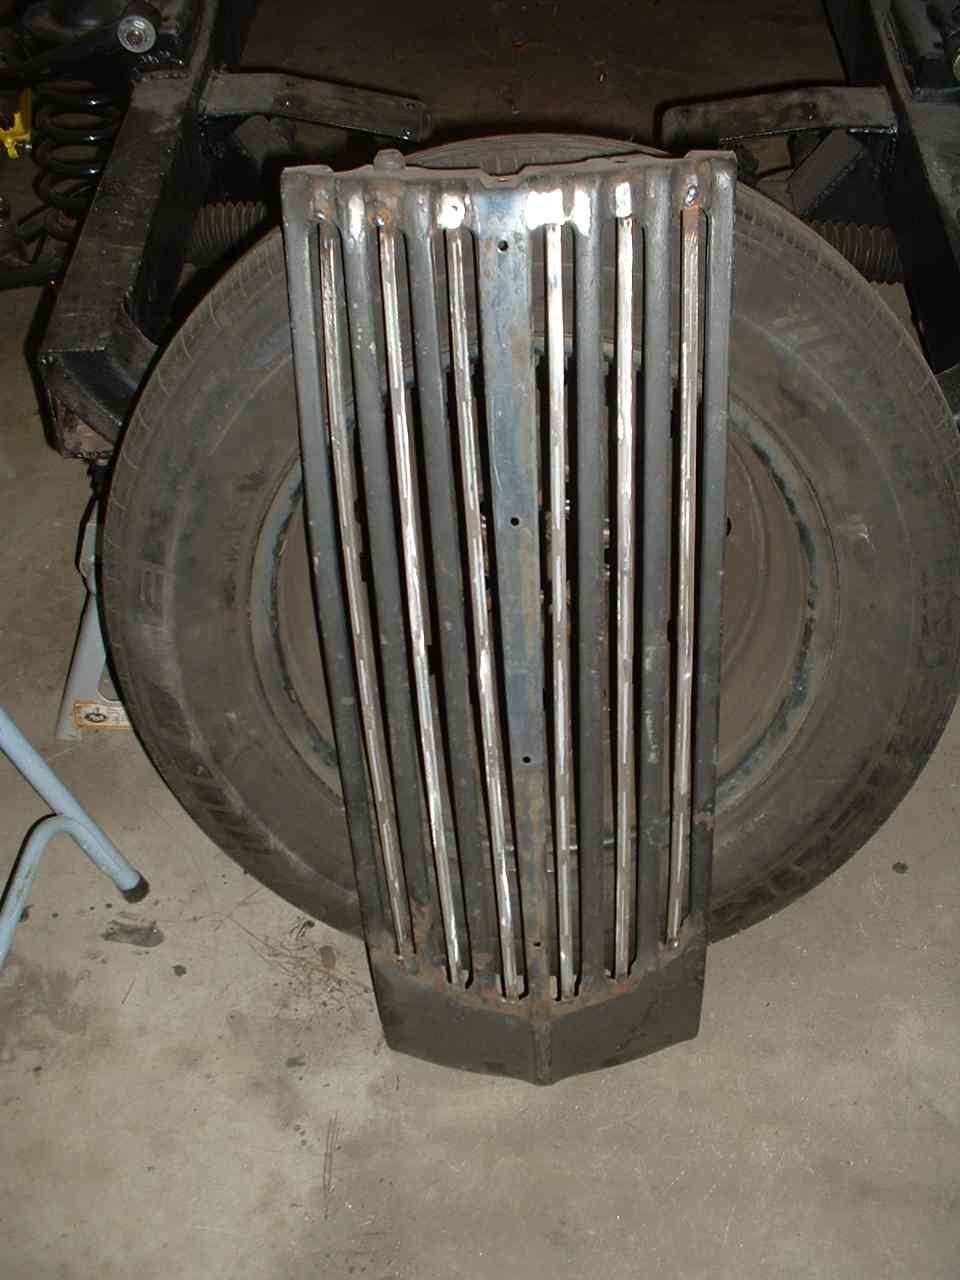
Dad built a mold, and we built our own small bars and put them in. What do ya think.??
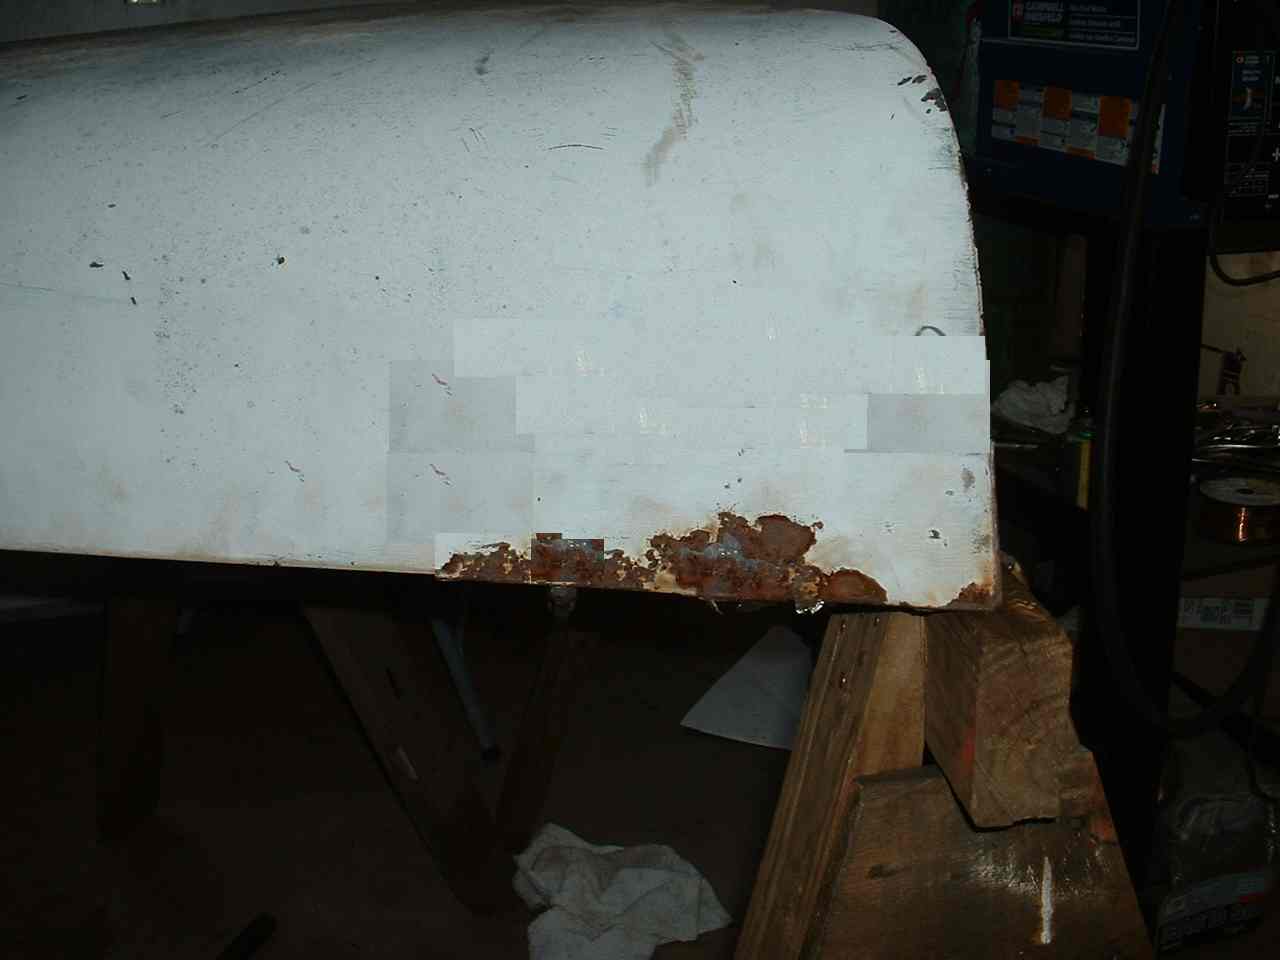
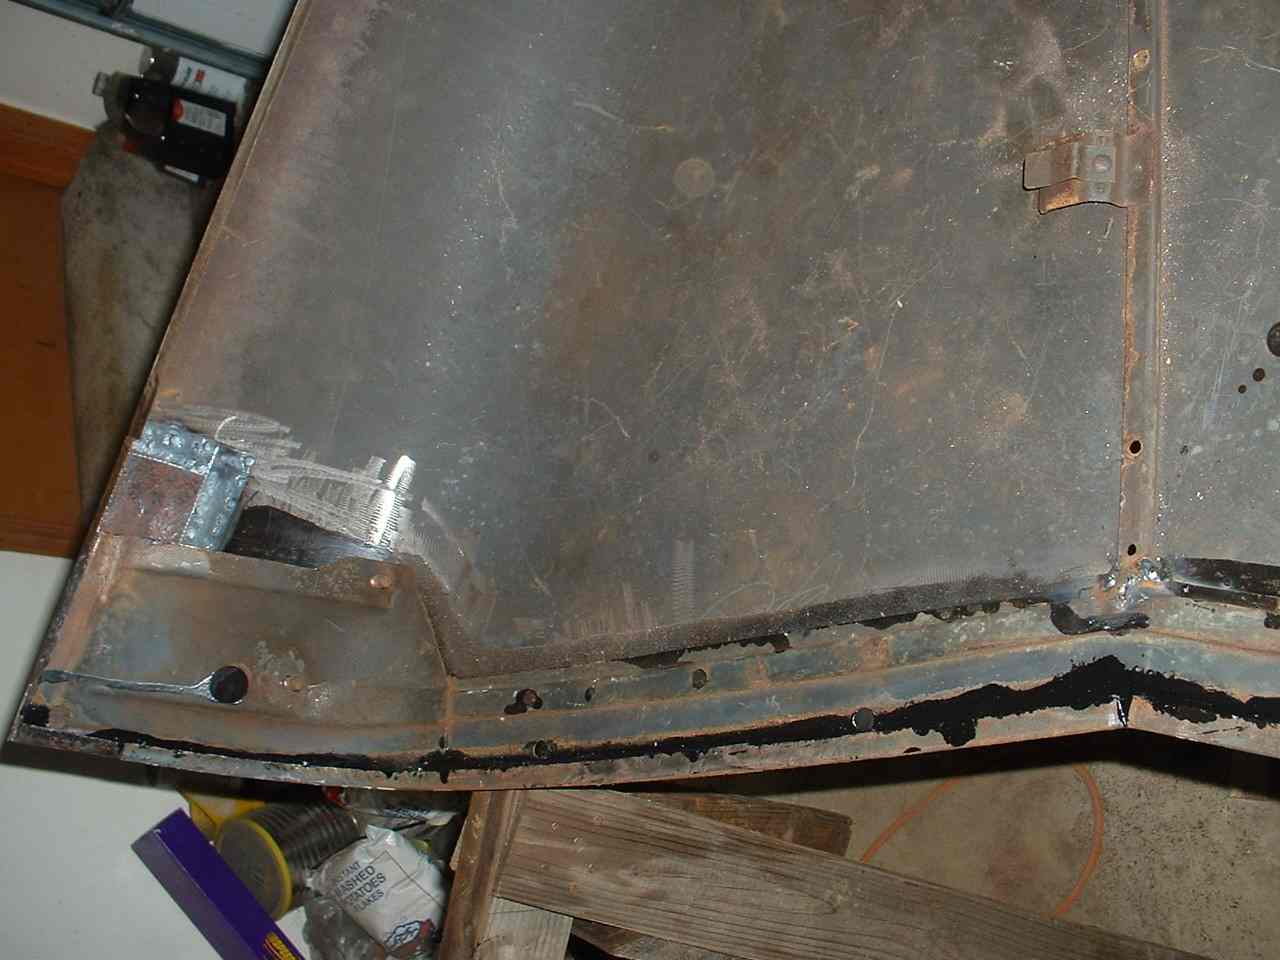
Like many hoods mine was rusted badly around the hood mounts.
Luckily I had the spare hood, and I was able to cut out the piece I needed to repair the bad spot
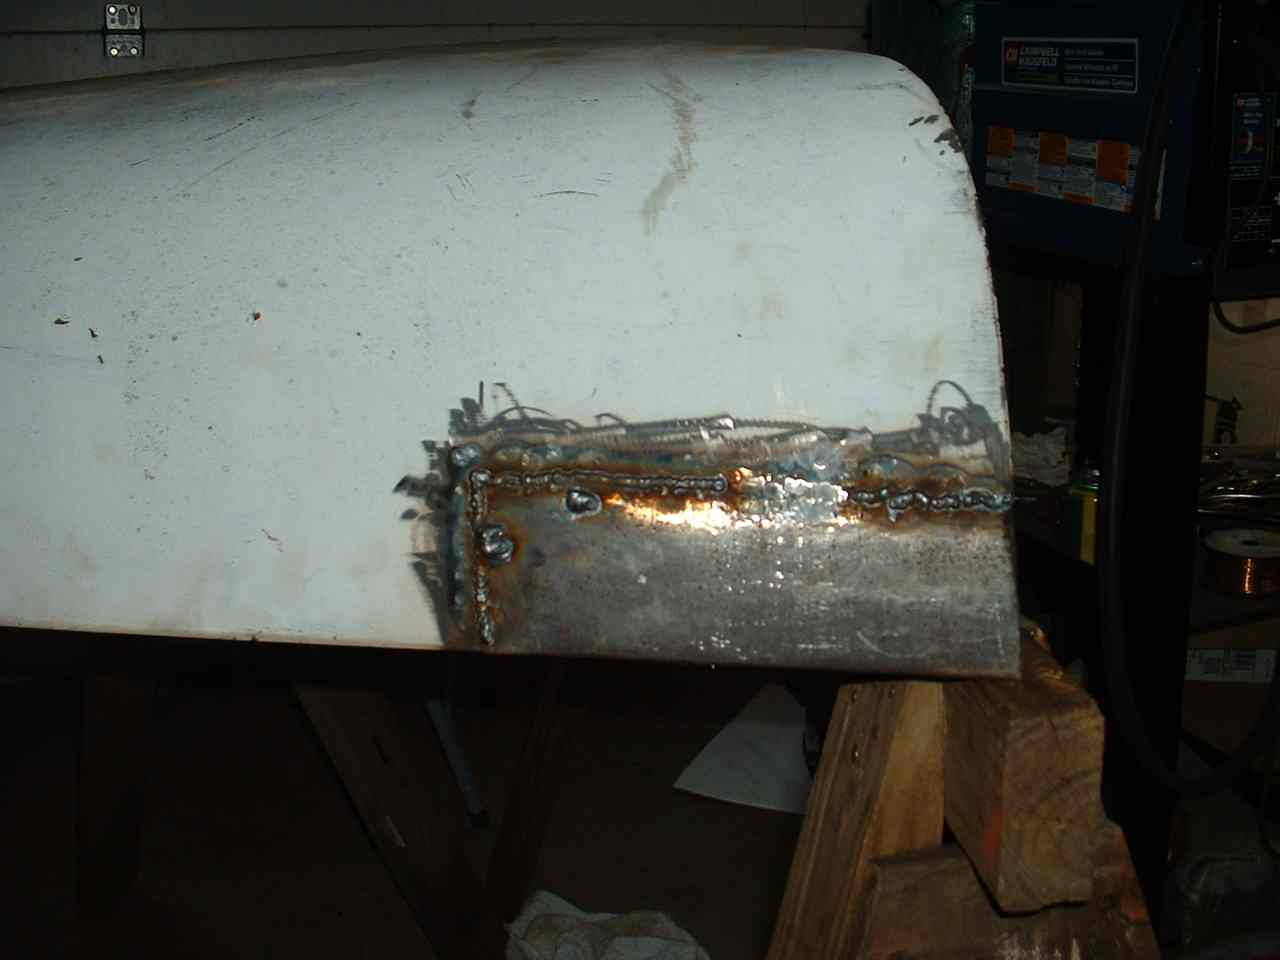
Here it is roughed in and with a coat of primer. Needs a little work yet but when it gets the finishing touches it'll look nice and be sturdy.
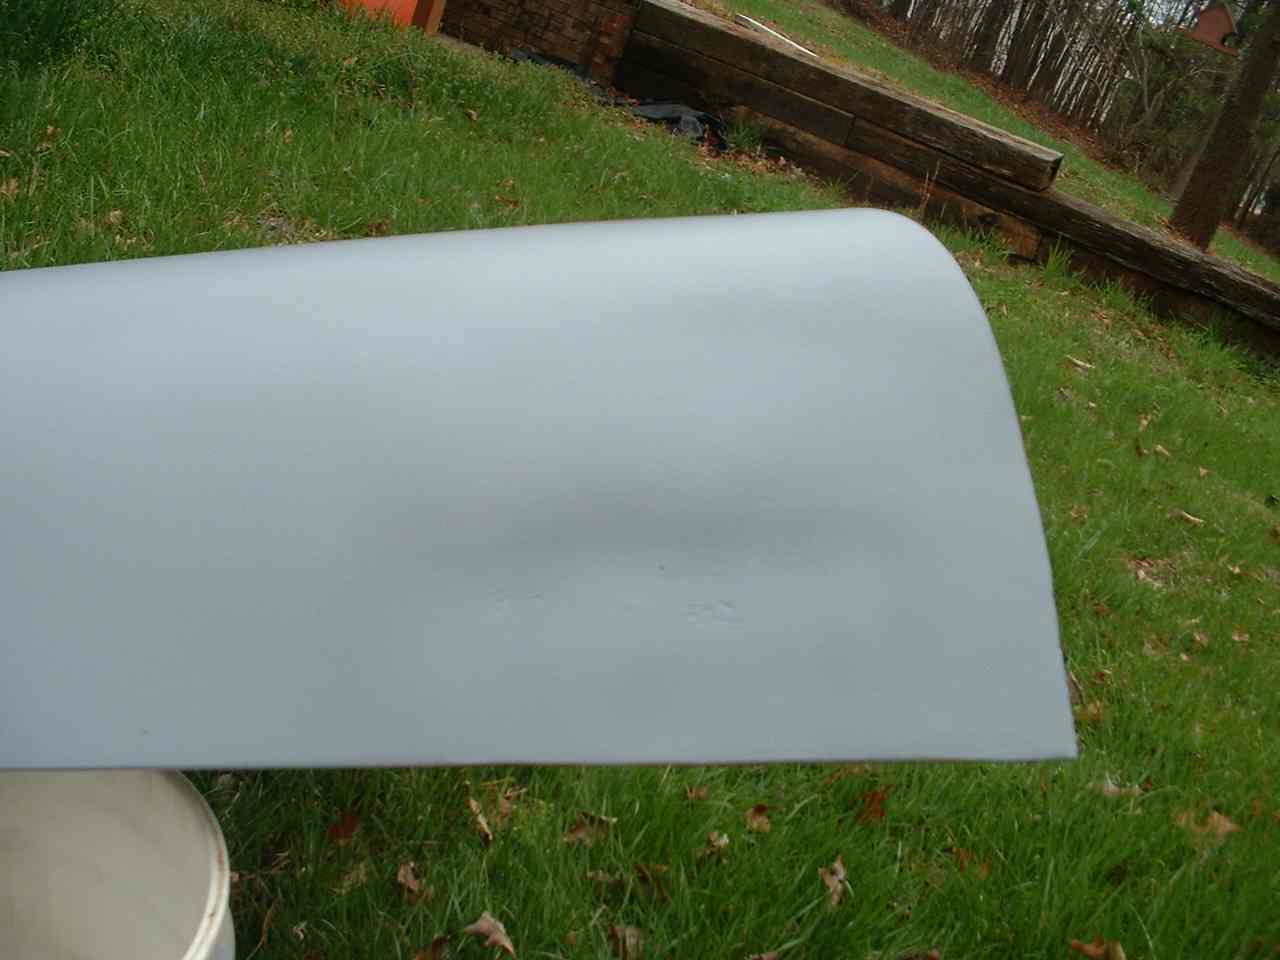
Rest of the hood was in good shape. Cleaned it good to prime her up.
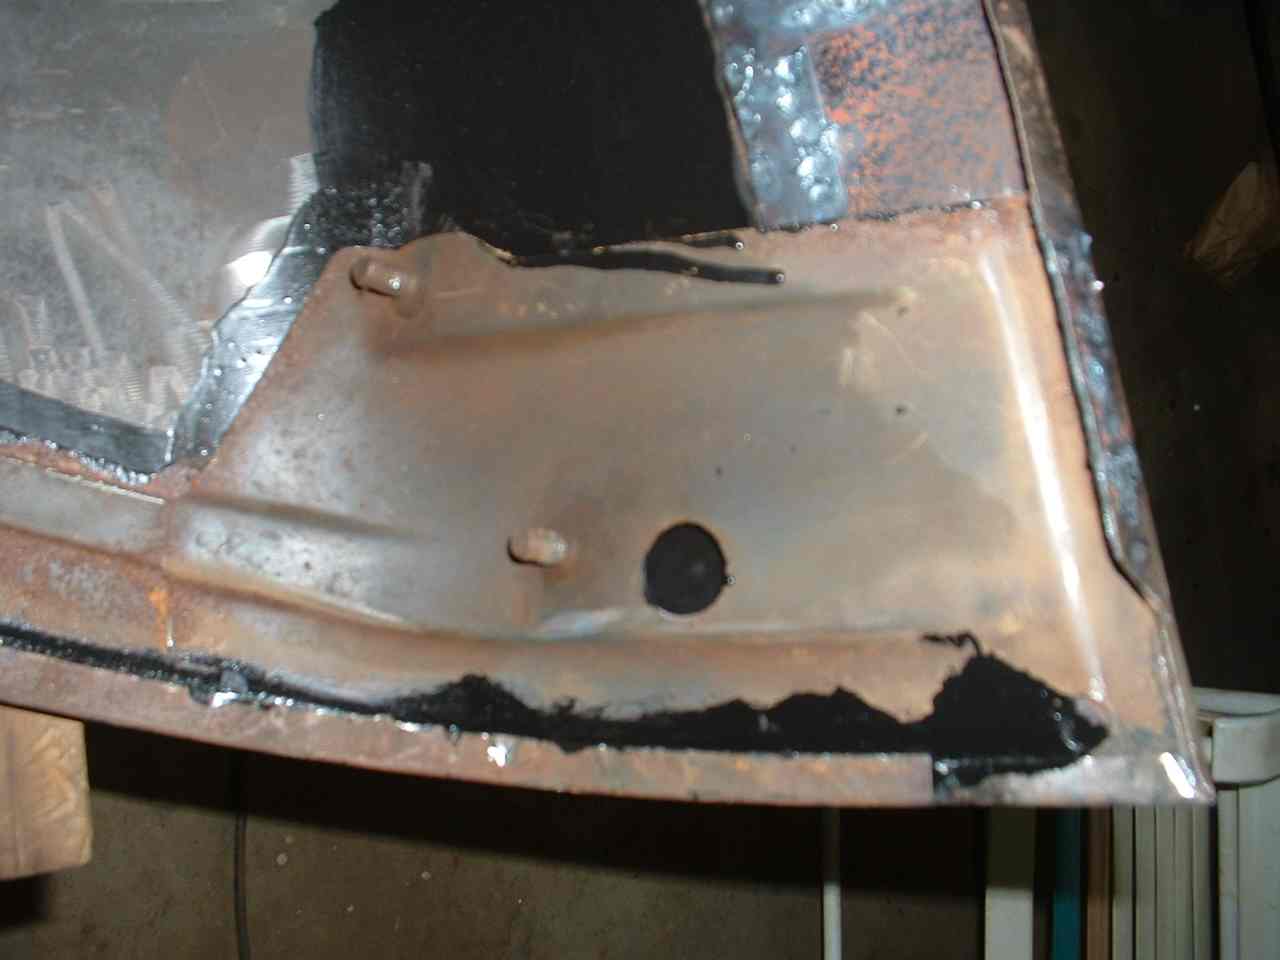
We folded the edge back and put sealer in to keep it from rusting

Another successful step forward. Nice finish inside and out.
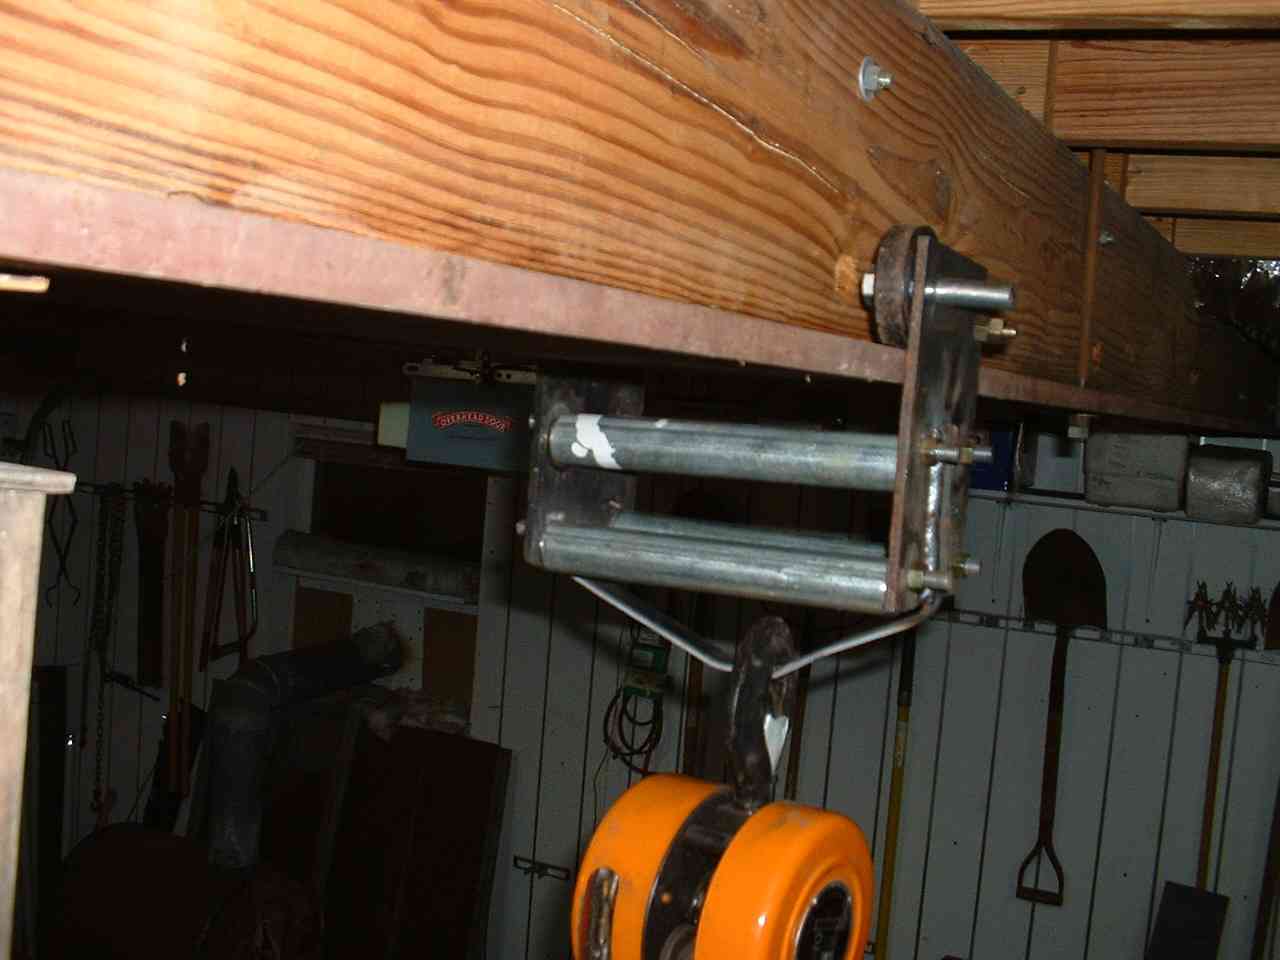
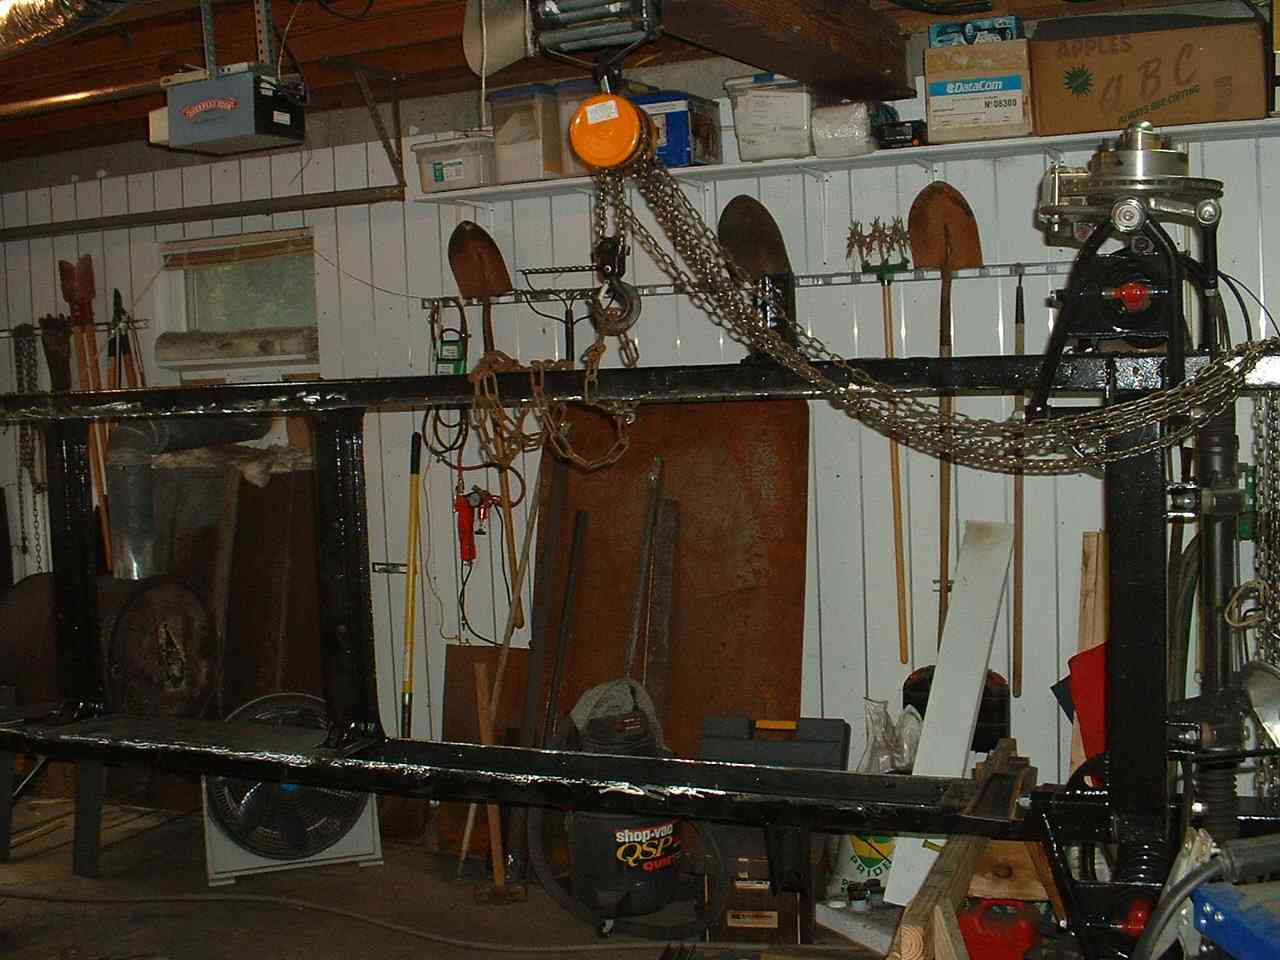
This is the greatest tool I bought since I started the project. Chain hoist. I made a rolling mount so I could roll it across the garage.
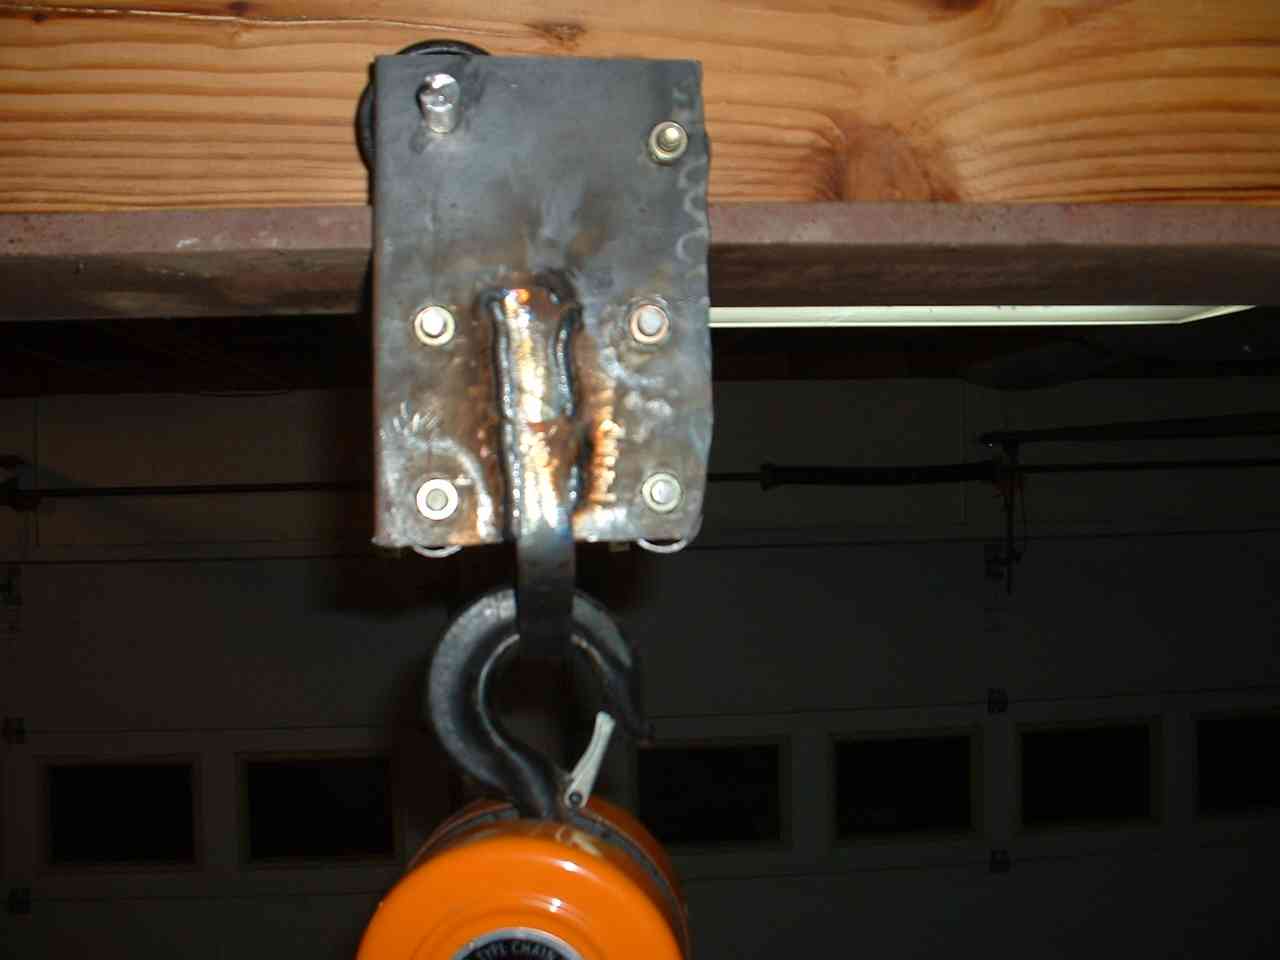
You can see here and in the first pic how it rolls on an I-beam that is a support for the upper floor. Great to be able to pic something up and...