OK, going to tidy up a few items here. He I'll finish up the shaping and squaring up of the bed. Then we moved on to working on the wood for the bed. Figured we better do this before winter weather set in. All of the cutting, planing and shaping had to be done outside. We also had to cut the grooves in the wood for the chrome bed strips.
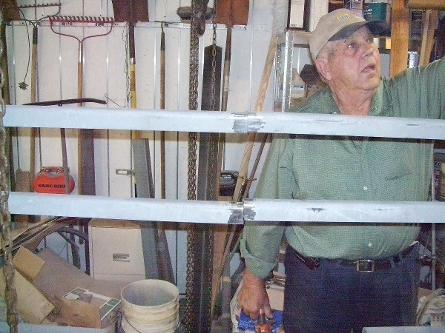
We knew the sides of the beds needed squared up a bit, tried to stand it up to work on it, but the lazy way didn't work
So we laid it down on the floor, and got out two big 12" steel I beams, a couple floor jacks and a 7 gauge steel box and prepared to cut the center braces.
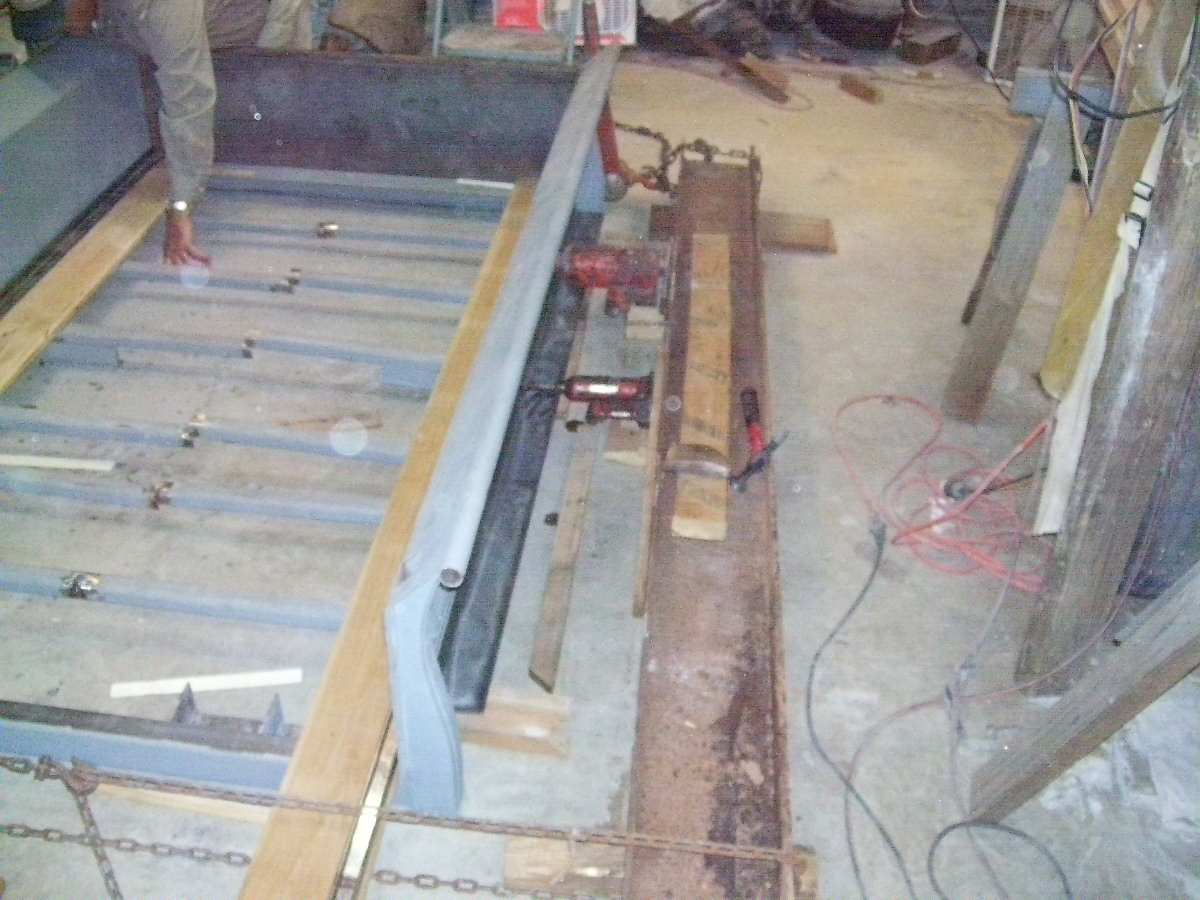
We knew the two ends were perfect; it was just a matter of making a straight line between them.
In these two pictures (above and left) you can see we put an I beams on each side.
Them we put the 7 gauge steel box against the bed and used two 2 ton house jacks to move it however it needed to move.
We cut the center braces that needed to be moved loose, pulled it all in line, and welded them back. Straight as a string up and down and crosswise also. On to test fitting wood.
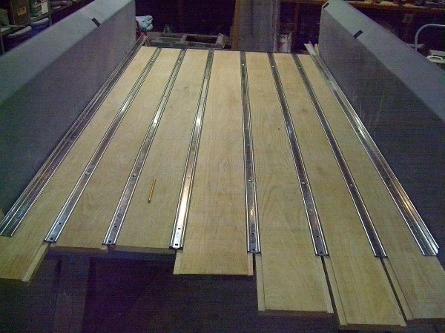
If you'll remember we purchased our chrome strips (which came pre-drilled). Then we used the holes in the strips to know where to put our cross members for the bed and we'd have a place to attach everything.

Found a nice day got Dad's table saw out and squared up all the oak boards. then run them through the planer to make them perfect.

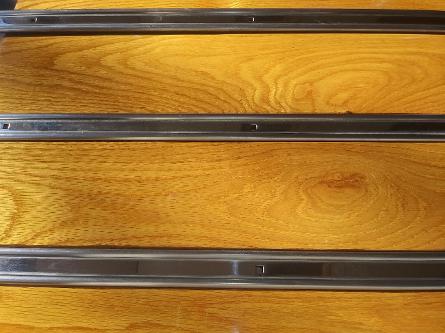
Then we cut all the grooves in the sides of the boards that the chrome strips fit into; If you look close you will see our 'test fit" with the chrome strip in it. Looks about perfect.
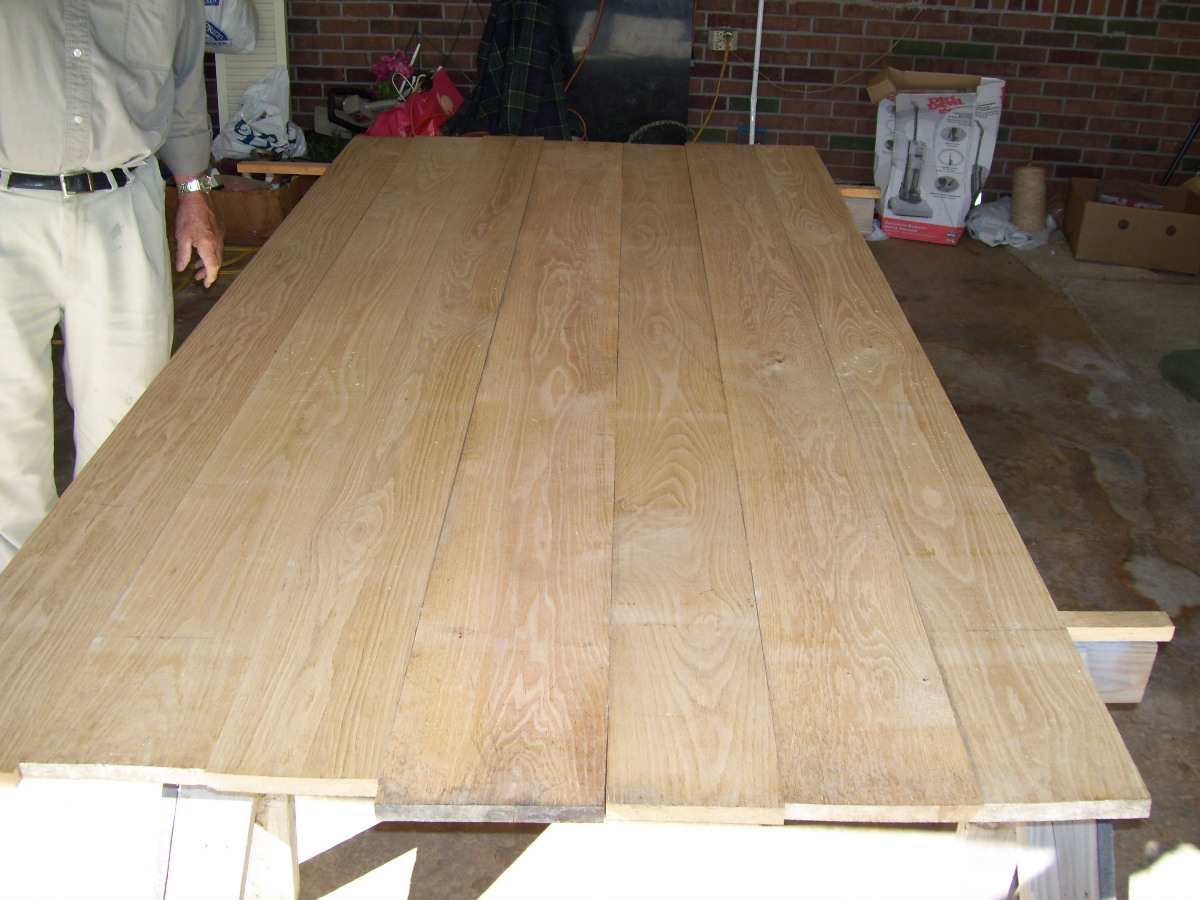
This is the boards cut and laid out how I want them installed, they should look good when they are finished. You'll notice the center board is widest. I plan to put the fuel inlet in that one.
We knew we wanted the gas filler located in the center of the widest board, so here we are laying them out for fit.
Starting in the center and working outwards we drilled holes and mounted each board to the bed bracing.
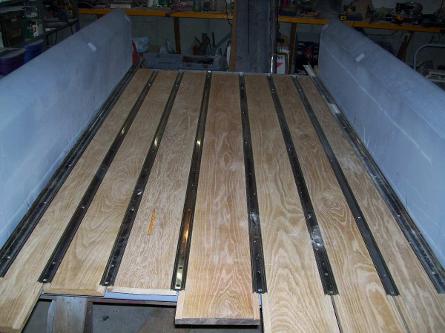
We made sure each bolt would slide easily into each hole so as to go in without trouble after the boards are sealed and truck is painted.
Here is a small pic of them finished. I applied three coats of marine use Spar Urethane and followed that with four coats of varnish.
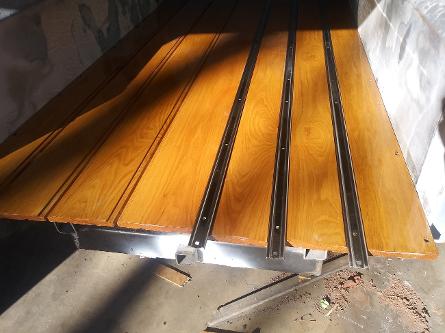
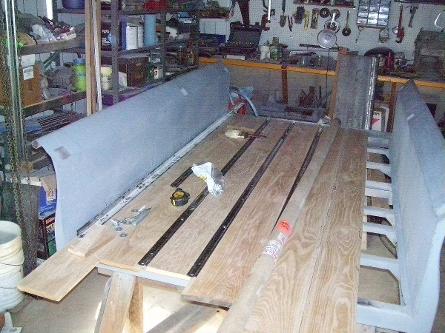
I laid all of them in the bed as a test fit. They are not cut to exact length yet. You can see I placed a few of the chrome strips in just to see how it would look.
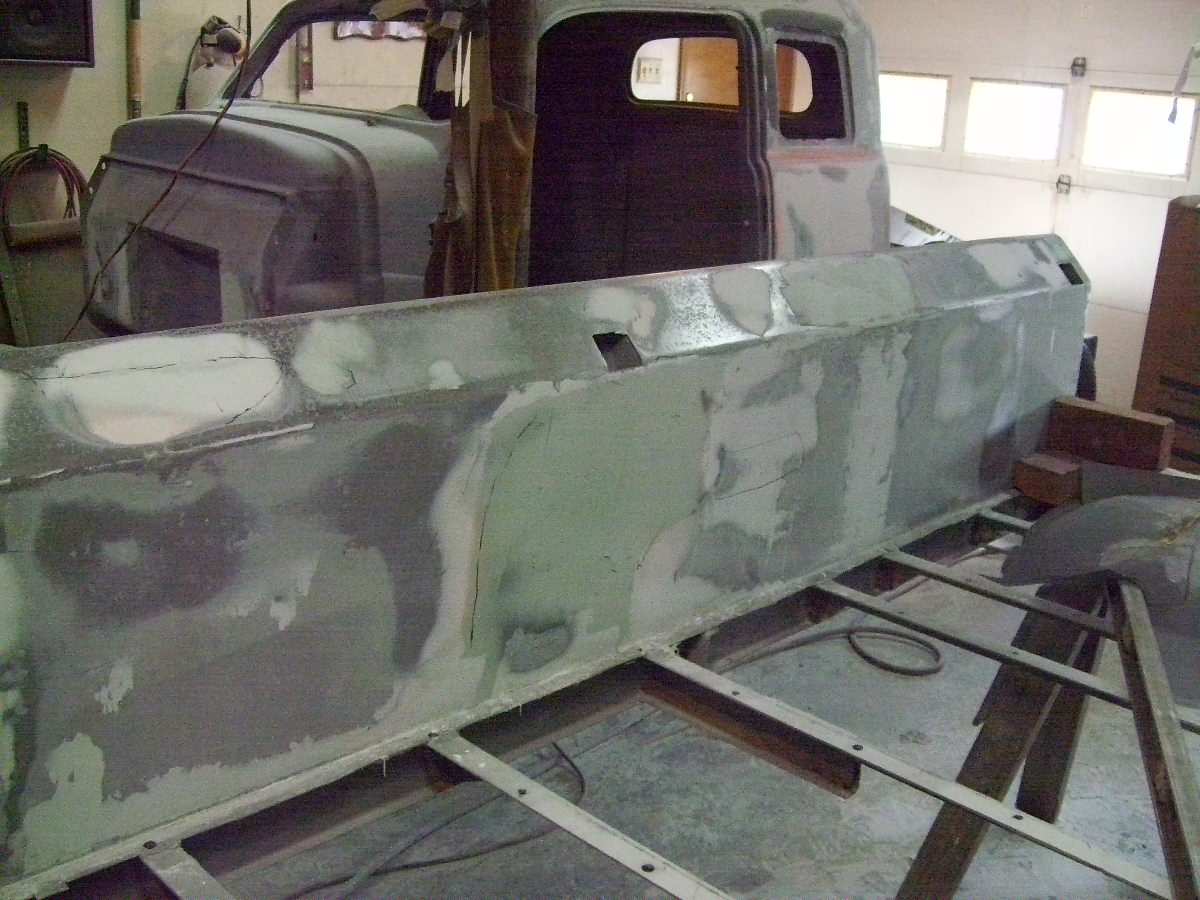
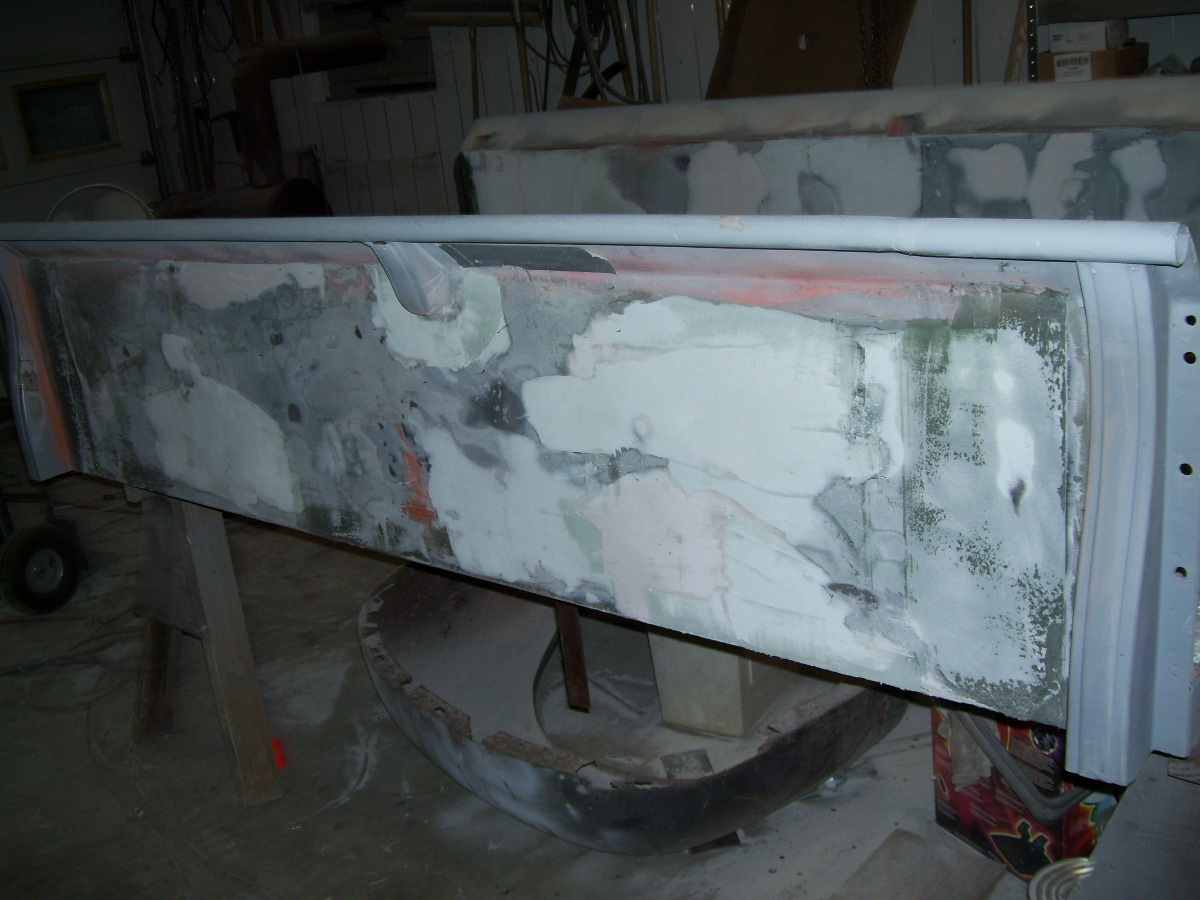
With everything squared up, and the wood bed test fitted, it's time to get to work making this bed look good. This old bed's saw a lot of years.

If you look close you'll see a stack of bricks at the end, and a 6 foot level across the bed. I used this as a gauge to show what was low and what was high
Since it's cold, and it takes the filler longer to dry, I can't sand the day after I fill. This is just starting the outside of the bed.

Cold weather is setting in here. We use the 55 gallon drum we fashioned into a wood stove to keep warm. I can make it 85* in the garage to dry the bondo easy.
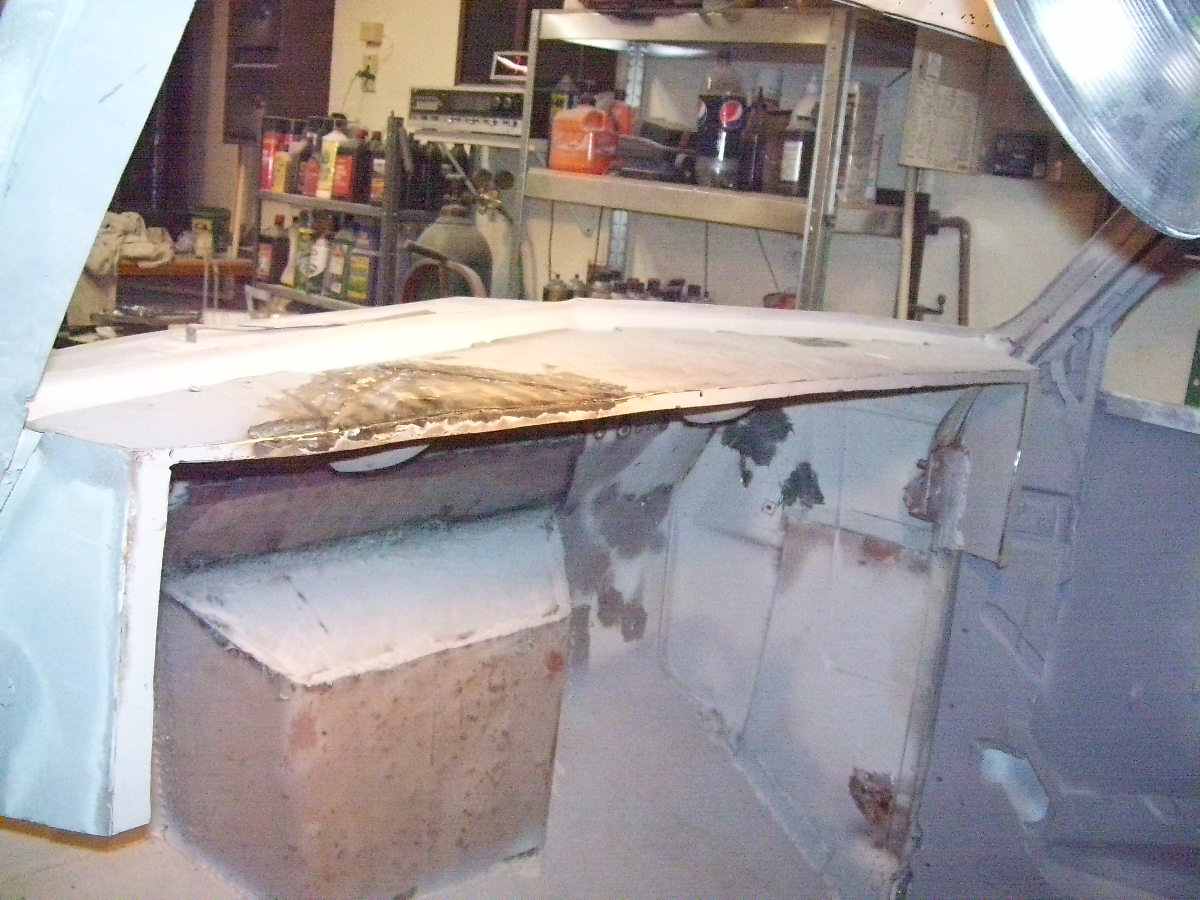
I thought I had a pic of this posted previously. What this is, is the 'original' way I intended to re-do the dash. It first had a totally flat face, and I had planned on covering it in oak. I decided to go another way
These old Studebaker dashes are just to pretty NOT to use. Also it keeps some of the originality of the old girl. It will need a few modifications since I plan on putting in new modern gauges
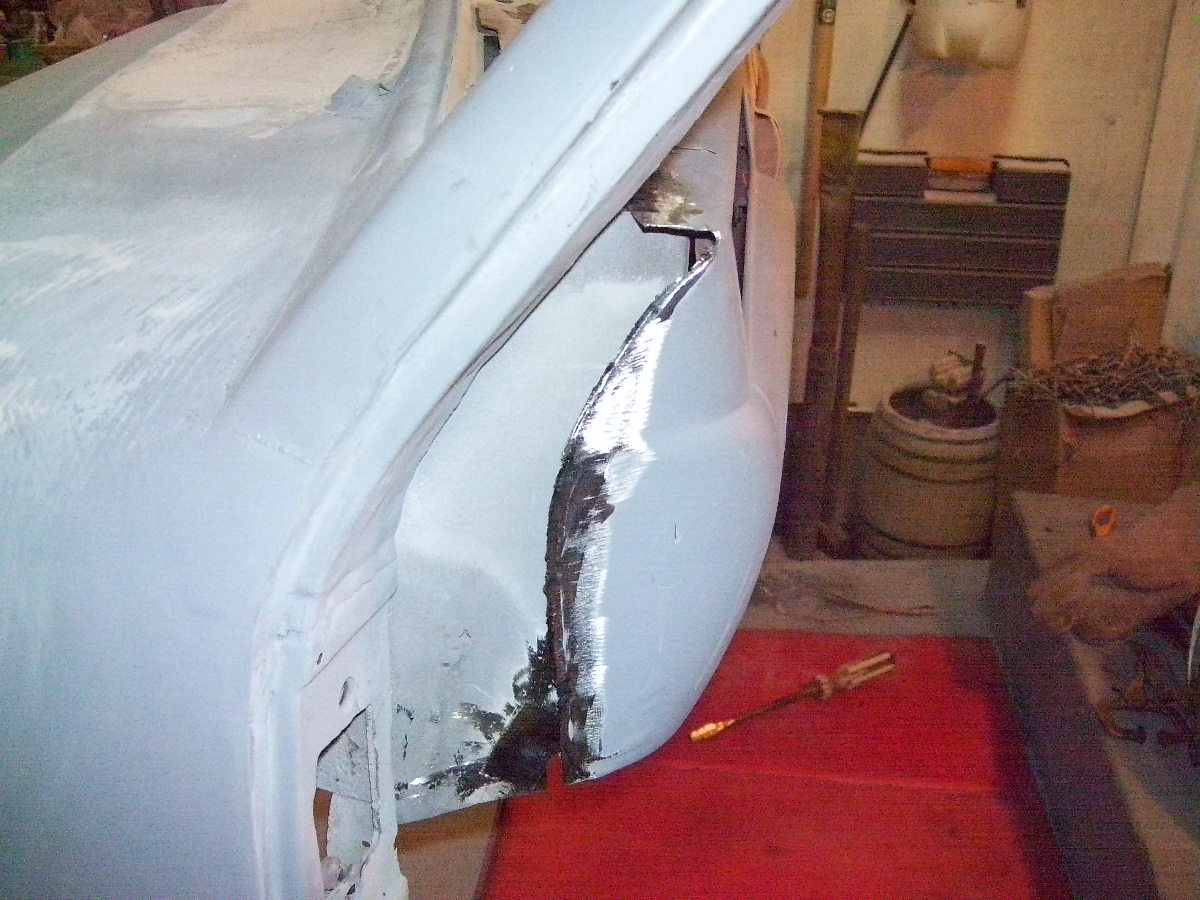
Of course when you try to mix the old with the new you run into complications. Due to putting a Hot Rod air A/C system, I had to extend the dash out a couple inches for clearance.
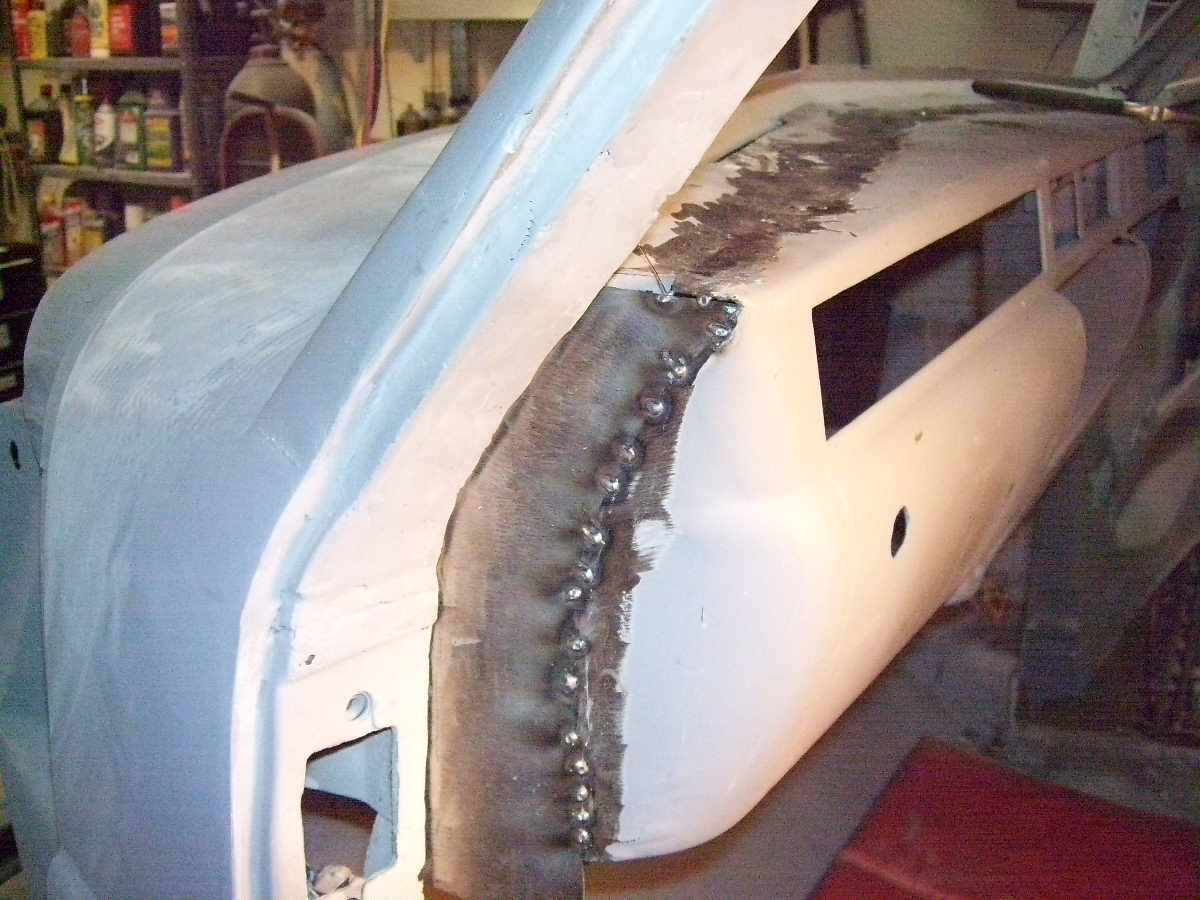
You can see there the metal has the paint off of it is the 'original' end of the dash. I'll have to add a piece. Here you can see the piece I fitted and welded in to give it the original look.
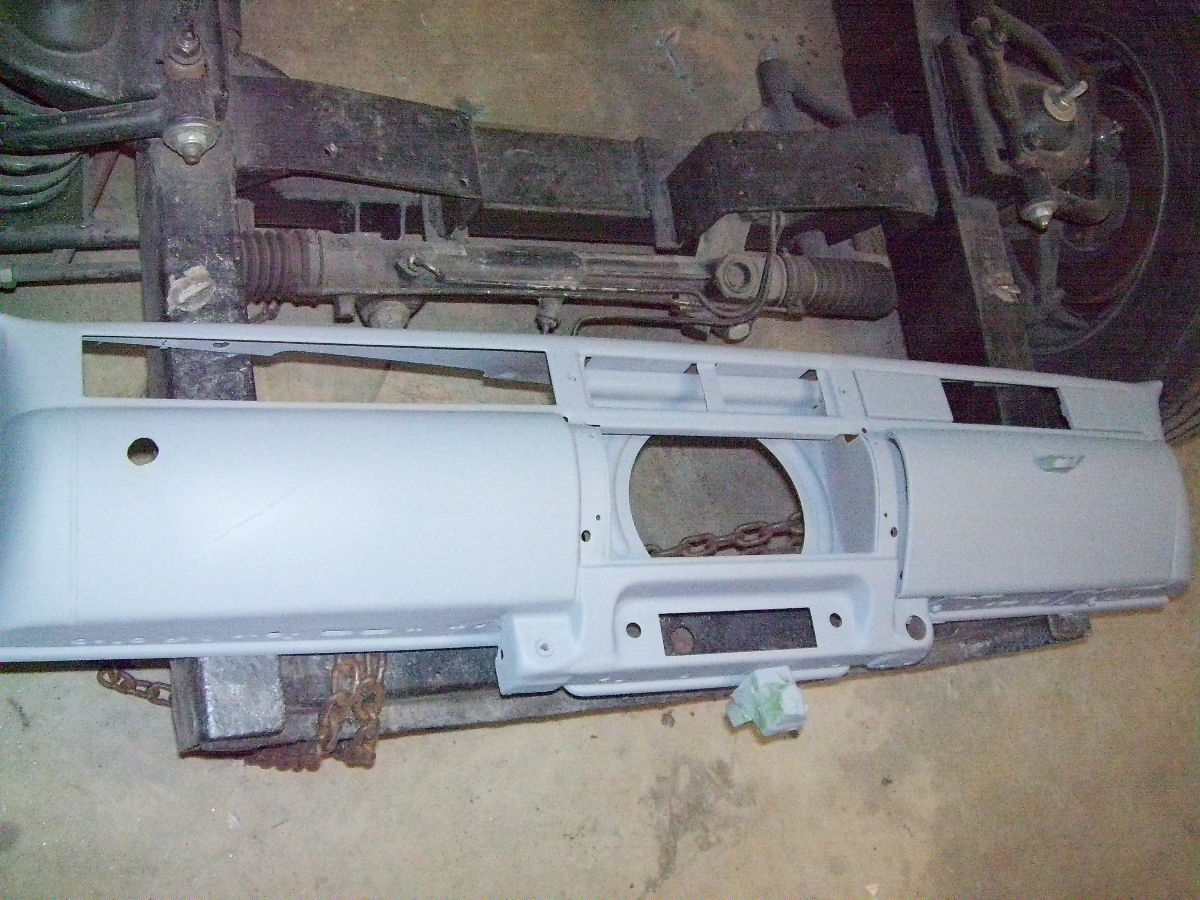
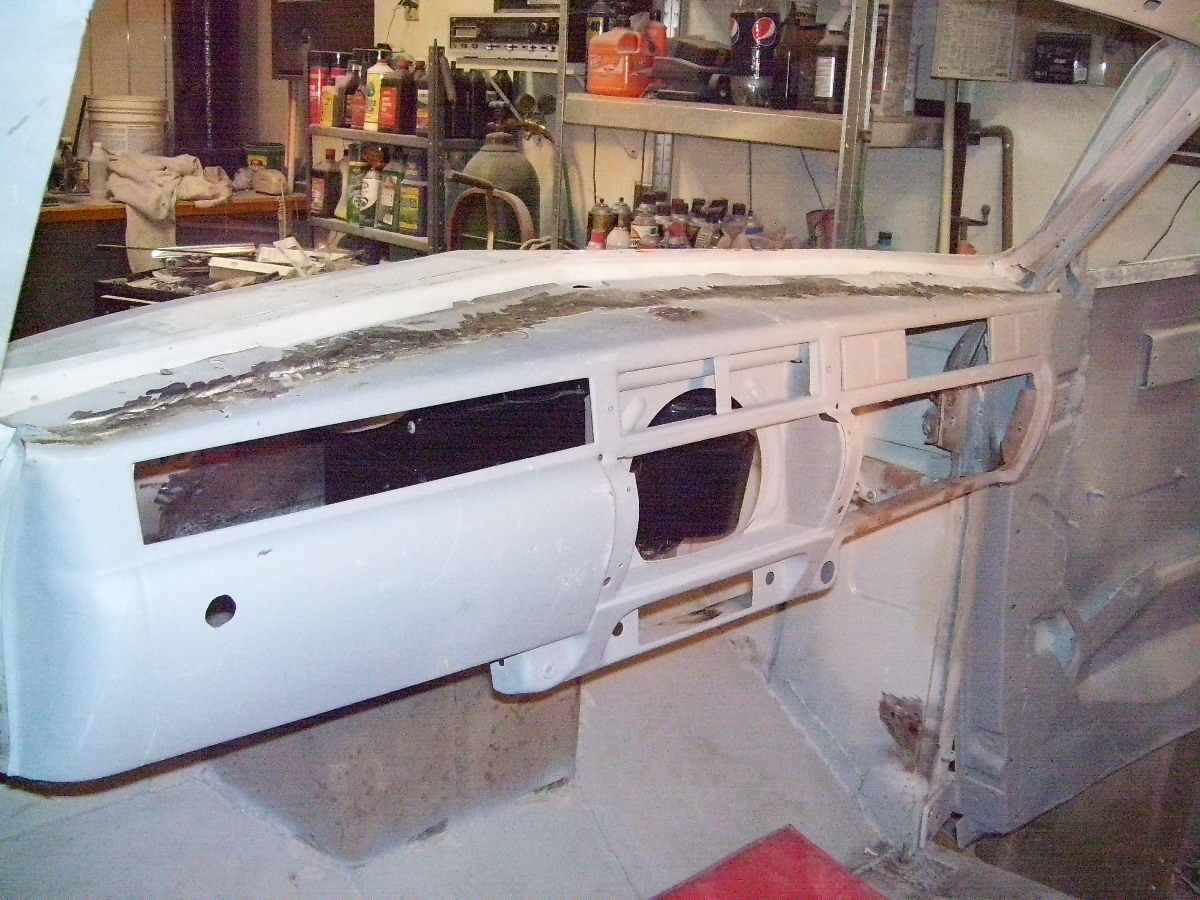
As mentioned,I decided to use the original dash. Here it is all blasted and primed. Of course the original gauges don't work so I'll have to upgrade them.
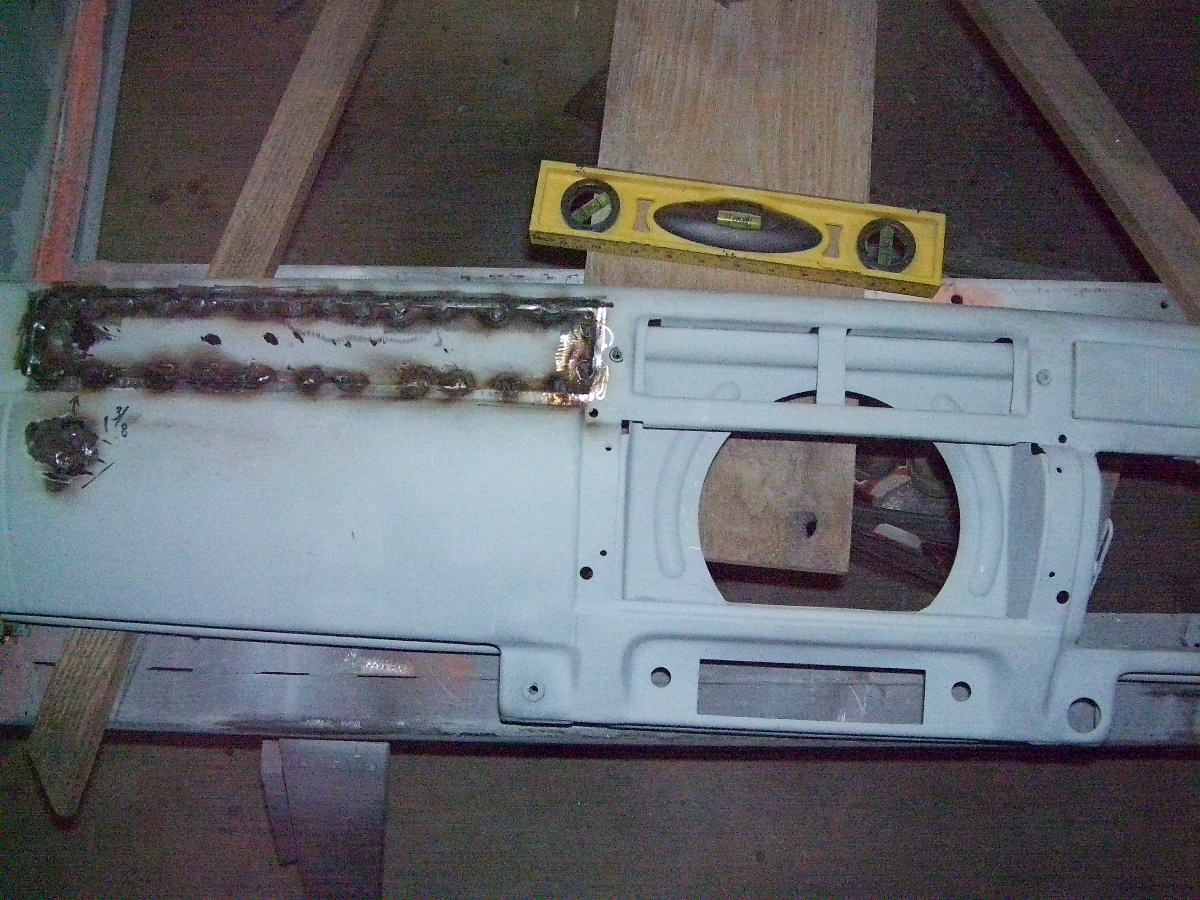
I blasted the area around the original gauges. Then welded in this piece. Ready to fill it in now.
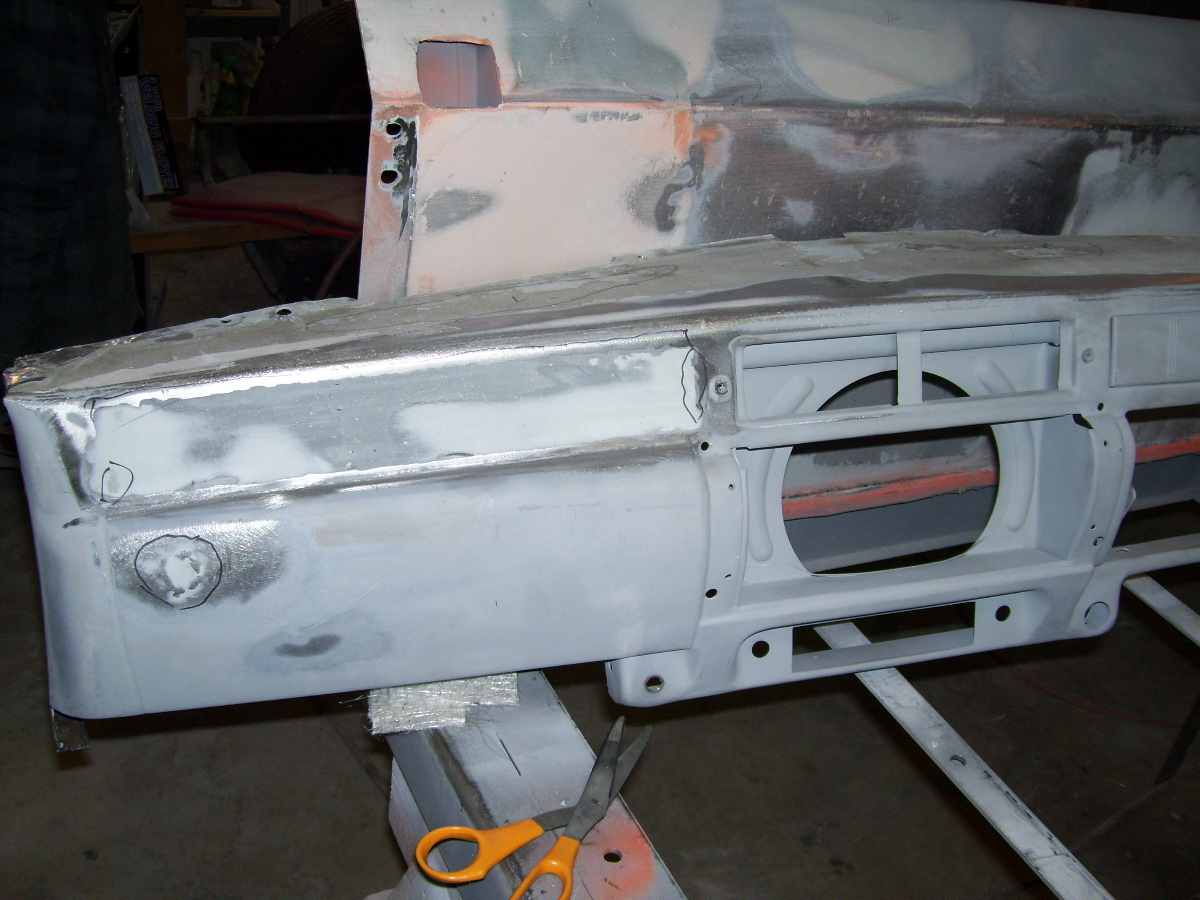
I failed to mention that when I welded the piece in; I put it behind the opening (saved having to work so hard to smooth the metal) Then I filled in the spot with fiberglass filler - should make it perfectly smooth when done. Probably can't see it but I marked a couple places that still need a little filler.
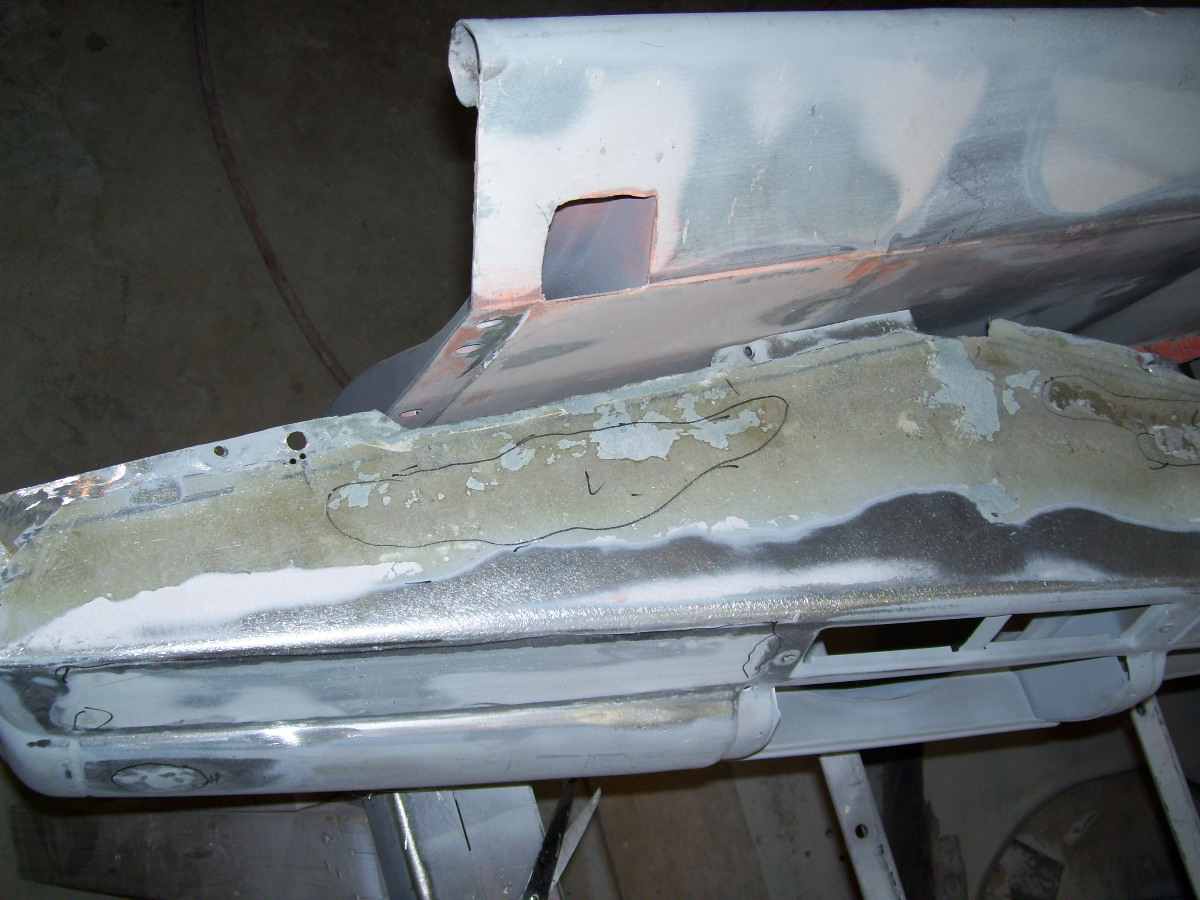
Here is the modified dash from the top. I duplicated the original 'edge' that goes against the windshield. You can see the cut outs for the defroster vents, and shrew holes that hold in the dash. You can also see where I have it marked with a "L" in a couple spots that needs a little filler to make it perfectly smooth.
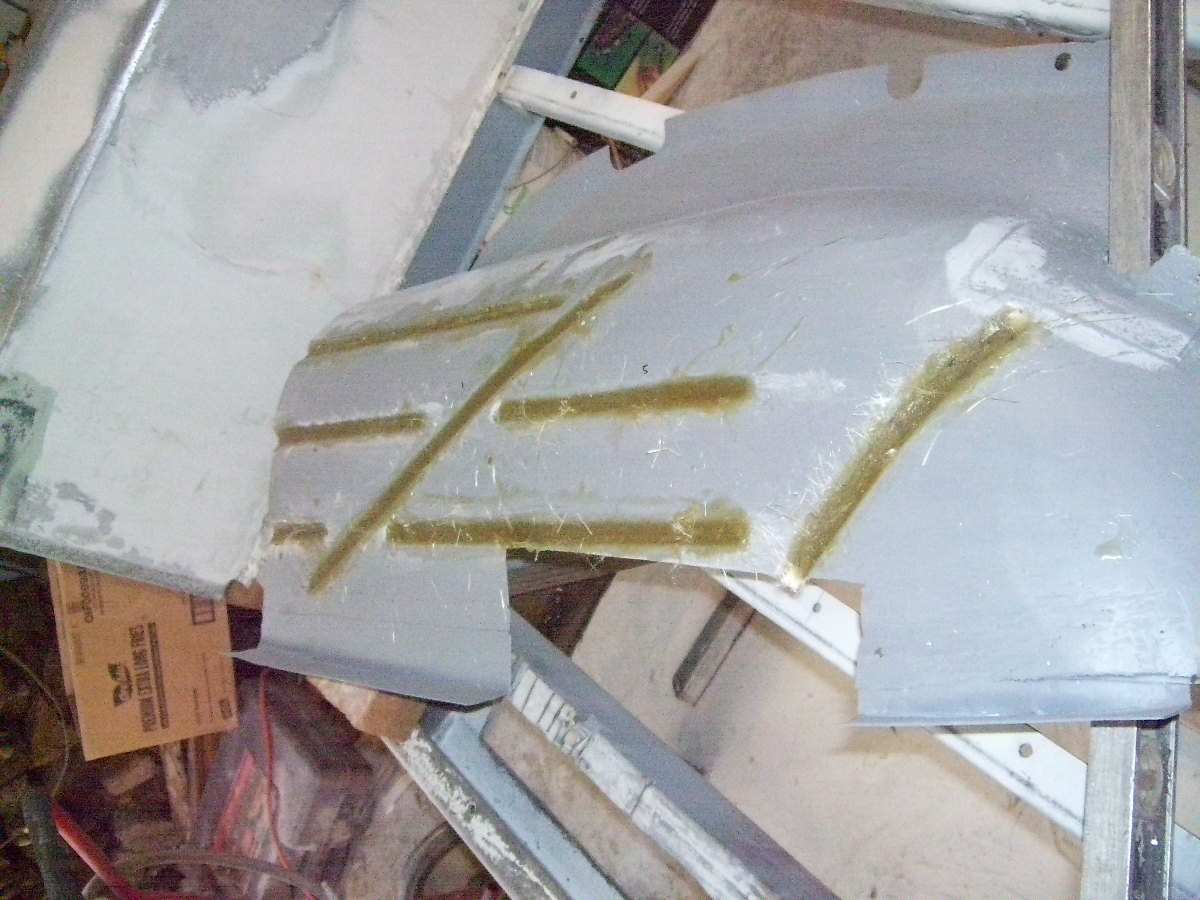
I decided I wanted the inner fenders to have a smooth finish, so I got some fiberglass cloth and resin, and filled in the low spots. Don't want it to crack so I went with the fiber cloth.
After sanding it down, I sprayed on the paint to show the low spots and then filled those in with fiberglass filler. Need to sand that off yet
Got a REALLY nice day in the middle of winter to slip out and do a little sandblasting
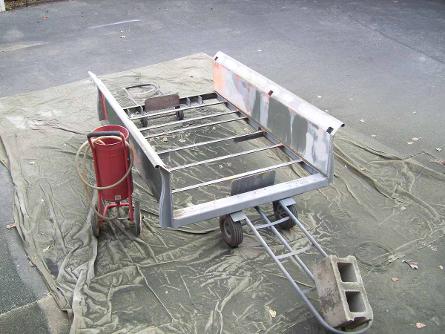
I needed to do a little blasting on the bed. PROBLEM how do you move something like this by YOURSELF. Check out the two truck dollies. I put one under the far end, and one on the closest end. (notice I used a block to keep the dolly weighted down). Then I just easily drug (rolled) the bed outside; did what I needed to do; moved the block to the far dolly, and drug it back in. Easy easy..
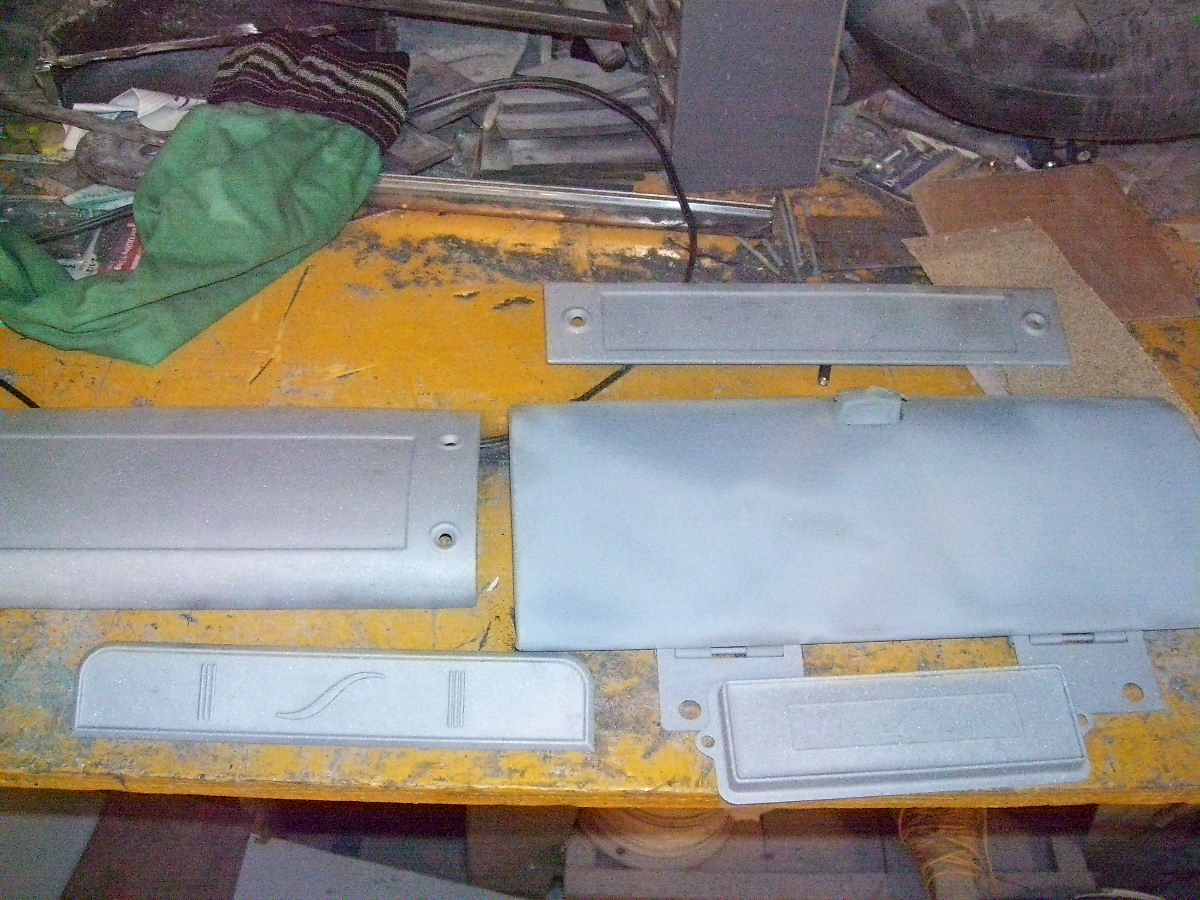
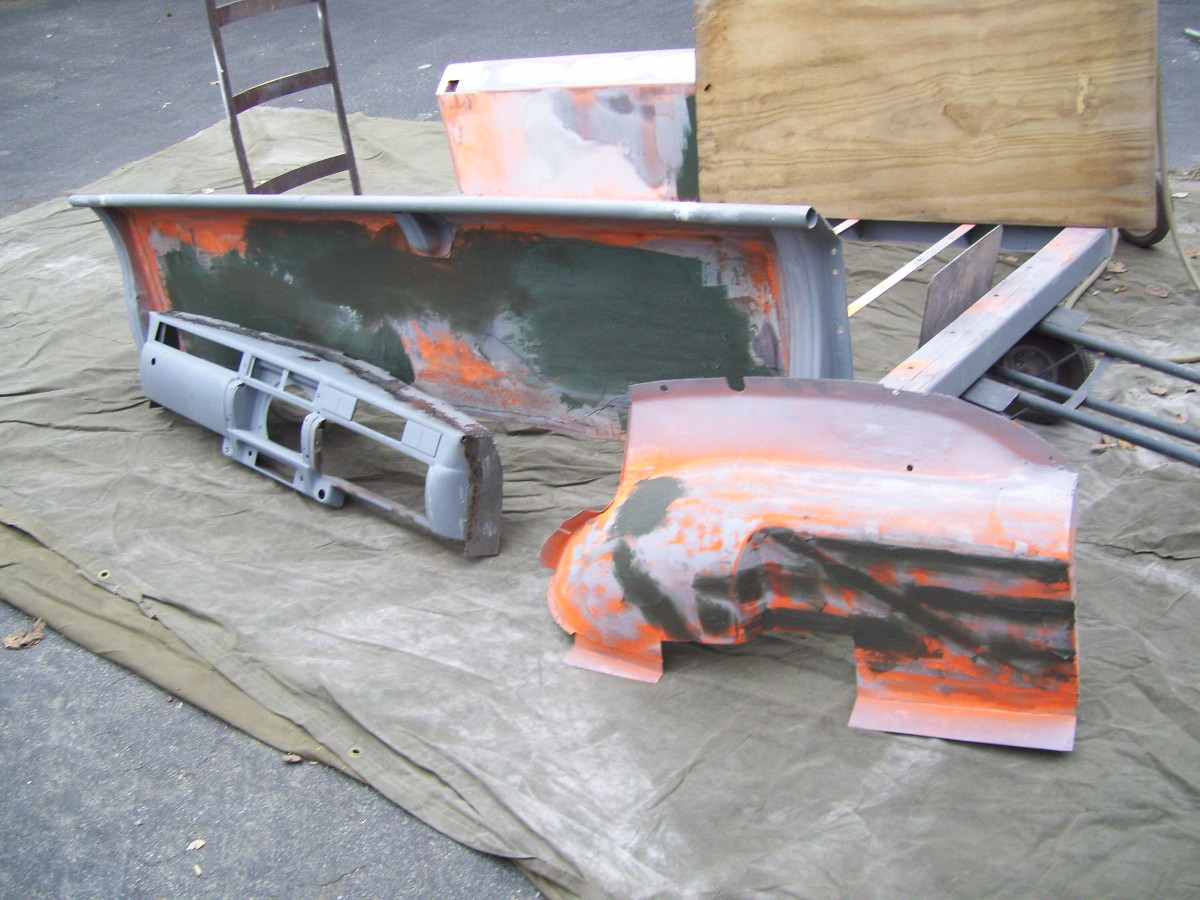
Here is the rest of the dash panels. I plan on using them also (especially the ones with any type of Studebaker insignia on them)
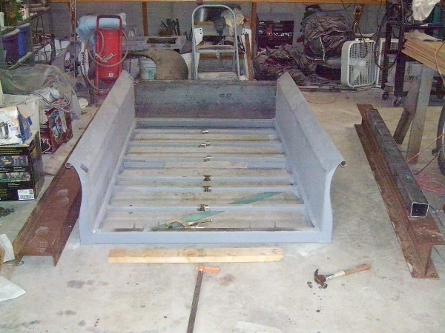
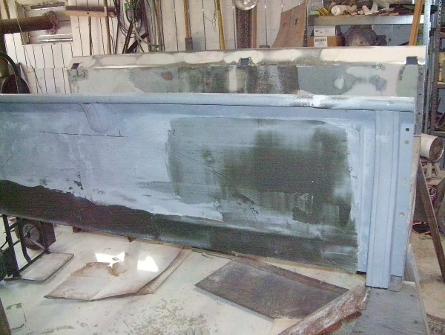
Above I had a pic where I first started working on making the bed straight, here it is almost totally completed. Next I plan on mounting my fenders; then having a buddy come and help me order my wheels. I have NO idea how to figure out what back spacing, etc I'd need.

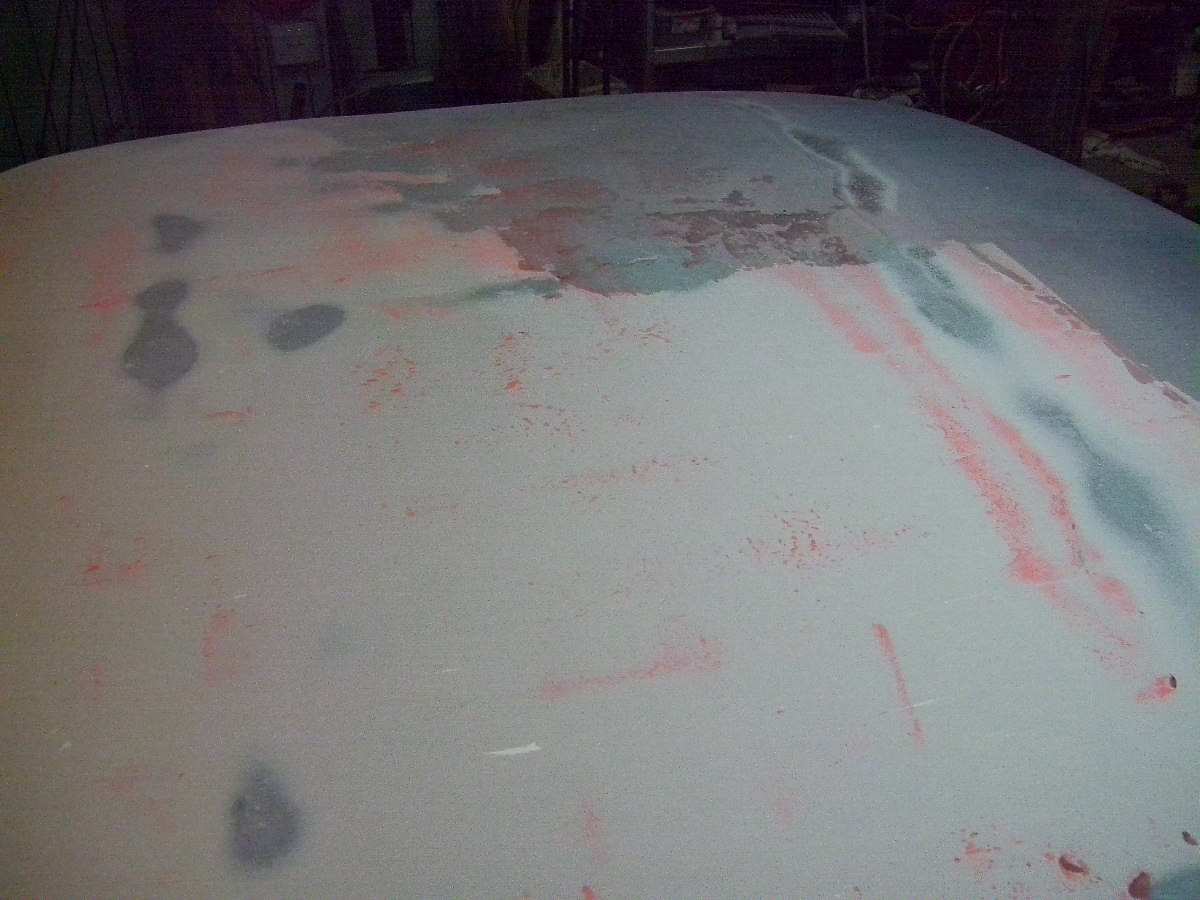
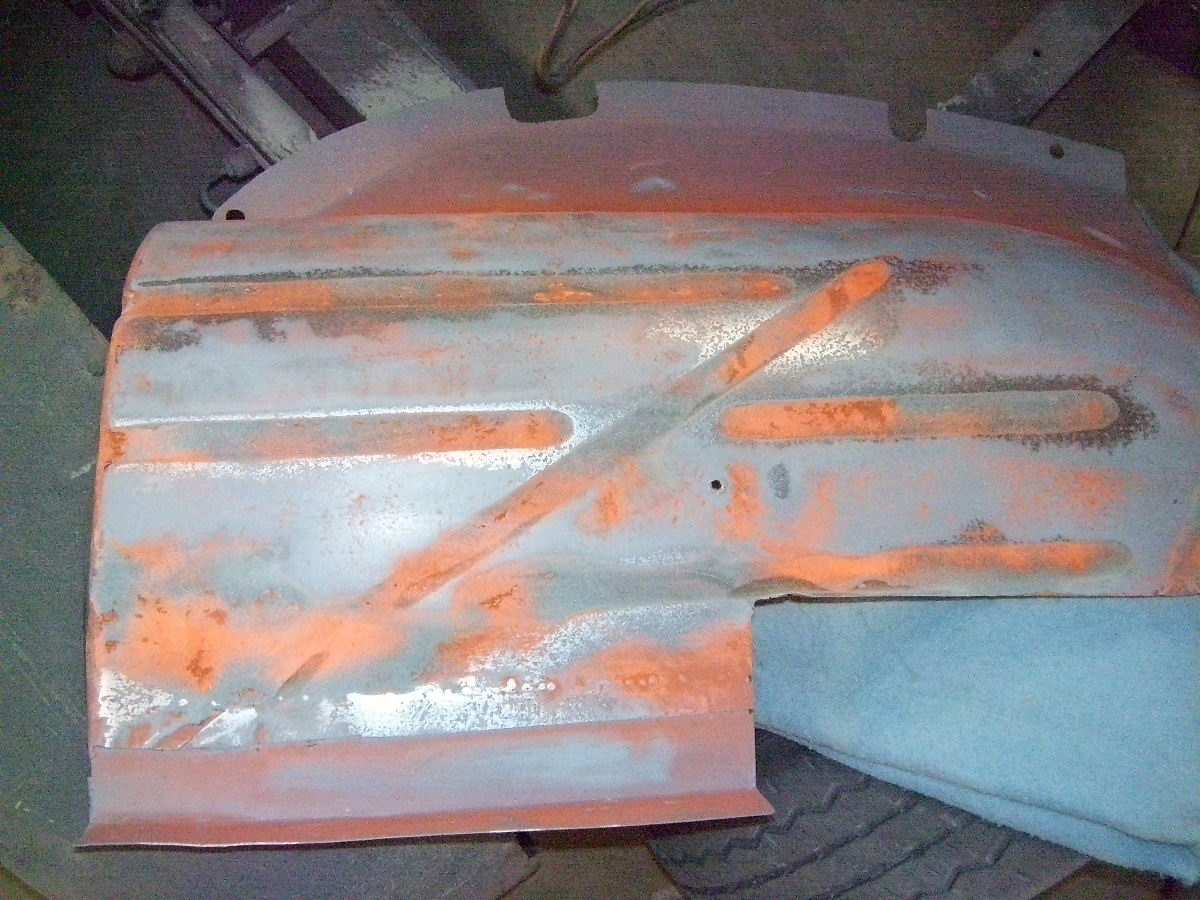
Here is where I left on on the roof. It's been lightly painted (just a 'dusting') to use as a 'paint guide'