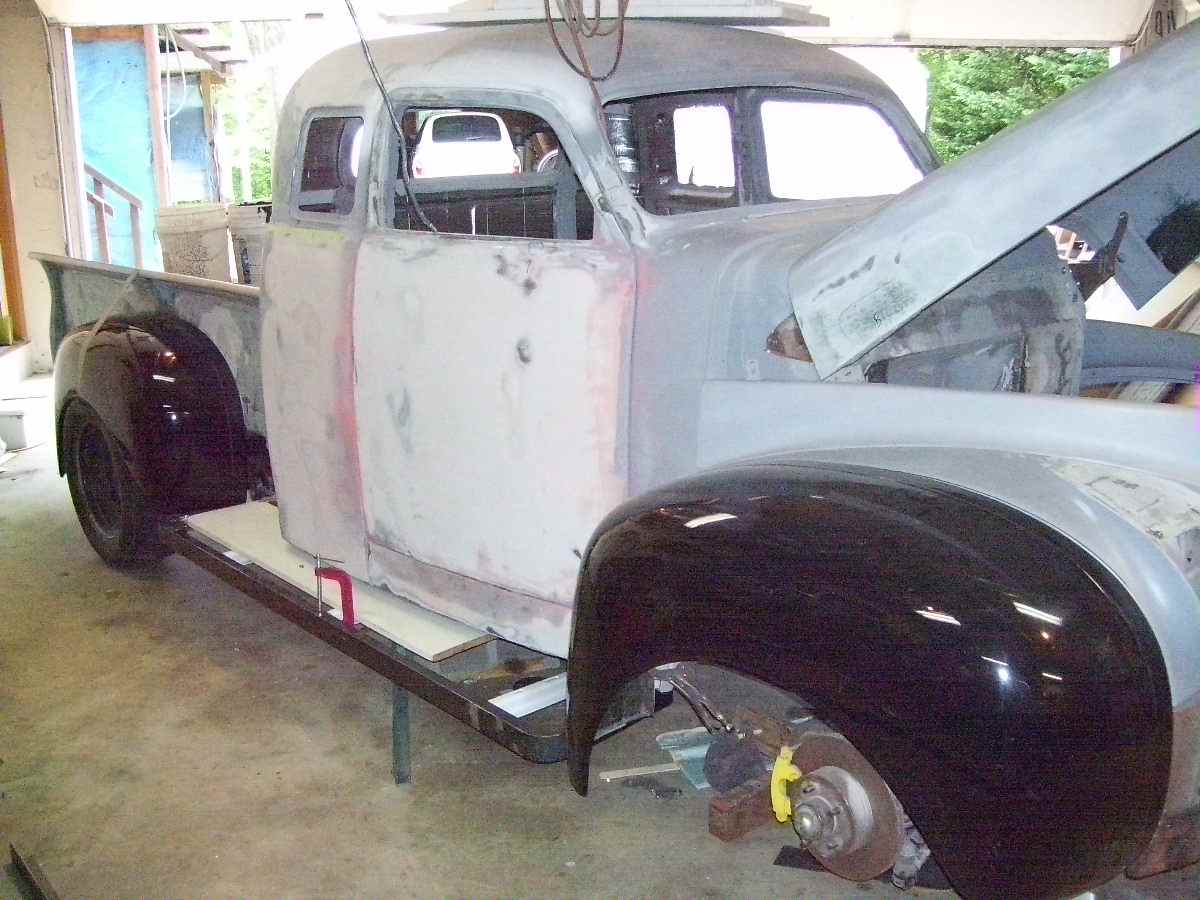
OK... going to do a little work on raising the bed and it's mounting points. If you remember we cut a notch in the frame so the truck would have the proper ride height. So when we did that everything 'dropped'. It also dropped the bed on which were mounted the fenders,.. so that made the fenders lower than I wanted them. So this was the solution

So first we had to determine how much we needed to raise the bed. SO we tried various heights, and checked each time to see how it looked. This is what we put in front - about 2 1/4 inches to start with. Later we diced to raise it another three inches.
This is what we put in the back, it was originally about 2 1/2 inches. Of course we added the three inches in front also. Each time we changed we check to see how the tire fit inside the fender. This gave us the best overall look. This left us with a level bed from front to back.
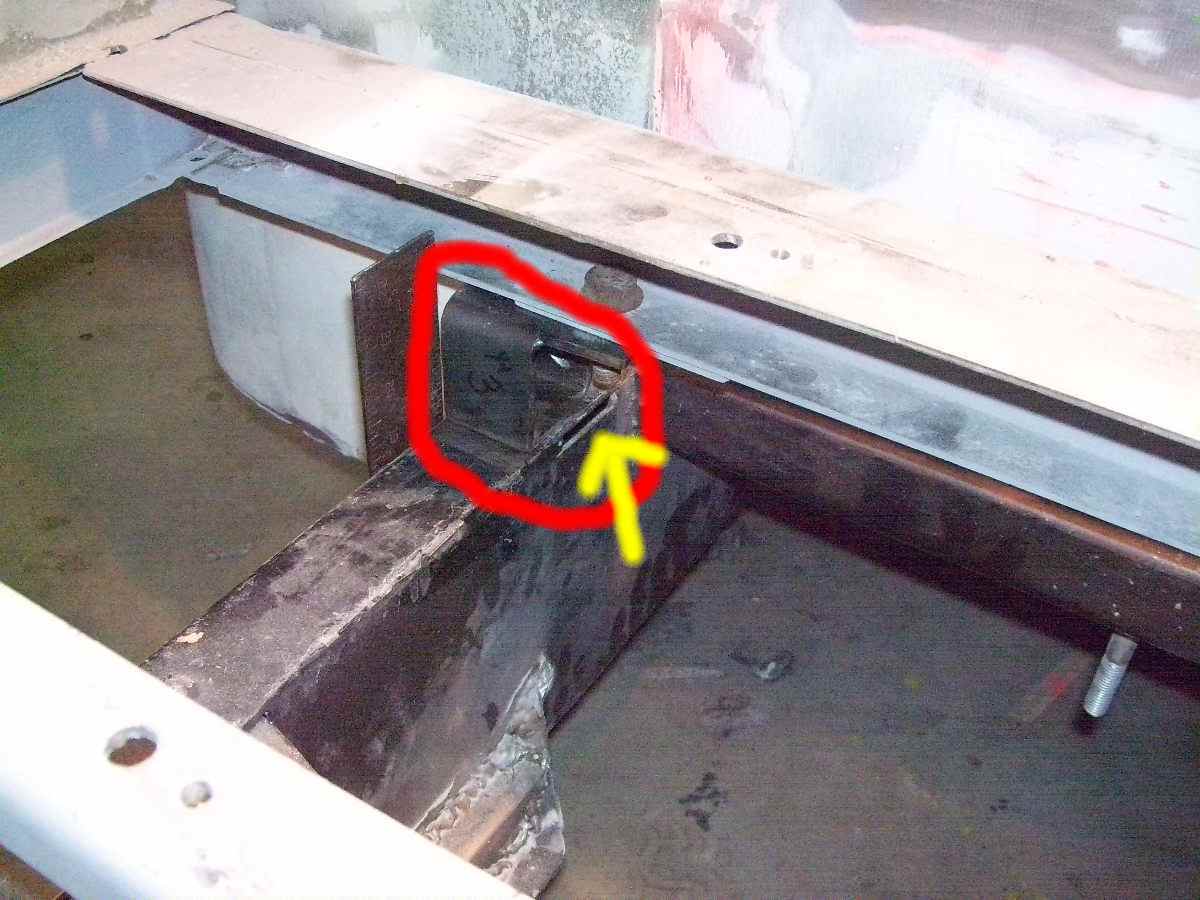
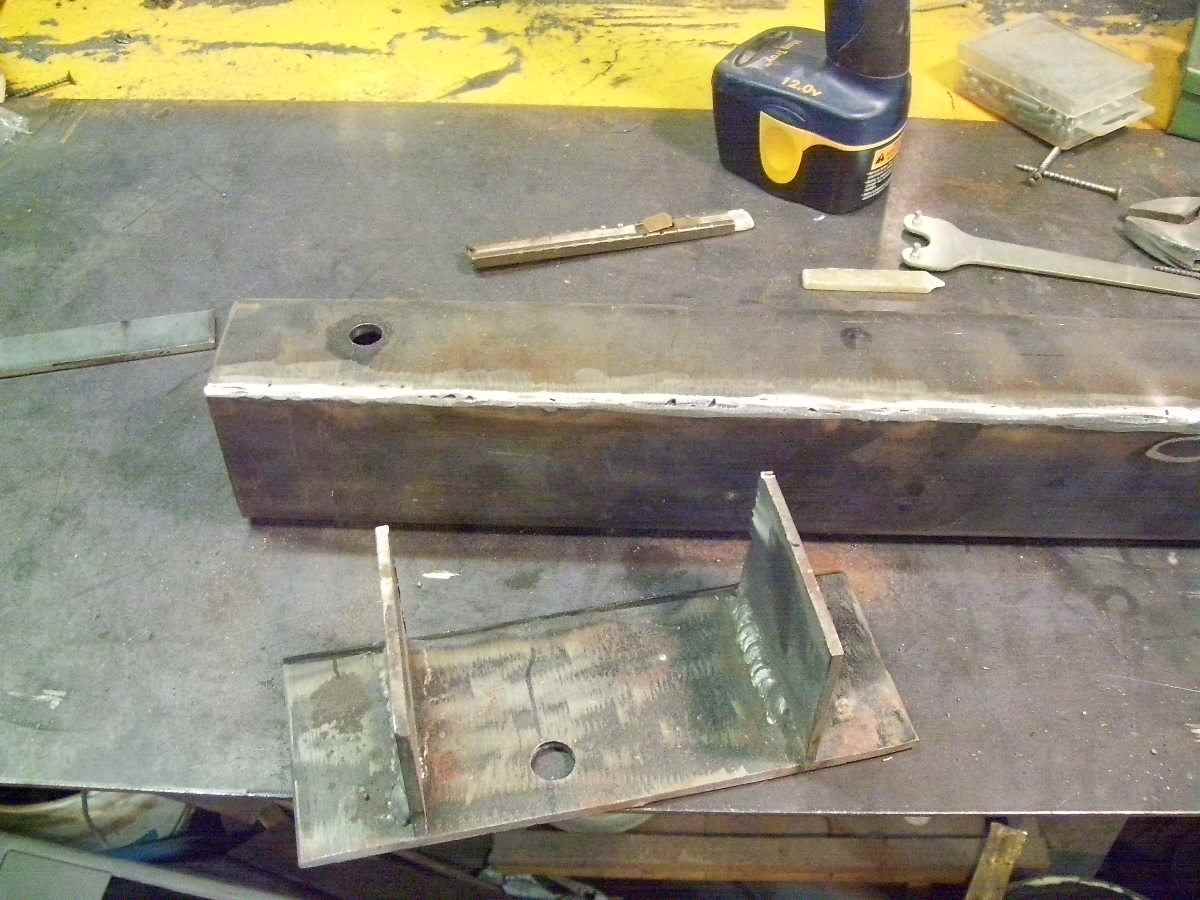
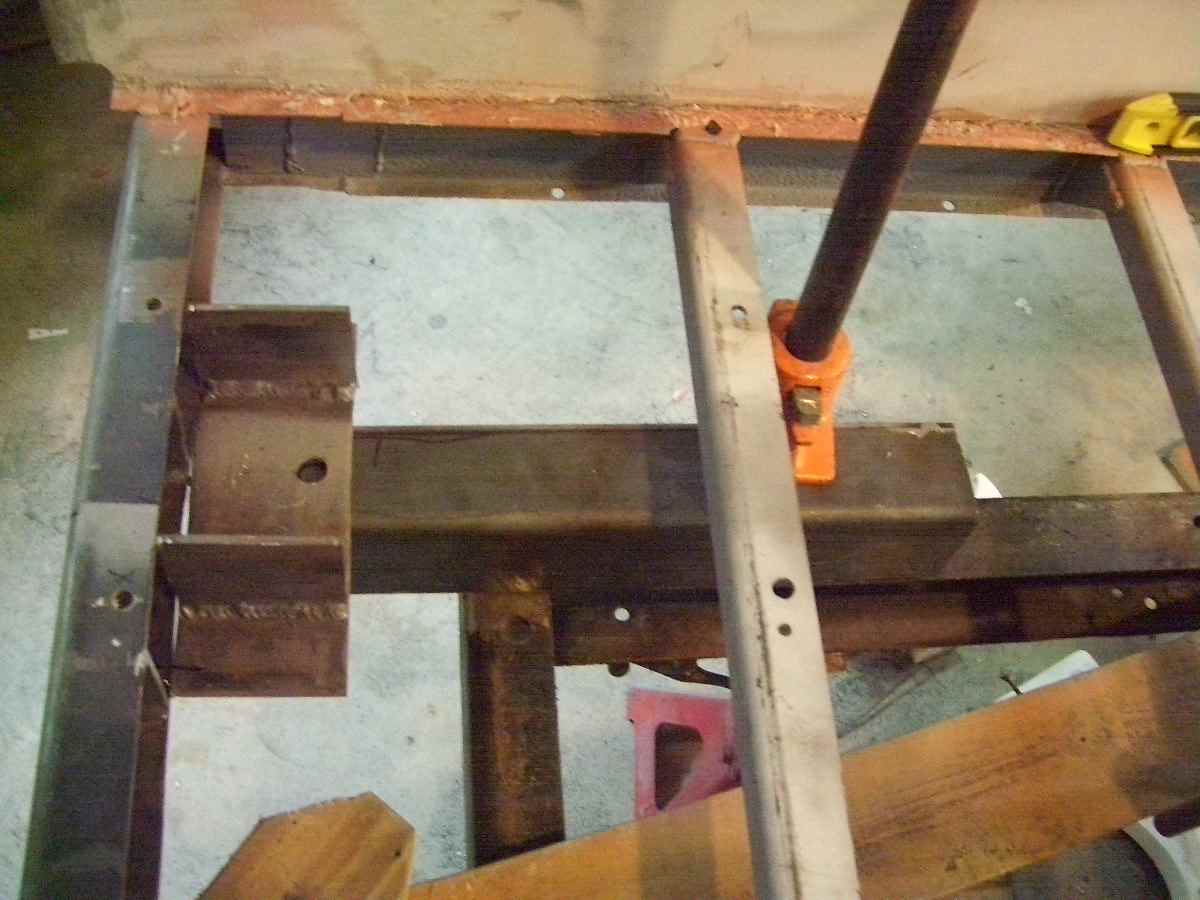
OK. I'm going to try and explain what you are seeing. This is a steel riser I made for the front of the bed to sit on. (It's inside the red circle). The yellow arrow points to the original mounting point where a piece of steel bolted on to the frame itself
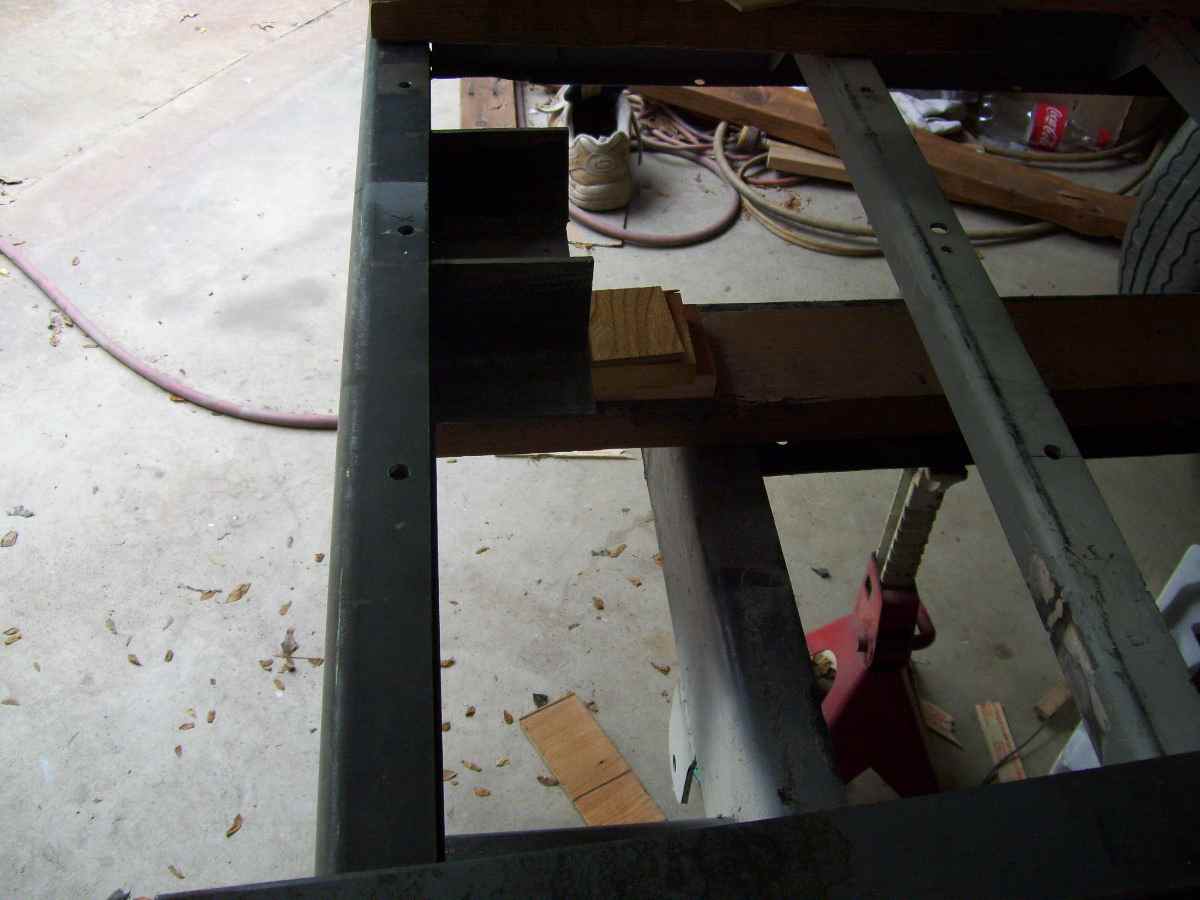
Hears a view from the center of the truck looking toward the outside frame rails. You can see the riser, and under that the slot we originally intended to use to bolt down the bed.
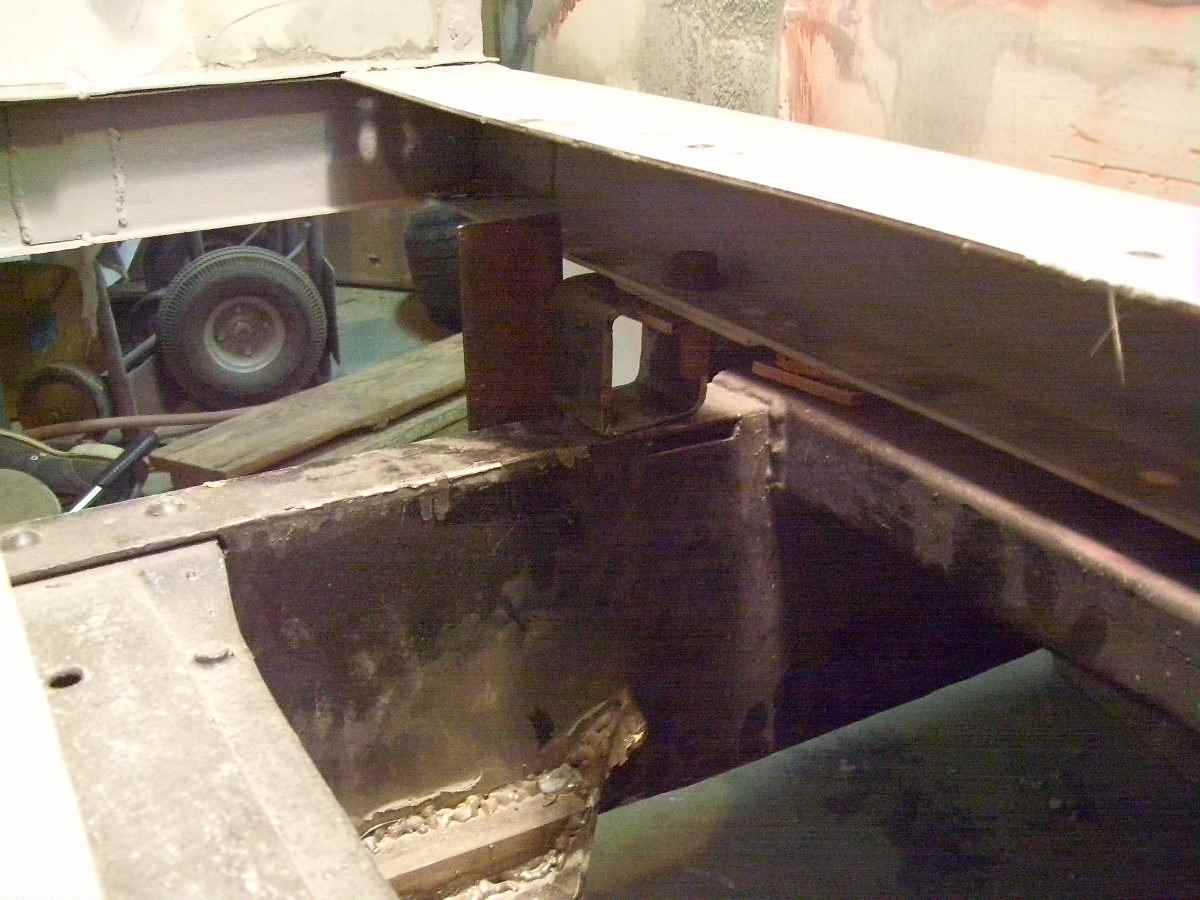
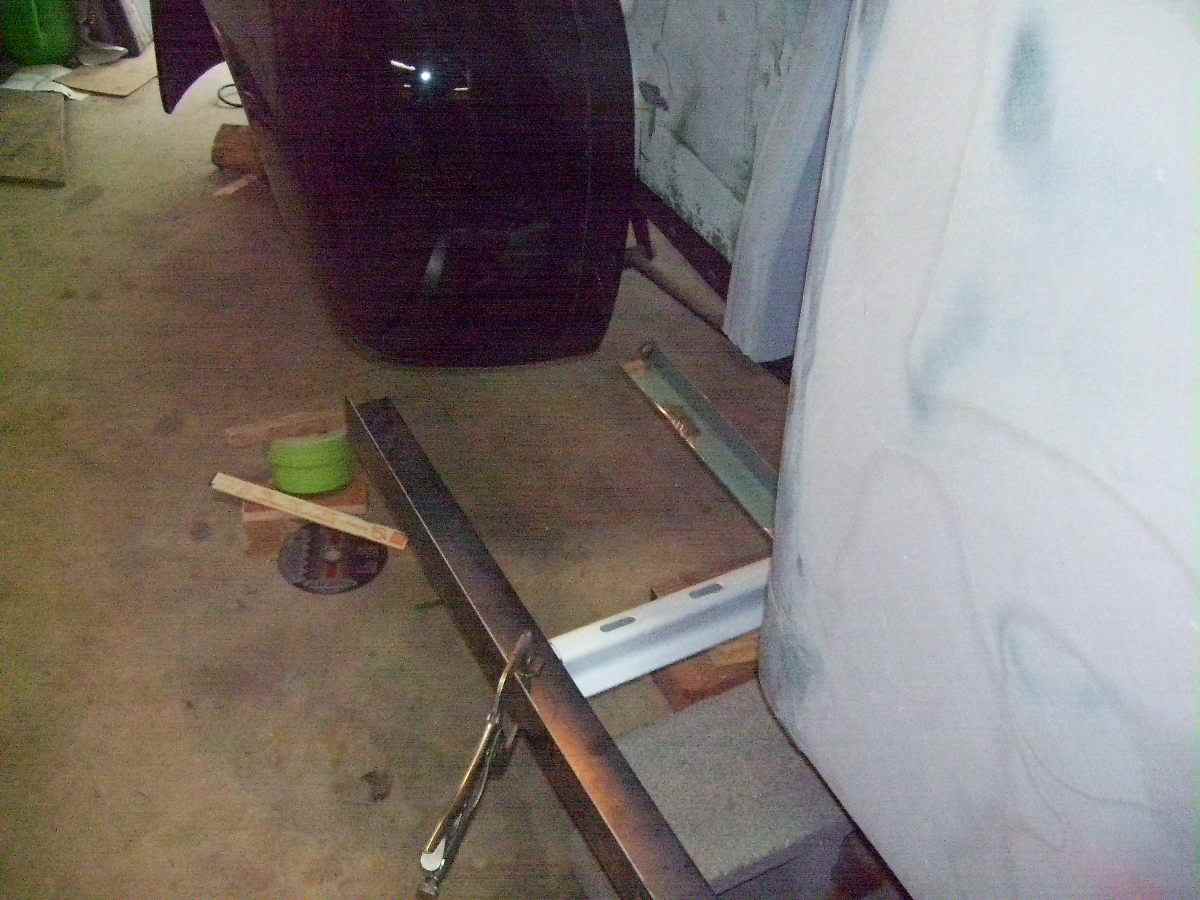
I had to make extensions to raise the back of the bed. If you remember on the last page I moved the rear cross member forward to make additional room for clearance for tail lights etc.
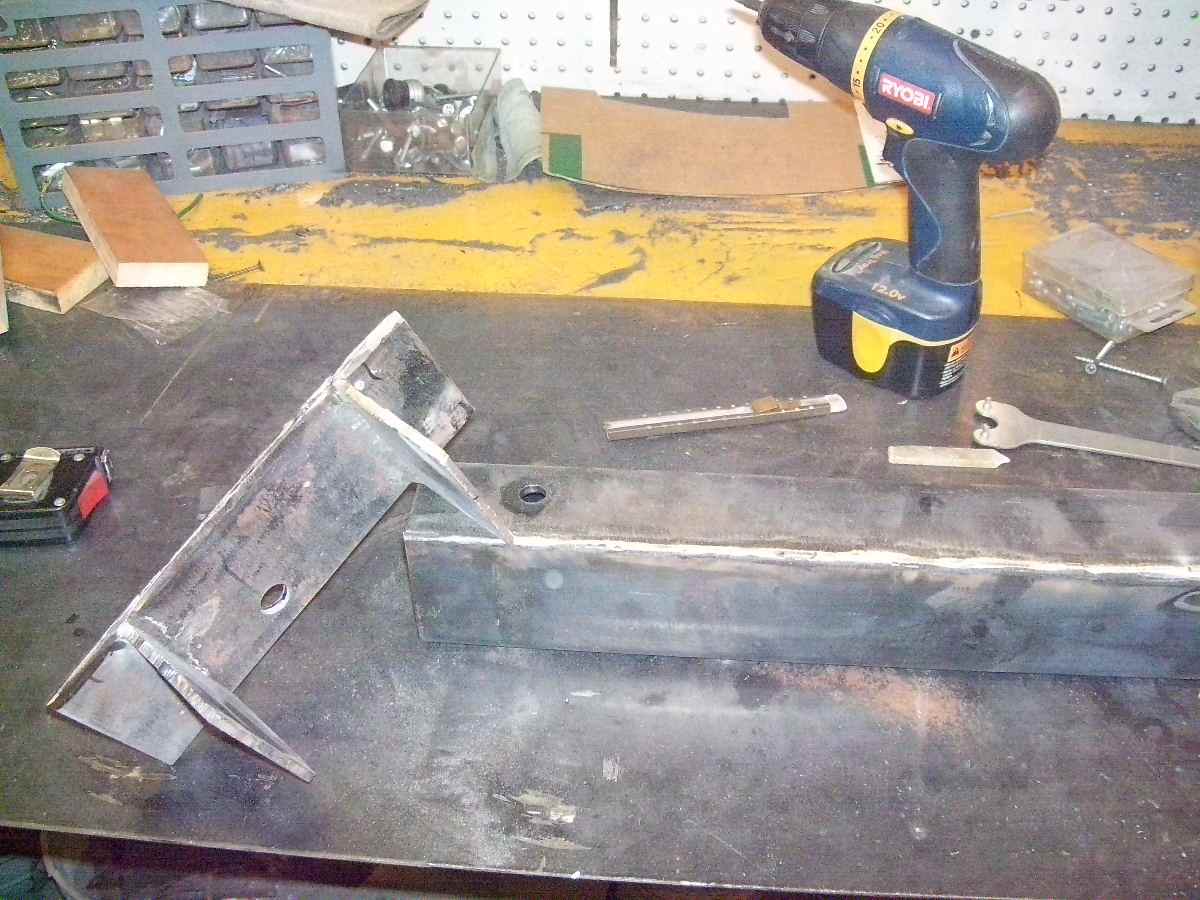
But no problems. I made this steel tube out of 7 gauge steel and drilled a mounting hole in it. I also cut off the original plates I had made and repositioned them.
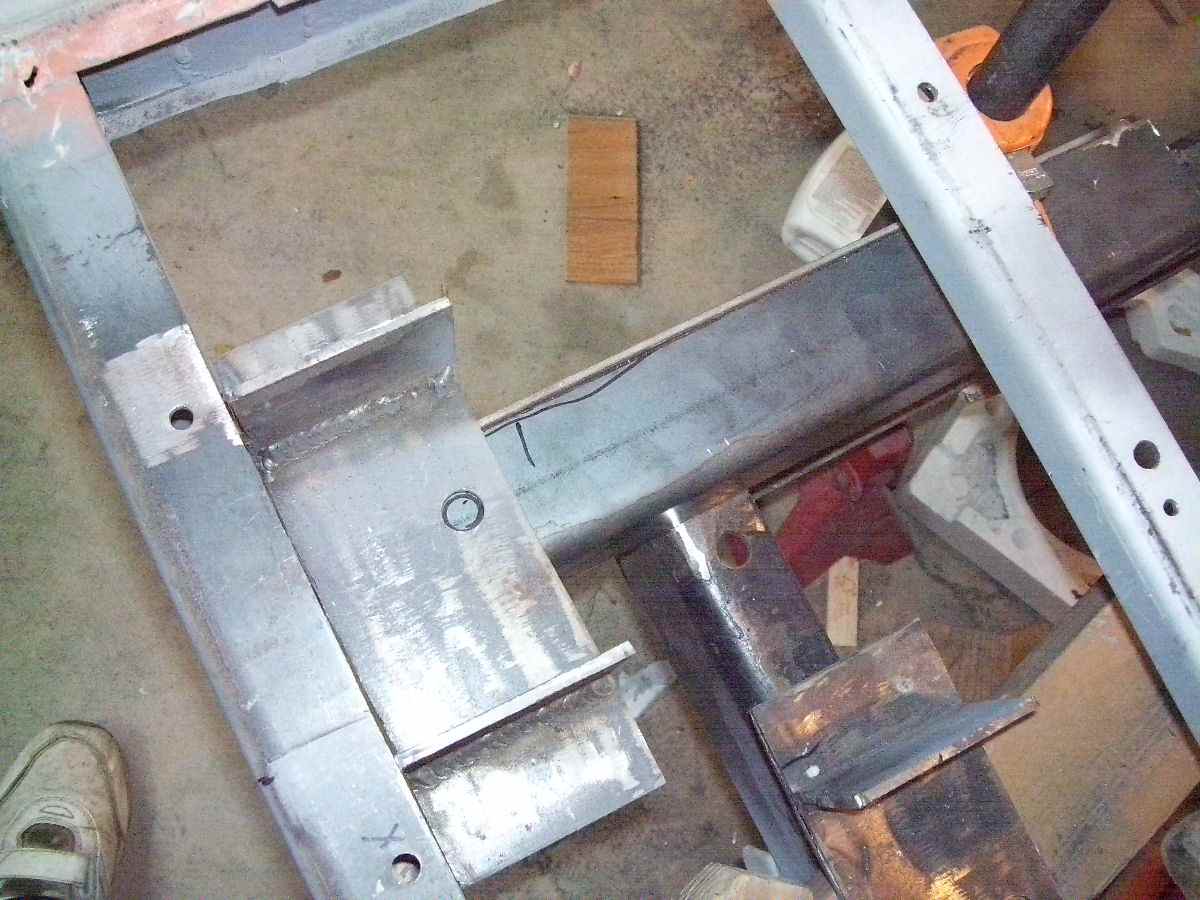
Here you can see the mounting support welded onto the end of the bed. It is also sitting in our new riser.
This is the same view only looking the opposite way. I used the cabinet clamps to get everything in place before welding everything in place.
Here is the view from the side. I generally figure about a 2:1 ratio when I make a support like this. So I had to stick the support about 5 inches past the end of the frame; so that left 10 inches on the frame to weld for strength.
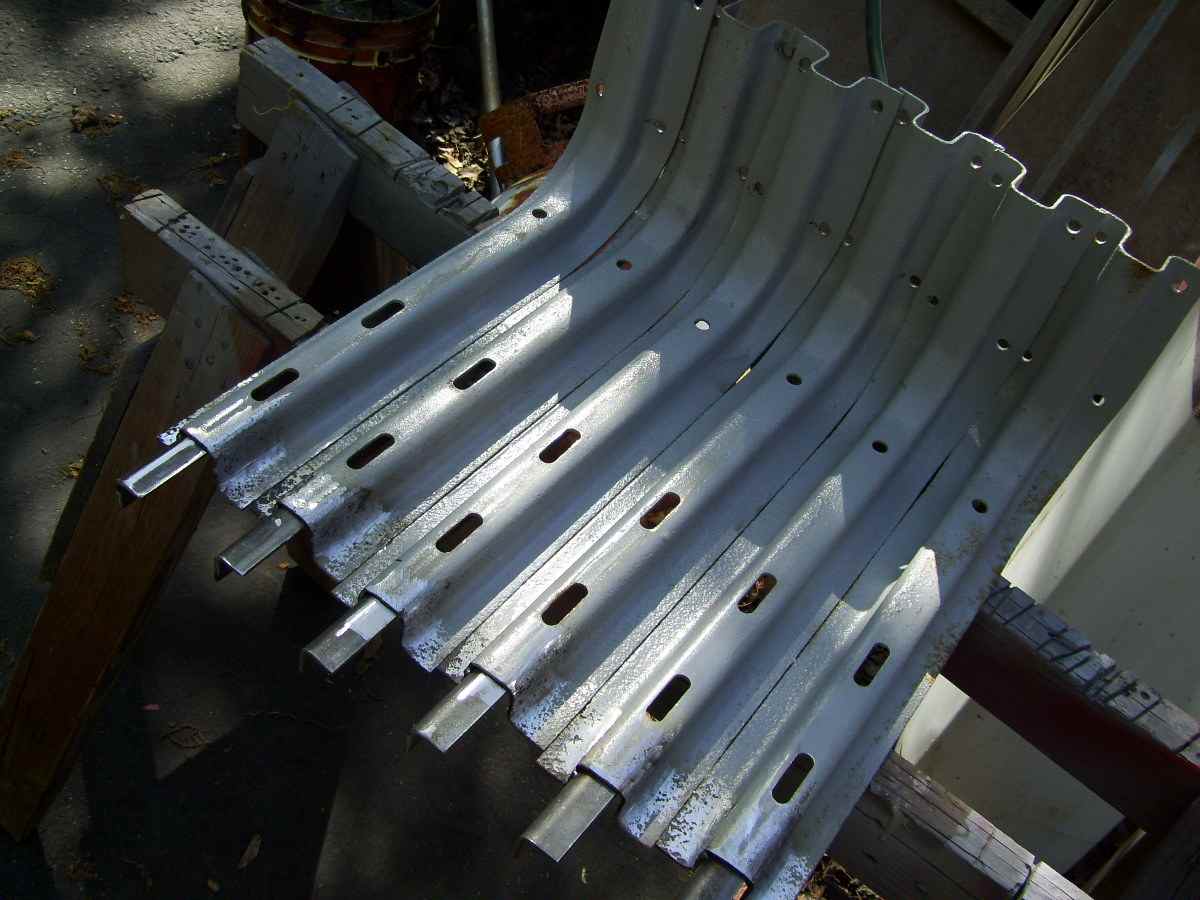
As I think I mentioned earlier; we are going to put oak boards on our running boards to match the bed. There for I had to make a running board frame for the boards to lay in.
The old running board supports has to reach all the way out to the frame so the board lay smooth. So I had to weld a little extension onto the end of each support
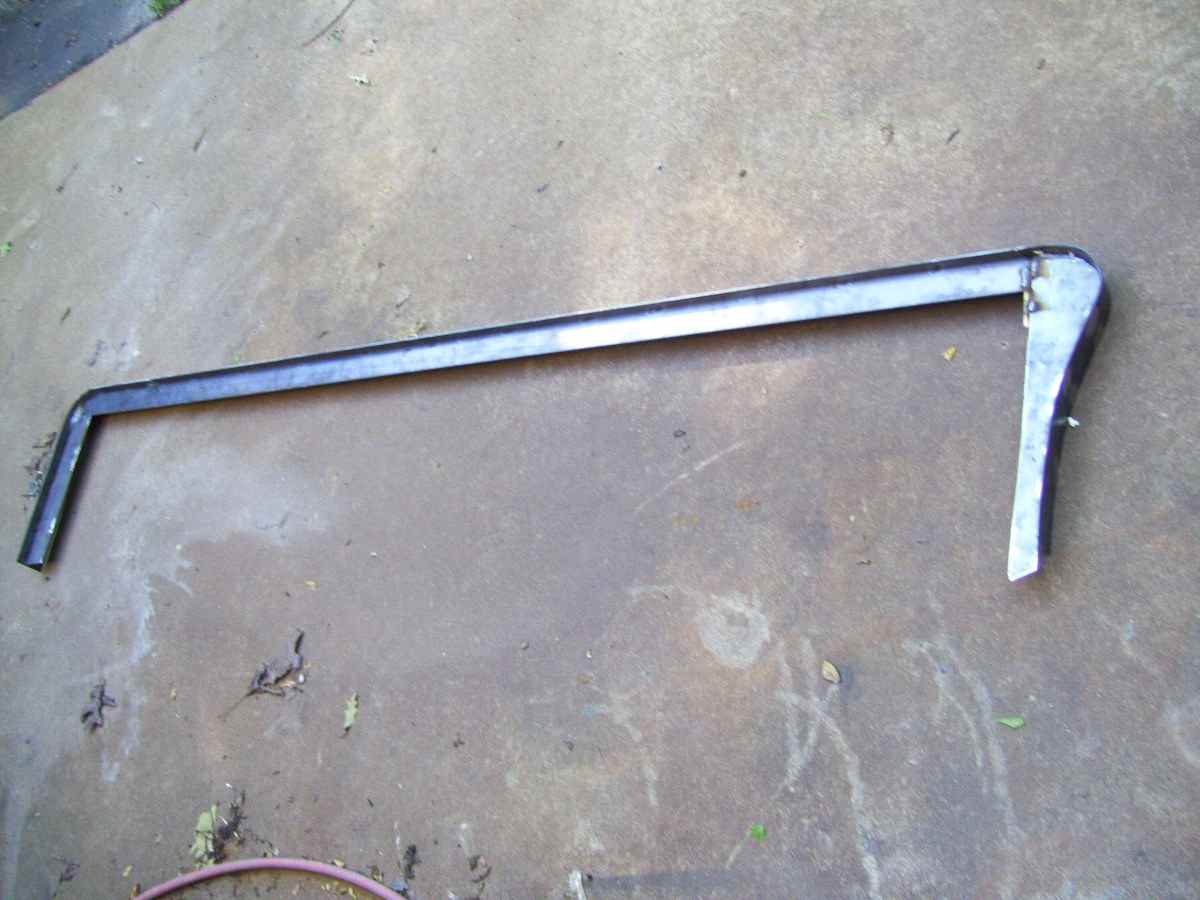
I should of made a better picture of this, but you'll see as we go along. I got a piece of steel 2 1/2 inches wide to make the frame. 3/4 inch sticks UP for the boards to lay in, and the rest stick DOWN so it'll hide the running board supports
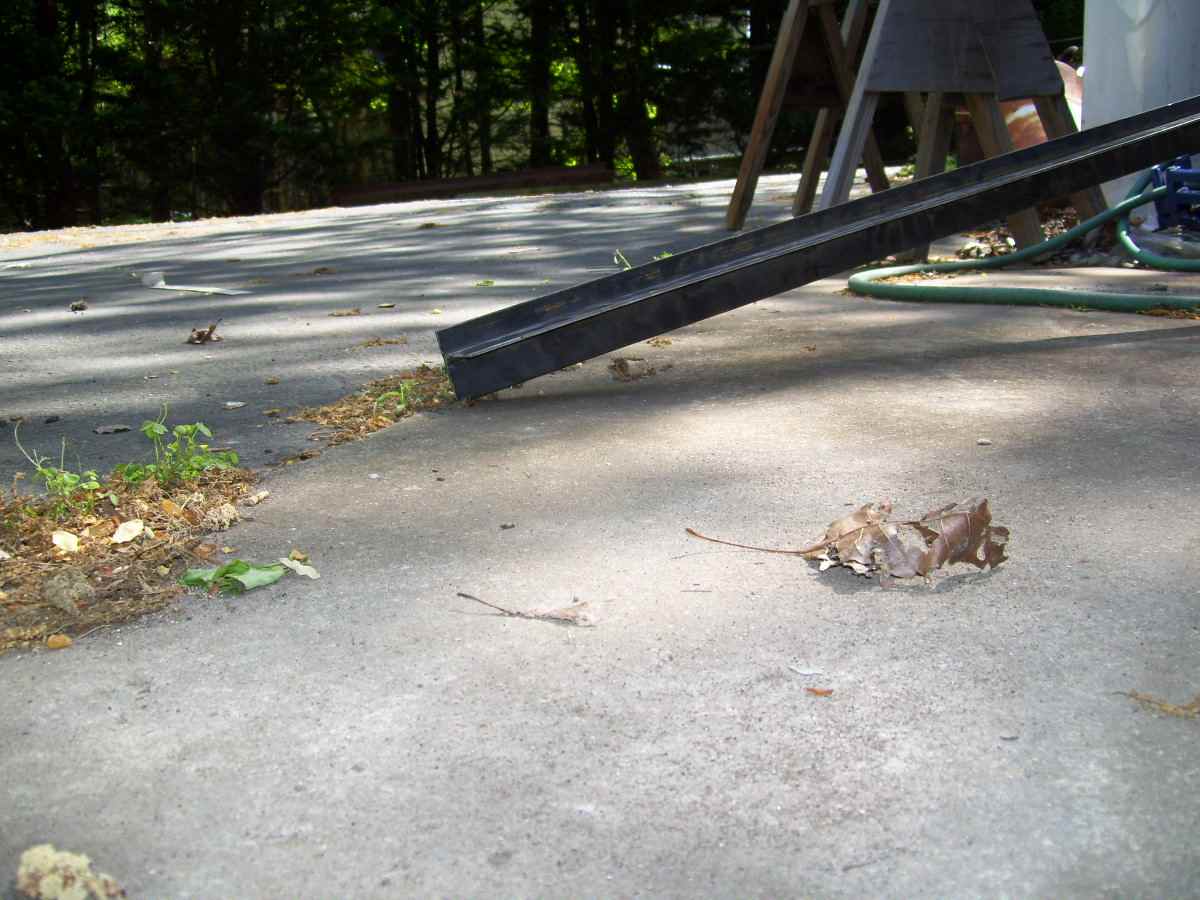
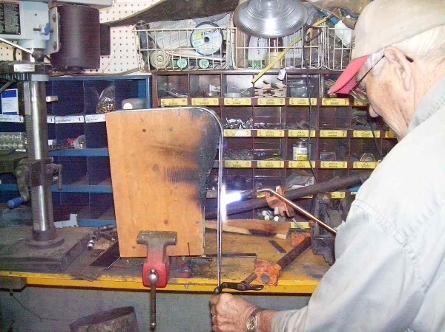
First we had to just make the straight part and get it cut to length. Pretty easy so far. You see how it will fasten to the supports here when finished. OK ATTENTION CLASS; now we are going to show how to make a "buck"
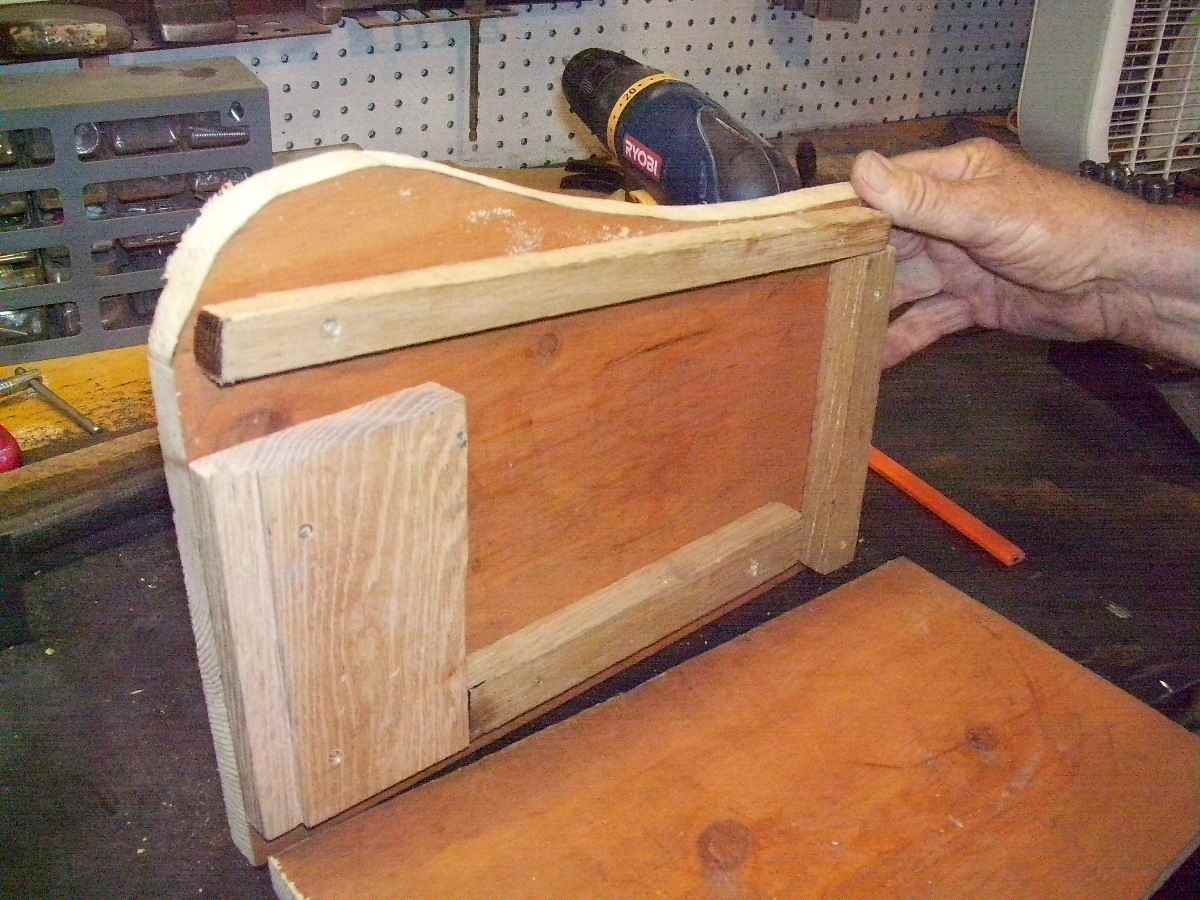
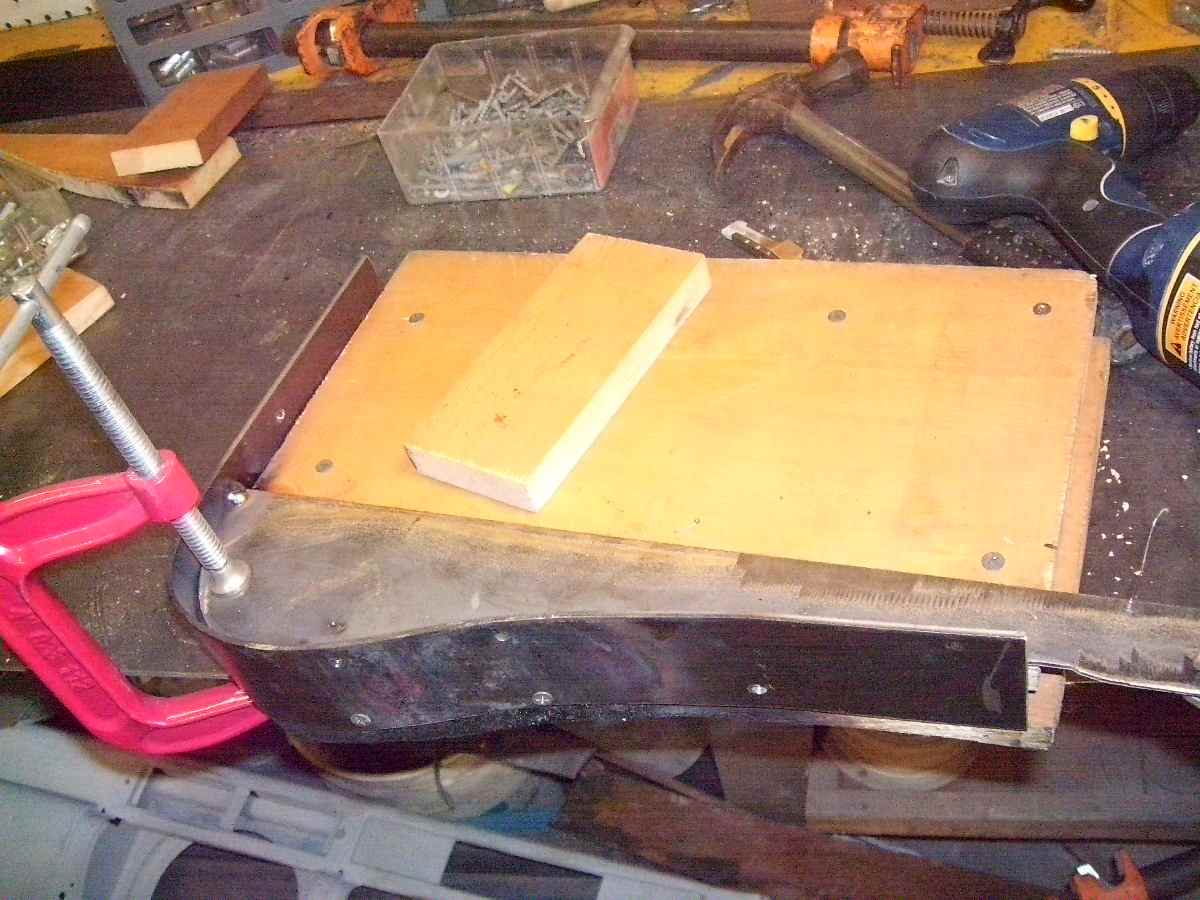
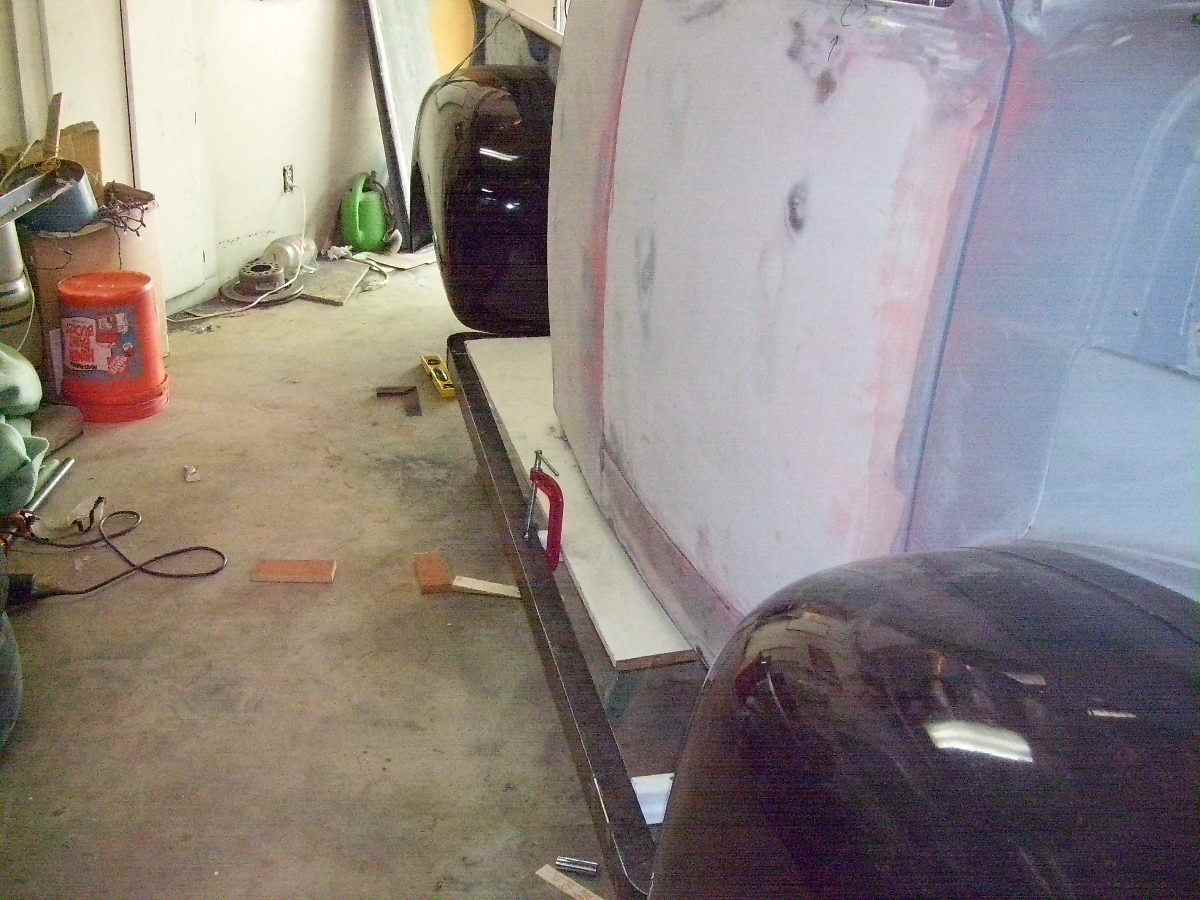
We had to make a buck to fit the running boards to the fenders. This is the same process we did several pages back when we made a buck to build our cab corners. The buck needed to be as wide as the steel.
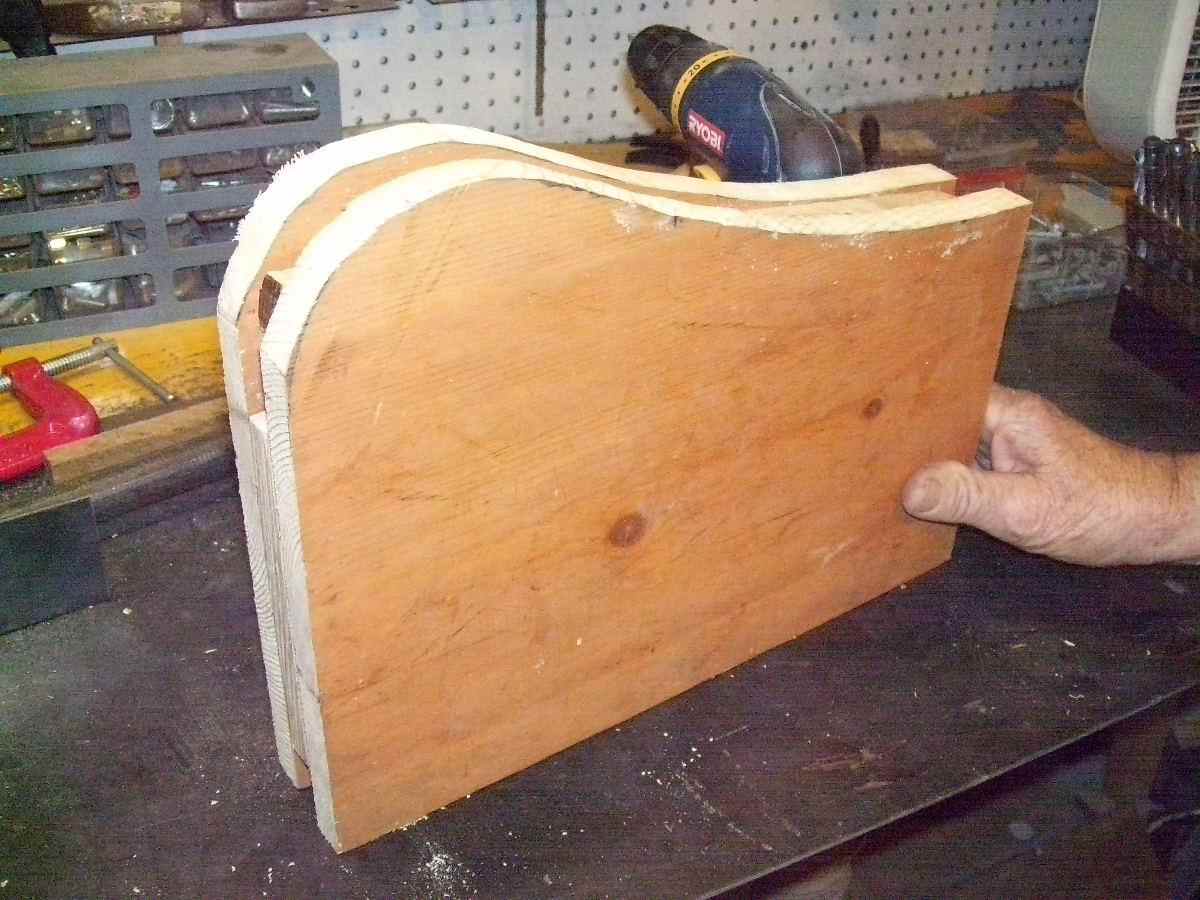
As you can see in the previous picture we put a spacing piece in between the two outer slabs so the steel would lay flat and not want to twist. Also we needed a place to screw into so the steel should bend where we wanted it to.
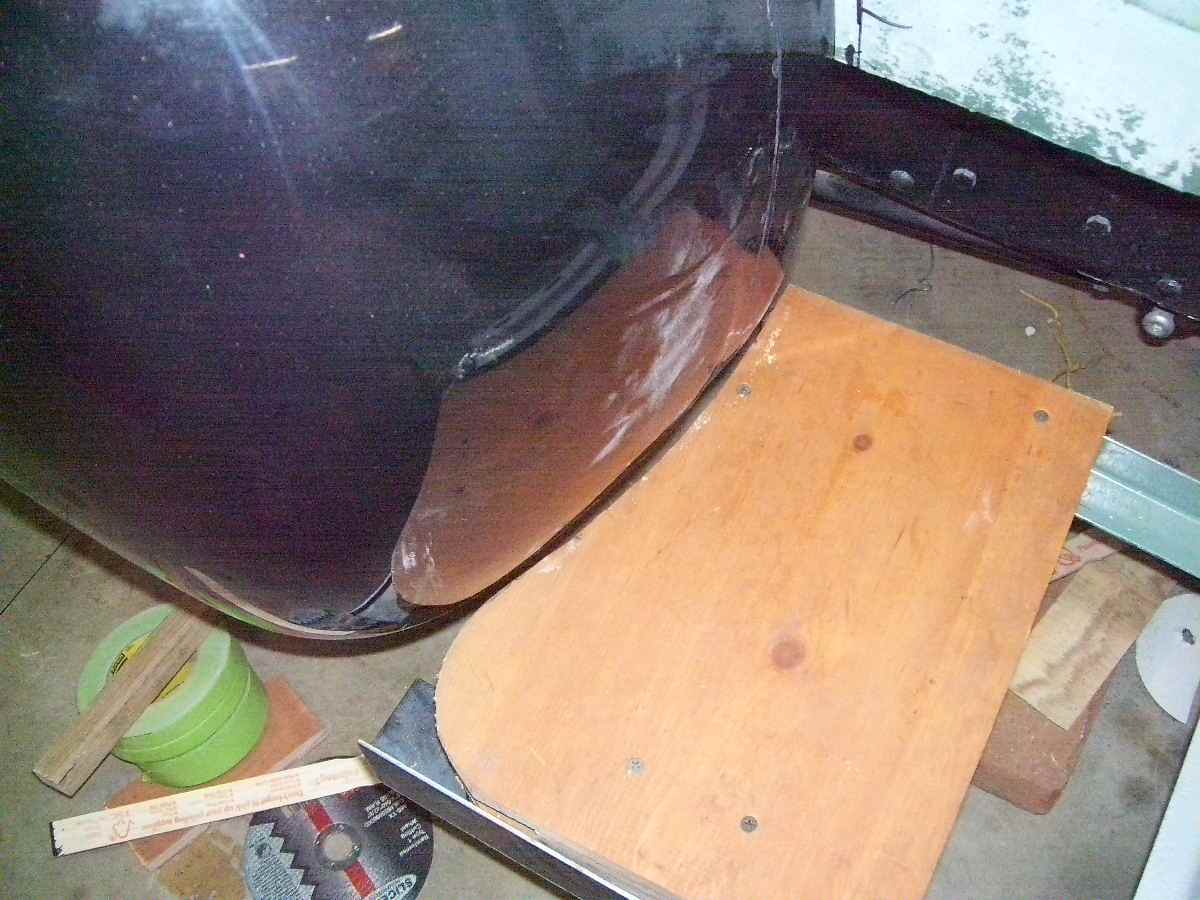
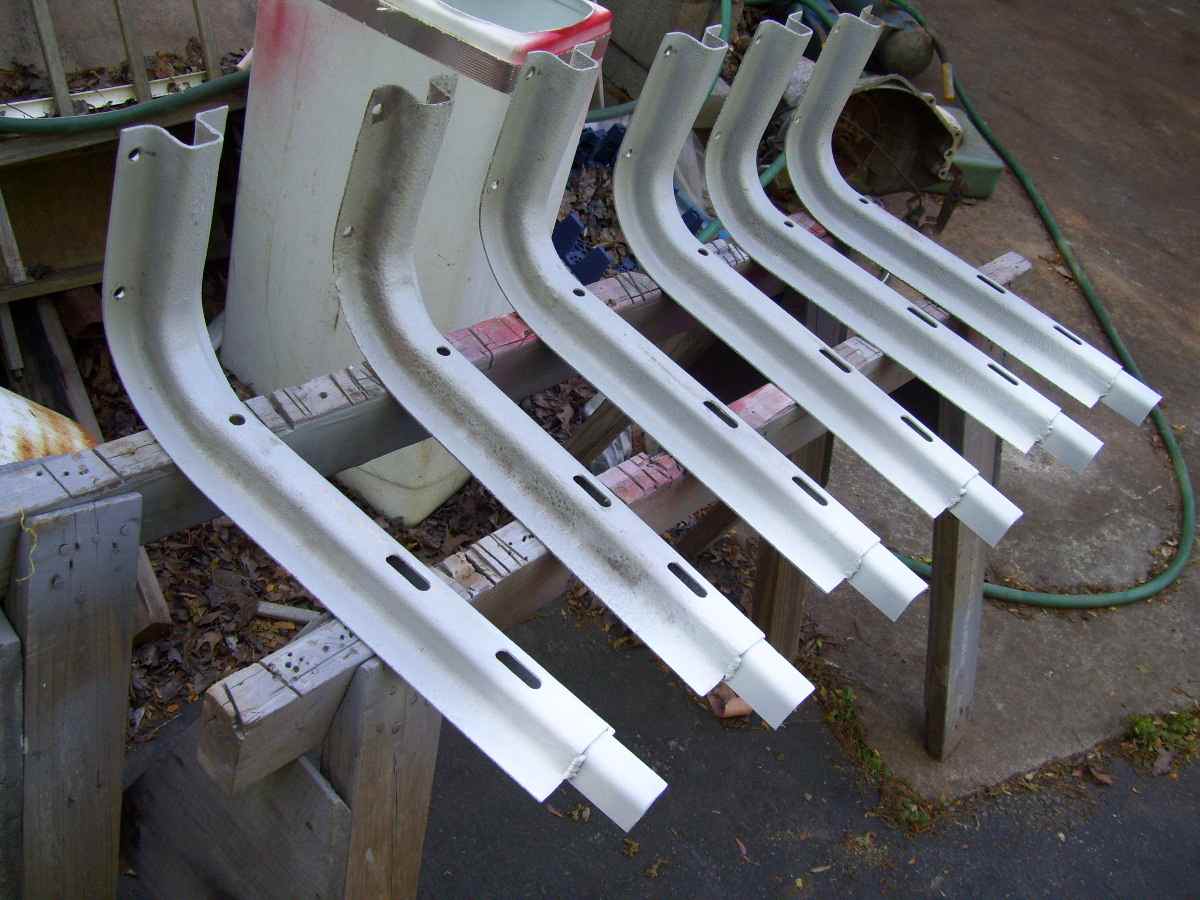
Here is the buck we made laid beside the fender. It looks like a lot of curve back, but these fiberglass fenders have just a tiny bit different shape then the originals ones.
Here you can see how we used the buck. We drilled four holes on the top side, and screwed the steel to it firmly. Then we heated the steel to make it bed and follow the contour of the buck. In the picture on the right you can see where we kept adding screws to hold the steel as we bent it.
This is the piece still held in the buck. We then shaped a flat piece of steel to match the curve of the piece and welded it on so we'd have a place to bolt down the rear of the running boards. We kept the steel clamped to the buck until after we welded the other steel piece to it to make sure it would hold it's new shape.
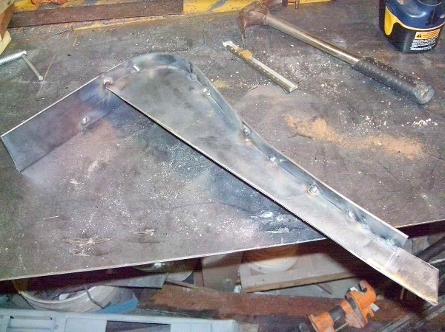
SO here is the right side piece that butts up against the rear fender completed. The "short" piece on the left is the steel that runs from front to back
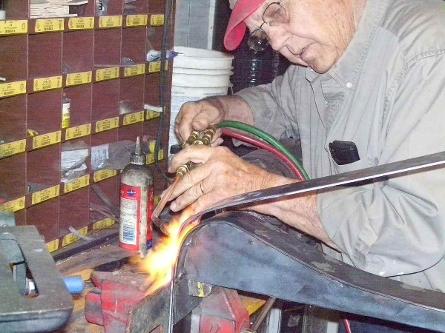
Here you can see one of the rear pieces is done. Dad is using it as a form to make the front pieces. They basically just make a 90* bend. Dad is the man with the plan when it comes to torch work.
So here is the completed running board frame.
This is for the right side of the truck. Left side of pic is the front of the frame and the right side is the rear.
You can see how it'll look when seeing it straight down the side of the truck and how it matches with the fenders