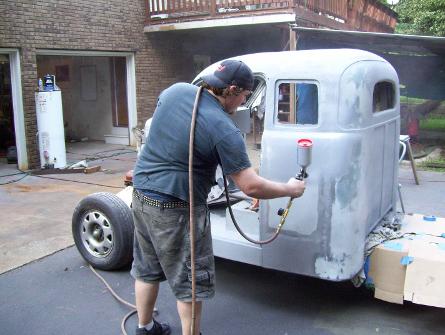
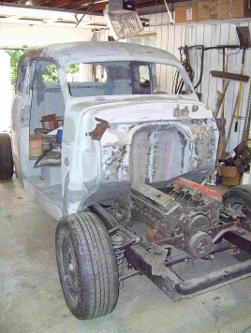
On Well I got to the body work section, and knew nothing about how to do it. I was afraid to tackle it myself because if the primer, bondo, isn't applied right, it'll lead to huge problem later down the road. So after 3+ years I got someone to help me with my bodywork, and we are off and rolling again.
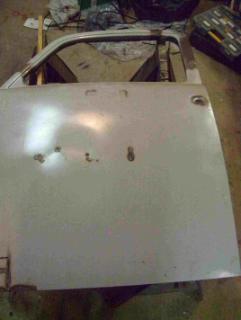
Door needed a little more work. It was rusted out around the lower hinge. So I fixed it and a few other little spots that needed it
Got the door all sand blasted where it needed it, and welded in the door handle holes. It's all
ready to prime.
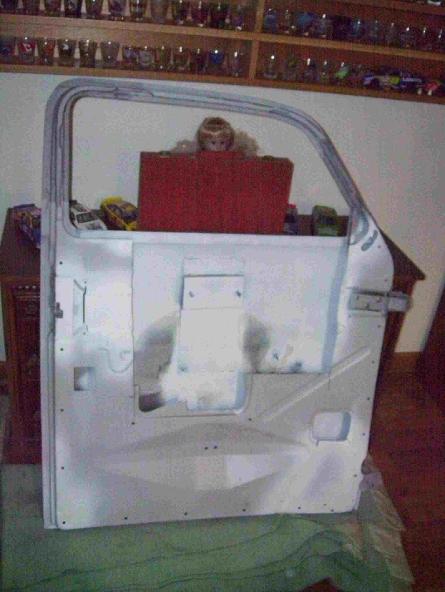
left - Humidity was so high, I'd sandblast and it'd rust right back. SO I did the inside and coated it with rattle can primer
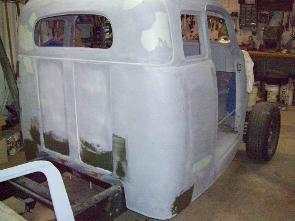
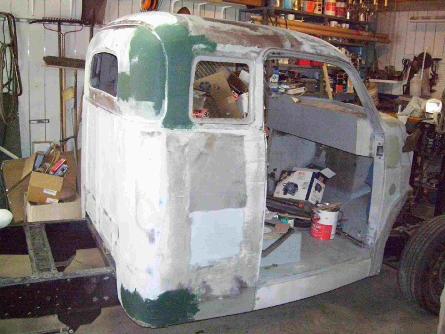
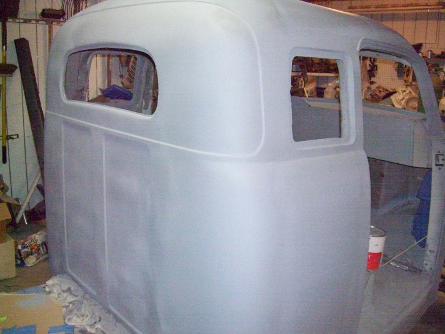
Above - Sides all nice and tidy ready for my body man
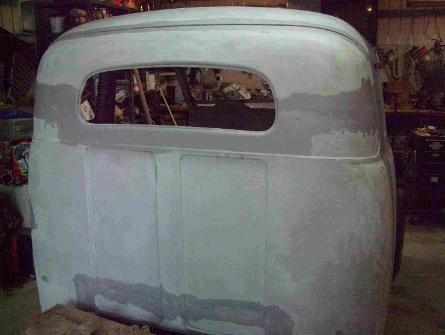
Backs all clean too. You can see where the top was chopped
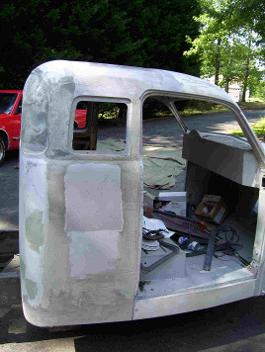
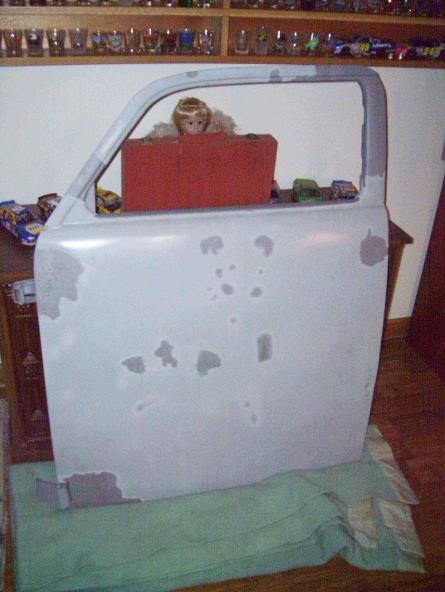
Little stuff on the side here, Jesse was happy the truck was so straight
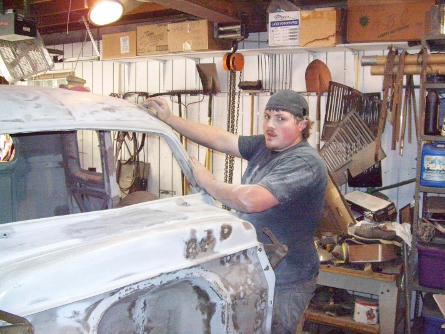
OK.. NOW were are getting somewhere. Got some fiberglass laid on,.. little bondo. Gonna start taking shape now. Just going to be a LONG way to go, and LOTS of hours
Starting to get some of it done. Jesse wants it to be perfectly straight when we get it finished. He's a perfectionist

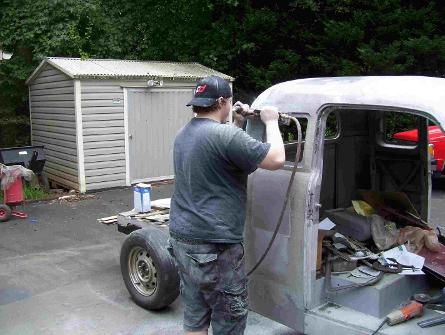
OK, broke out the air tools and sanding has started Gonna be a lot of this to do. That fiberglass is tough stuff to sand off.
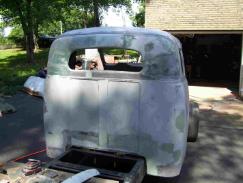
Just a little hand sanding here where we chopped the top. Needs more work but we wanted to primer it so it wouldn't rust
Jesse has to be gone a couple weeks so we don't want any rust. Humidity is just horrible here.
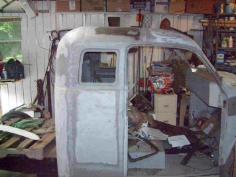
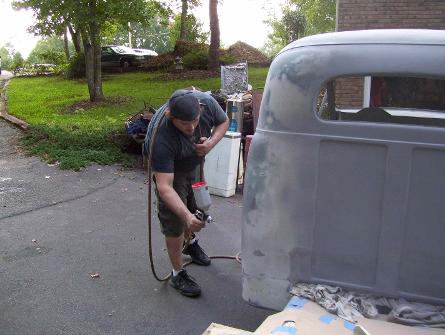
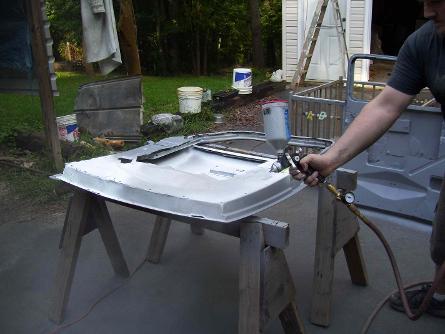
FINALLY we're getting some color on this thing. Ever if it is just primer
First coat of primer on the cab. Looks pretty good considering all the cutting and chopping we did
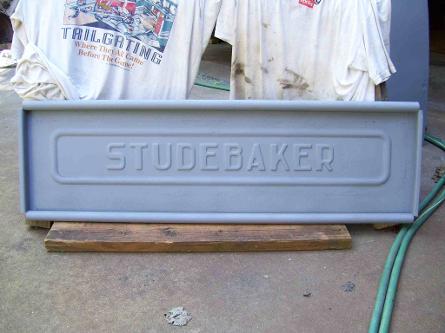
Here's the picture of the tailgate. If you remember from previous pics we pretty much fabricated this ourselves
Getting the doors and tailgate done too. We'll do patch work later when he returns.
Here's a pic from the front, not much going on here yet. but we'll get to it soon
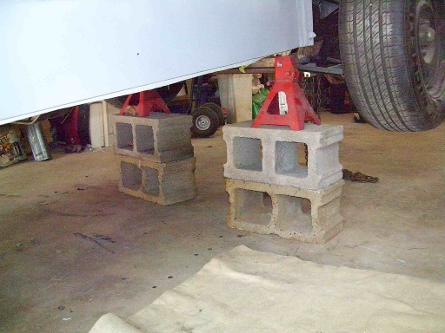
Didn't really want to take the cab off the chassis with pretty fresh body filler in it. Dad suggested this way DON'T DO what it "looks" like I did here.. It appears I got the truck up and it is being held up by these blocks. If you look at the next picture, you'll see the truck is held up with a chain hoist (also has a safety chain); the blocks are a back-up measure.
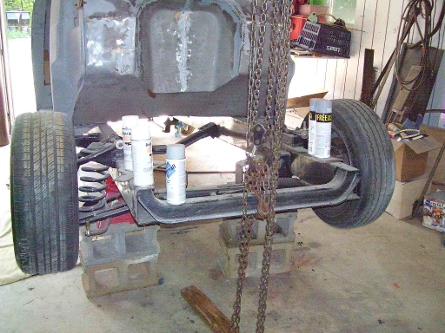
This is how we raised the truck, and still kept it safe. We have a very strong I-beam supporting the upstairs, so you can pull up a LOT of weight on it. I raised up the front of the chassis with a chain hoist, then put the blocks and jack stands under the frame as shown above. Just for safety I kept the chain hoist attached and snug,. just in case of a mishap
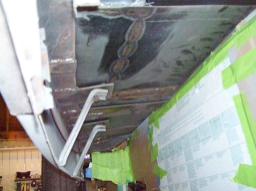
Here is why I wanted to get under the truck. With the extended cab, of course there is extra sheet metal, extra bracing, etc. Most of it we primed as we put it in. But some of it we missed. This was a HUGE pain in the butt as I had to lay underneath, do the grinding, and since the frame is finished in it's final color, it all had to taped off to keep from getting paint on them.