On with the Project.... Hope I am explaining everything so you can understand what you are seeing.
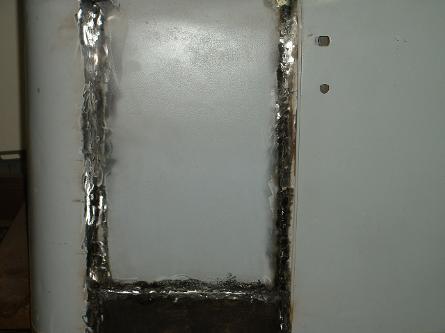
OK.. now it's time to do some cosmetic stuff. Both corners were rusted out. I made my own using a 'buck' Basically it's made out of plywood, with the exact shape of the corner. You heat the metal, and bend it around the plywood.
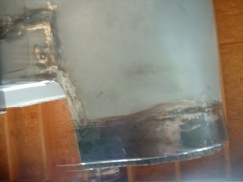
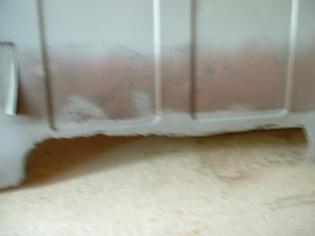
This is a picture of the inside of the cab corner. I DID clean it up and the finished product looks better than this.
OH Later; on I show making a buck for something else I built.
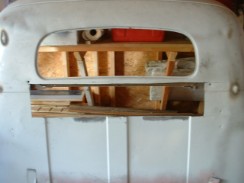
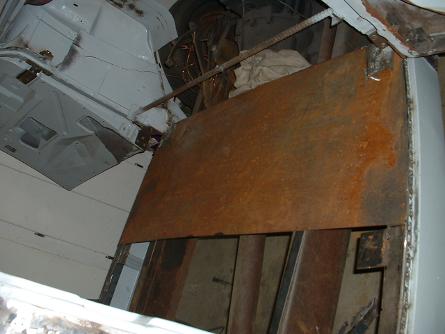
As with most of these old cabs, the center support bar, and sheet metal are rusted out. This was mine before I started work on it, or the cab corners.
Needless to say I needed a replace for the bottom sheet metal. As it so happens, the bottom of the panels matches the top exactly
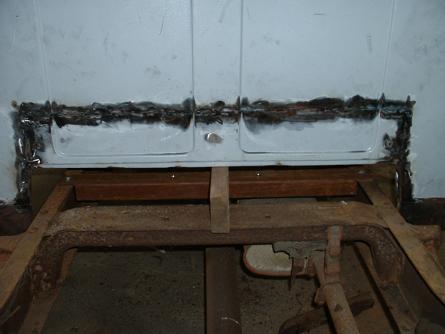
Soooooo I cut out the top of the unused cab, flipped it over, and welded it in. When finished it looked factory.

Now we needed to tackle that 18" gap we created when we extended it. Luckily we had four truck doors. It worked well as it matched the factory door contours.
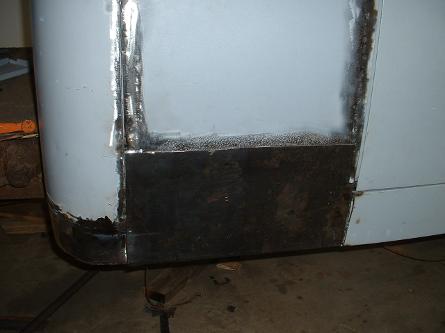
So we used the donor doors, but they were rusted off at the bottoms, so we made this piece to fill in the gap.
Got both sides done, just need the finishing work. Worked well using the donor doors, would of been impossible to match the shape and contours just right.
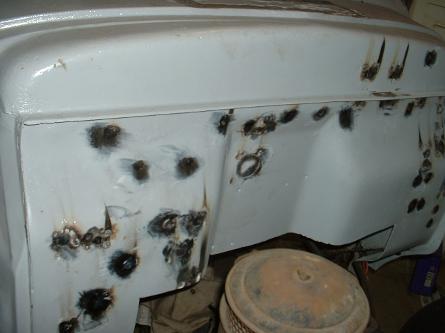
Working around to the firewall. Mostly just welded the holes full. We know we got major changes to make up here.

Well here you see our problem. Too Much engine and not enough engine bay. Have to reshape the firewall.
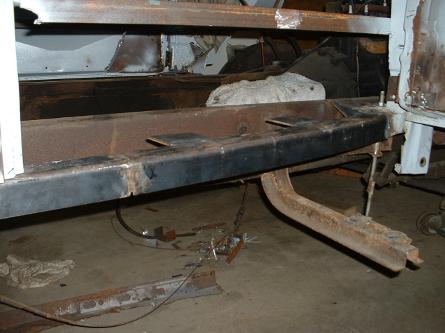
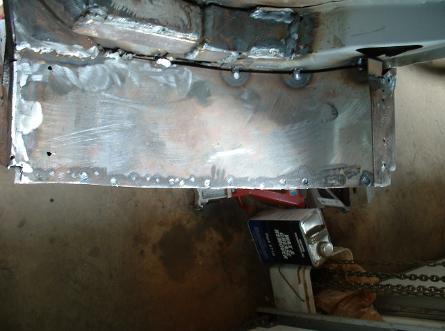
The frame of the cab all under where the door opened was rusted out. We managed to get the correct shape off of them, and had a friend bend me up some new ones.
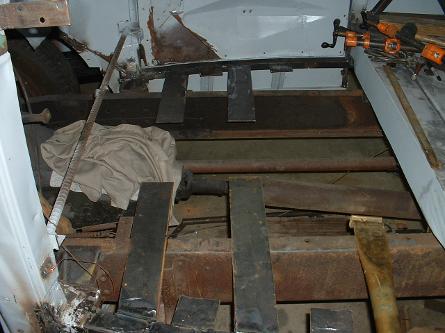
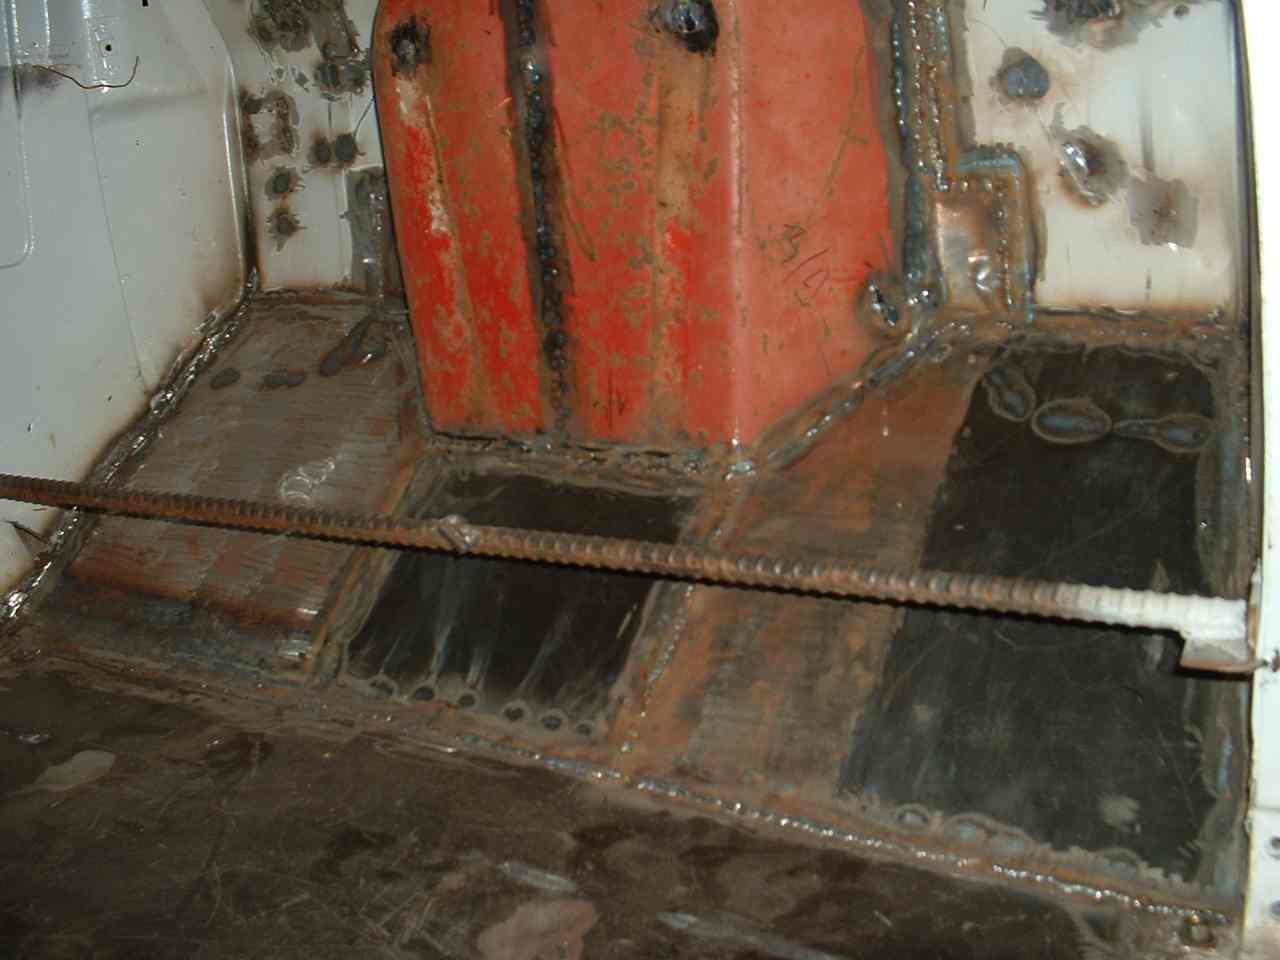
Then we welded some steel struts bracing out over the frame to help support the floor.
OK so we cut the floor piece and put in the front section. Notice we still have the bracing in to hold the cab shape.
Then we put in the pieces on each side of the firewall.
This is our fix to make the engine bay larger. Someone made a suggestion that worked well. We cut up a metal wheelbarrow. Had a nice contour, matched exactly on both sides, etc.
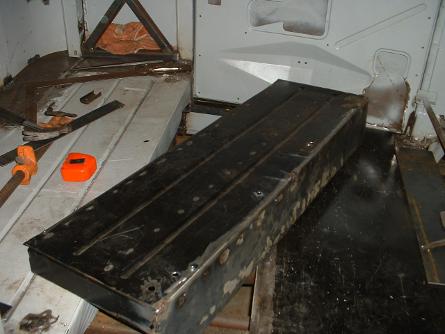
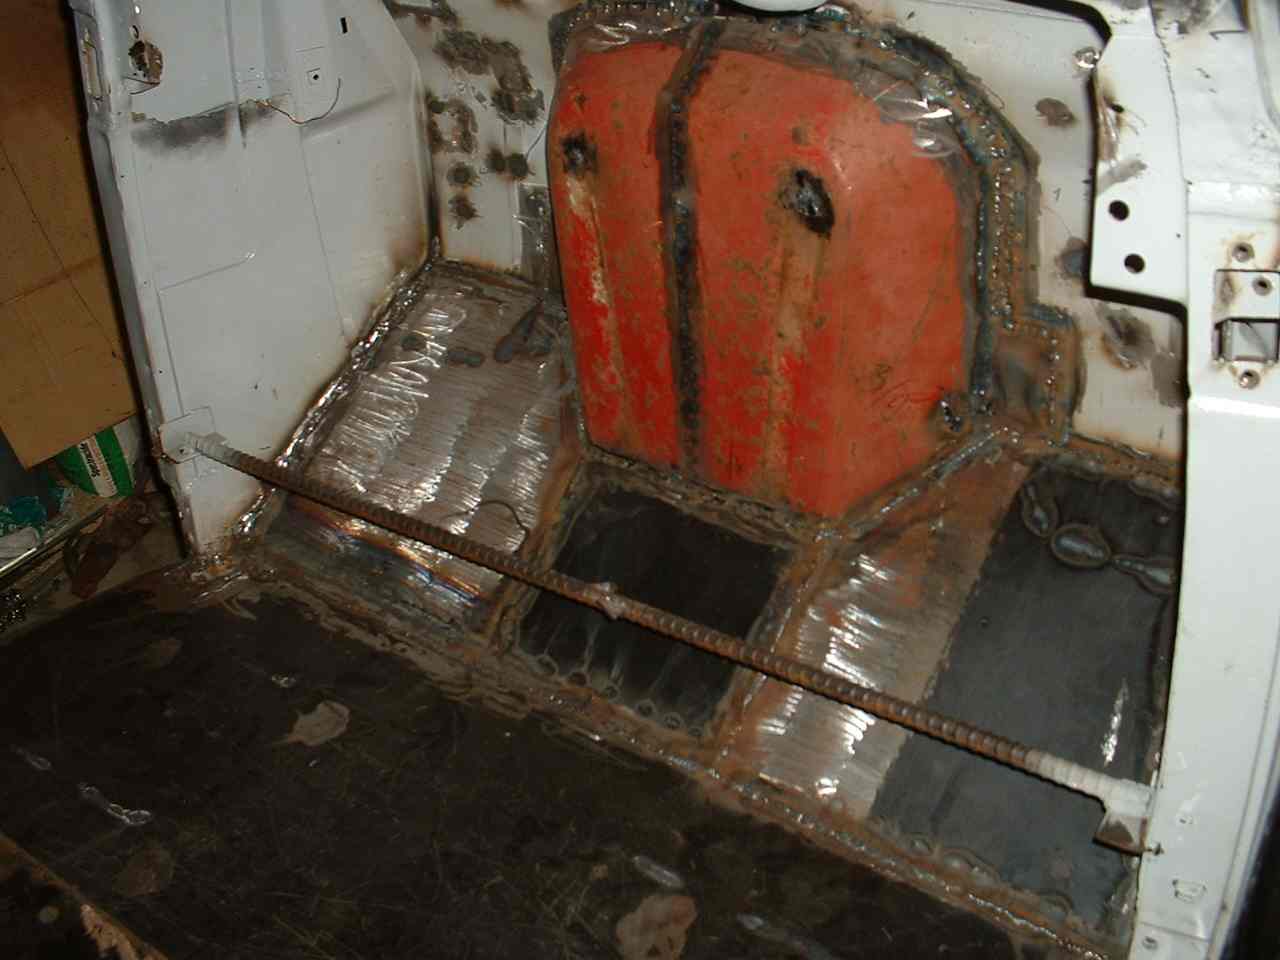
Then we switched to the rear floor of the cab. Here is the seat riser we built to match up with the original on.
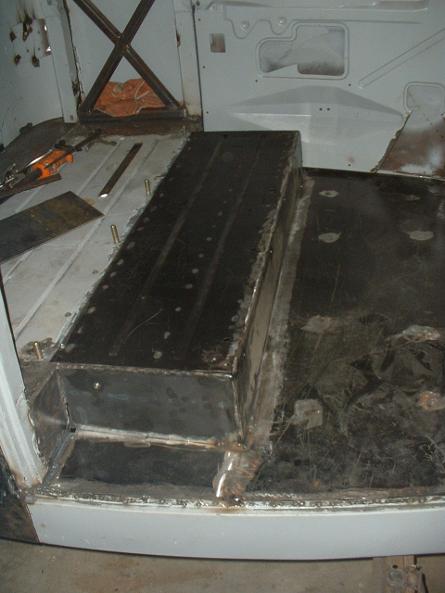
Here is mounted. The original seat riser is primered in gray, and the extension is black. You can see the screws we pre-mounted to bolt the seats down.
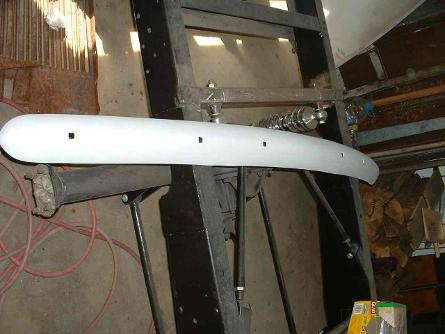
Funny, everyone is looking for a nice chromed bumper with no dents. I had one and paid to get the chrome taken off so I could paint it to match the truck, go figure huh??

Found a guy in Michigan who sewed me up a pattern to be sewn into the seats. It came out wonderful
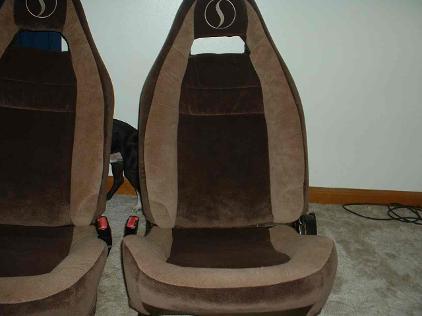
These are the seats after being upholstered. Notice the Lasy S in the head rest.
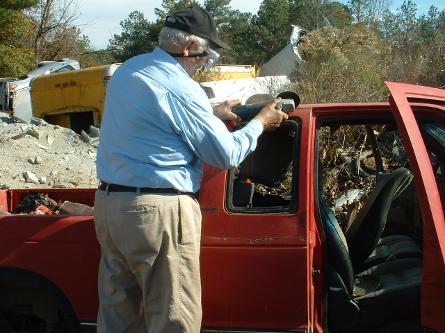
Well it was time to make a trip to the junk yard. Needed a couple windows so this Chevy S-10 donated us a couple.
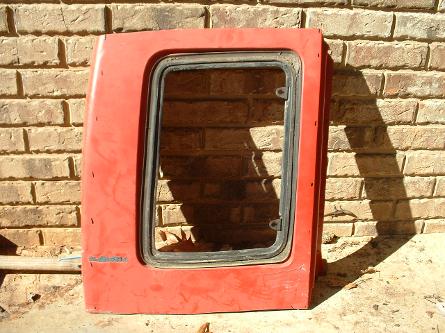
This is the window removed. It'll have to be made smaller to fit in our pickup.
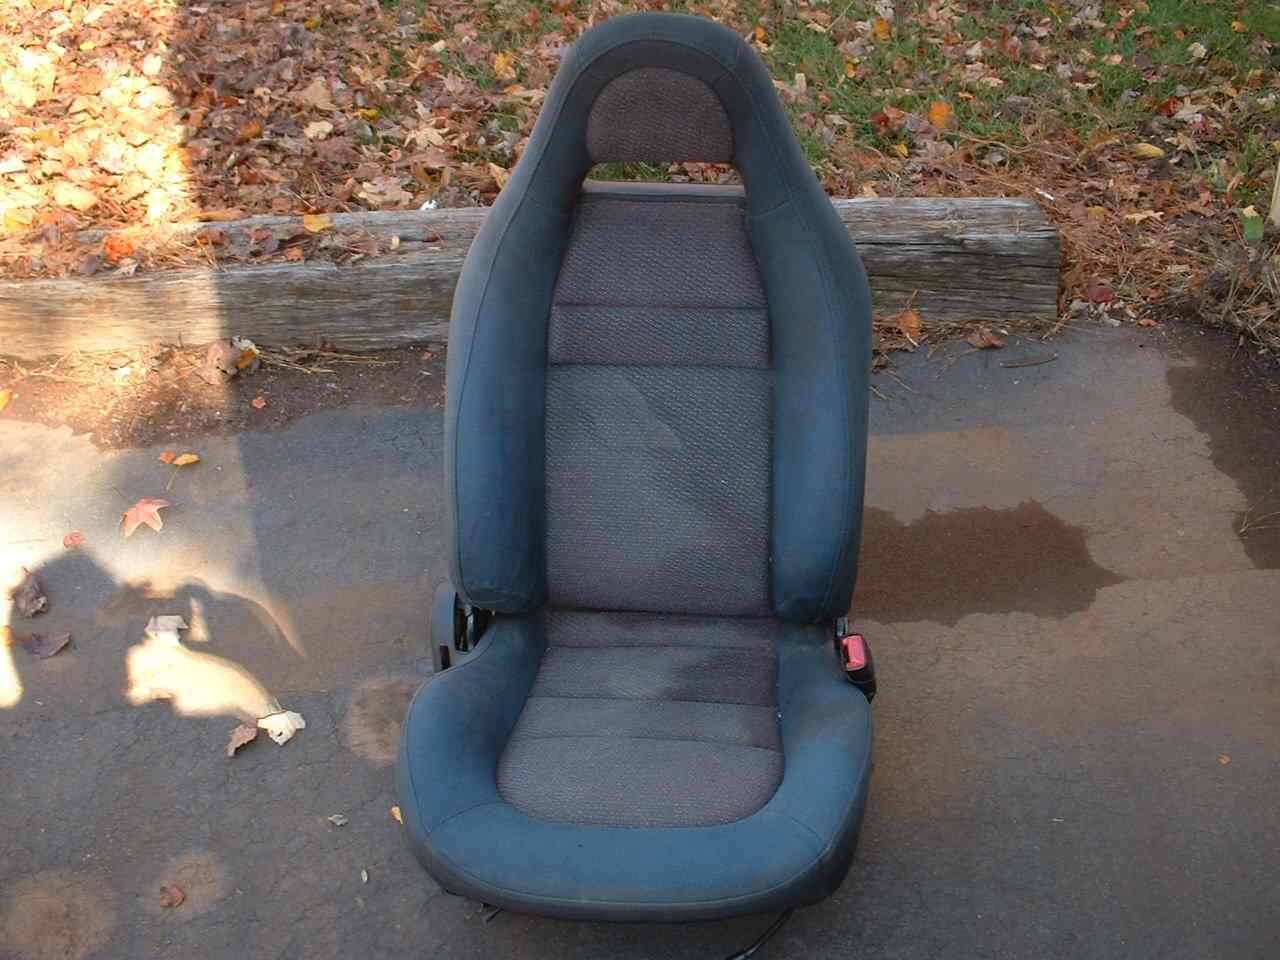
Needed some seats, so I got a pair of these out of a Mazda?? These are the ones pictured above that are finished